
Chinese Knot
Pipa Knot Flower
Study how prepared Pipa knots and a loose two-return Pan Chang centre become a flower-like combination. This short demonstration explains the arrangement and shows its adjustment and finished form; make the component knots in the practice lessons first. Some closing and decorative edging work is shown only in the finished example.
琵琶结的应用(组合结)
5:18 in total. Parts continue in order. Use English subtitles to switch captions on or off.
Follow the making process.
These checkpoints come from the demonstration. Replay the movement before tightening a hidden crossing.
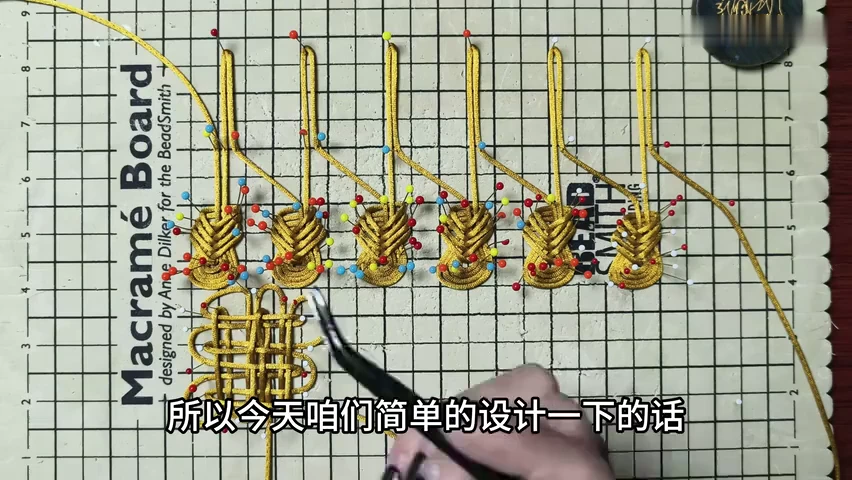
01. Identify the prepared components
Inspect the row of Pipa units and the loose Pan Chang centre. This sequence begins with both kinds of component already prepared.
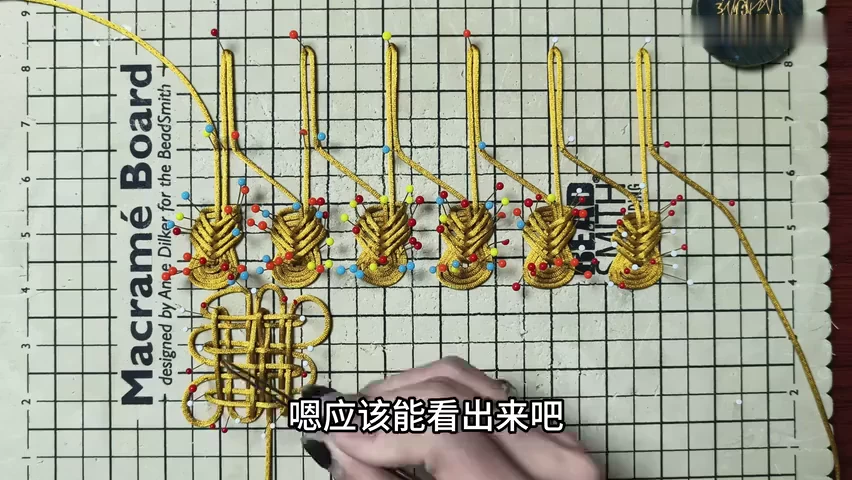
02. Find the centre folds used for petals
Locate the small outer folds around the pinned centre. Keep them loose while deciding how the Pipa units will sit around the face.
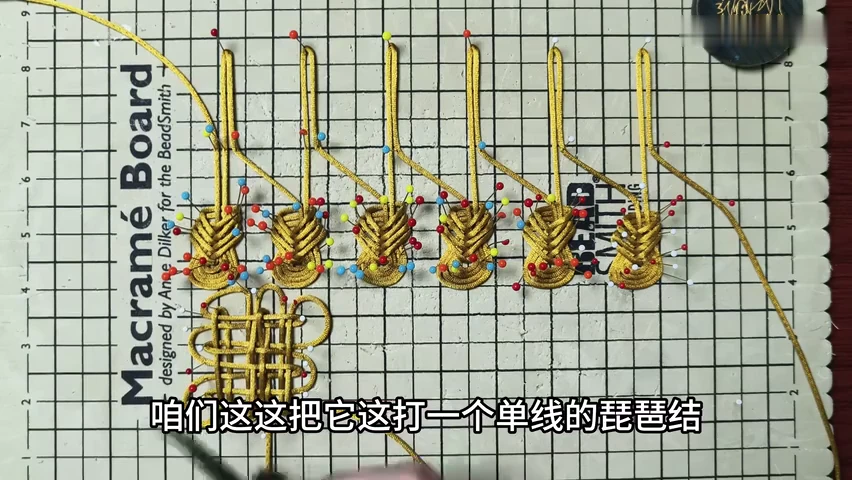
03. Reserve the free ends for the lower pair
The demonstration identifies the two free ends as positions for single-cord Pipa knots. Leave them accessible while arranging the prepared units.
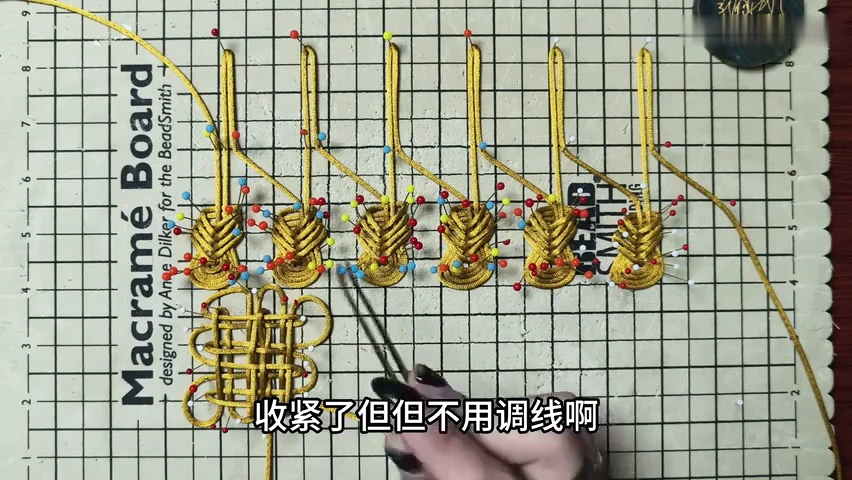
04. Close the centre enough to hold its structure
Reduce the loose Pan Chang centre without completing every adjustment. Keep the outer folds and adjoining Pipa units available for shaping.
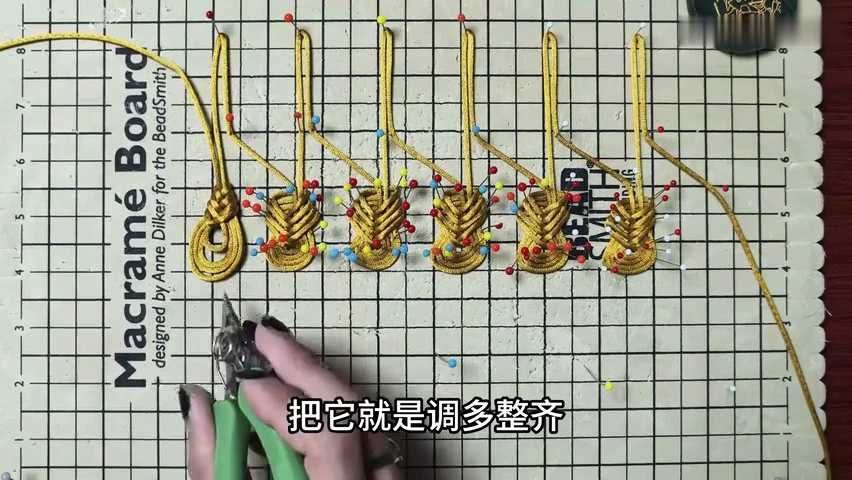
05. Release and shape a Pipa unit
Remove the supports around the first Pipa unit. Ease its nested turns into a tidy teardrop while preserving its connection to the loose arrangement.
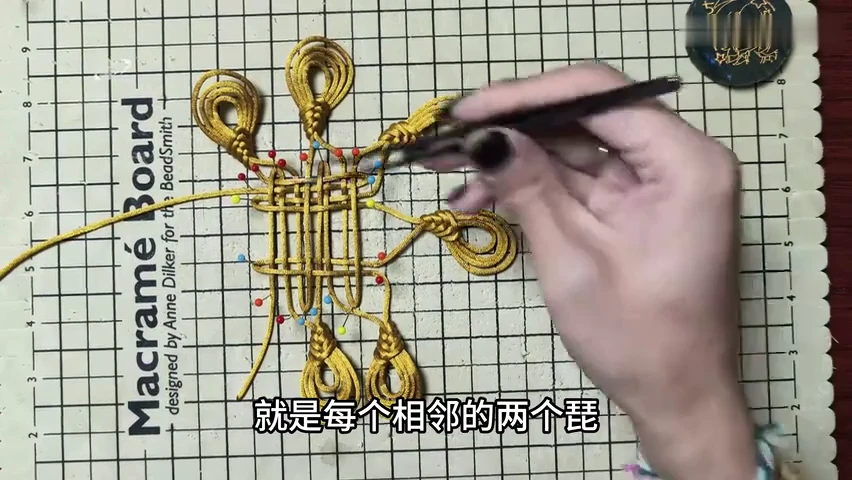
06. Arrange the neighbouring petals
Spread the Pipa units around the centre. Keep adjacent pairs distinct and turn their broad ends outward.
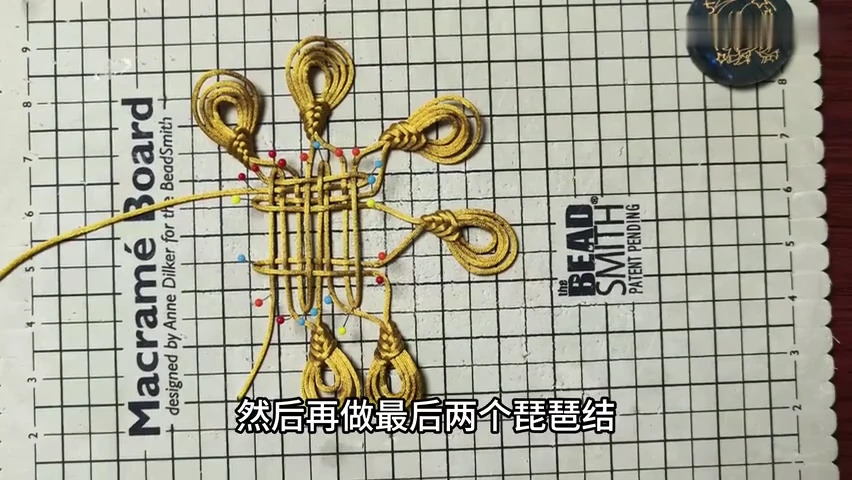
07. Complete the final Pipa pair
Use the remaining free ends for the last pair indicated in the demonstration. Keep their size and orientation consistent with the prepared petals.
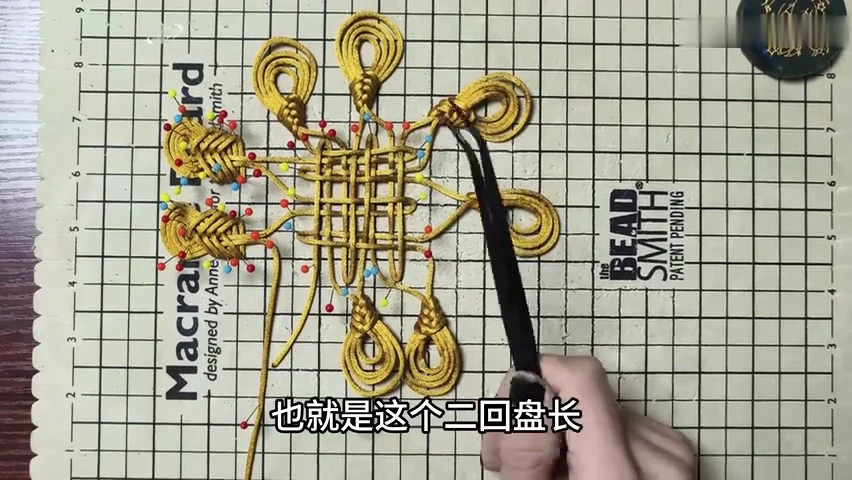
08. Trace the route through the combined centre
Inspect how the outer units meet the loose Pan Chang lattice. Transfer slack through that route before making the final centre and petal adjustments.
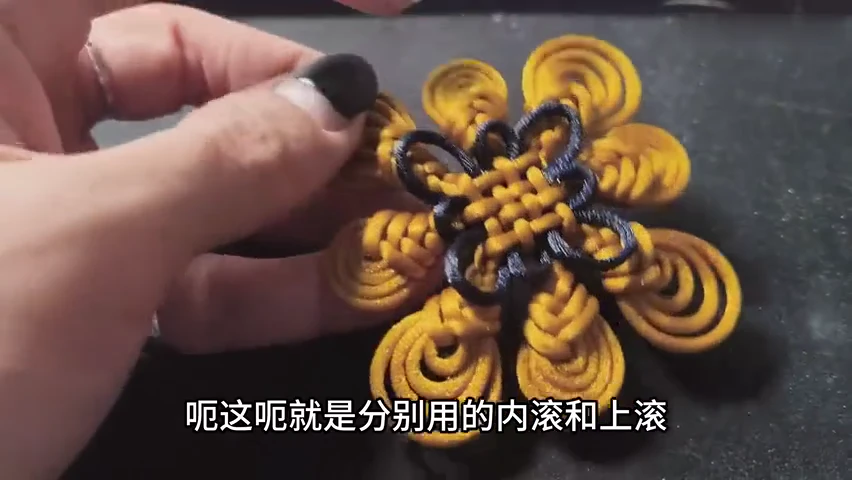
09. Inspect the dressed combination
Compare the finished example with the pinned arrangement. Check the nested Pipa curves and the loops around the woven centre.
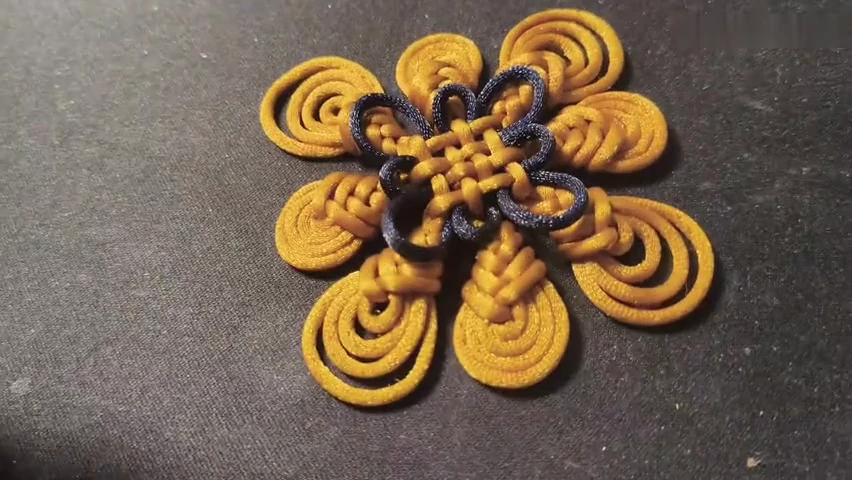
10. Balance the flower outline
Lay the finished piece flat. Space the eight outward-facing Pipa petals around the compact centre and compare their overall sizes.
Check your finished piece
- Eight Pipa-shaped petals face outward around the woven centre.
- The nested Pipa turns remain distinct and reasonably even.
- The centre is compact, with separation between neighbouring petals.