
Chinese Knot
Linear Pan Chang Knot
Extend the Pan Chang layout into a narrow knotted band. The ten repeated folds are quick to pin, while the longer dressing stage shows how to pass excess cord along the full length without bunching the band.
一字盘长结
16:49 in total. Parts continue in order. Use English subtitles to switch captions on or off.
Follow the making process.
These checkpoints come from the demonstration. Replay the movement before tightening a hidden crossing.
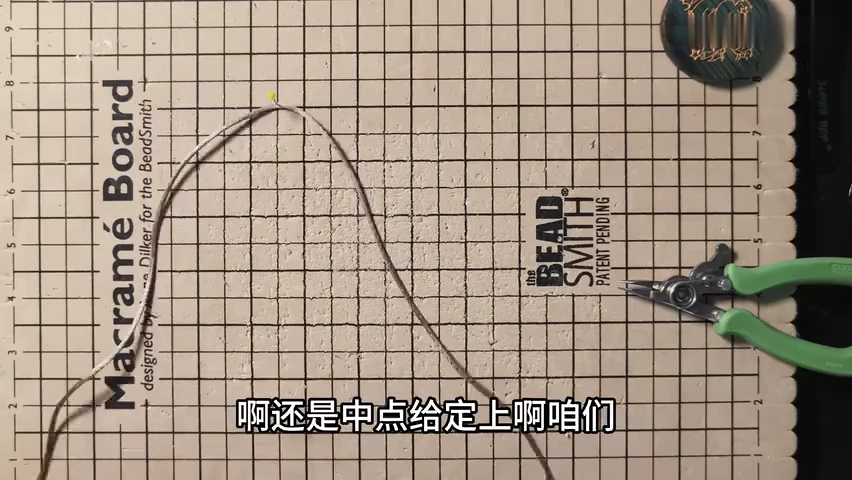
01. Pin the cord midpoint
Fix the middle of the cord near one end of the working area. Spread the two long working lengths apart.
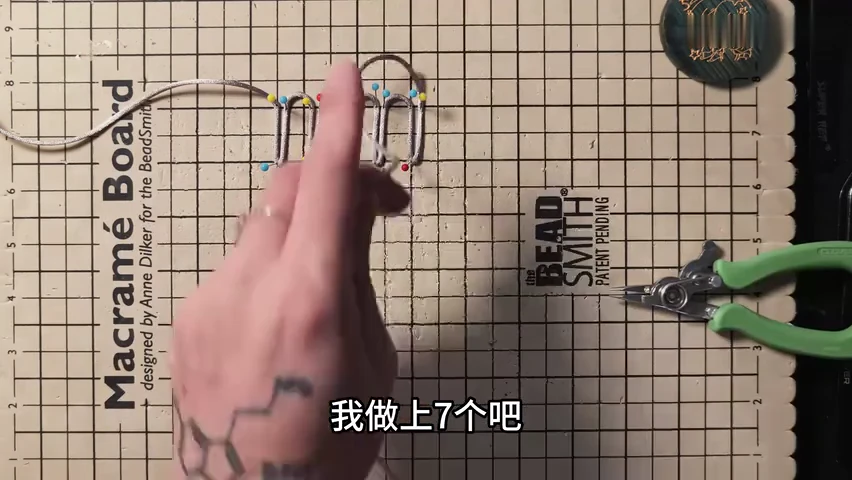
02. Begin the row of upright folds
Work the first repeated vertical folds across the board. Pin the top and bottom turns so the strands remain parallel.
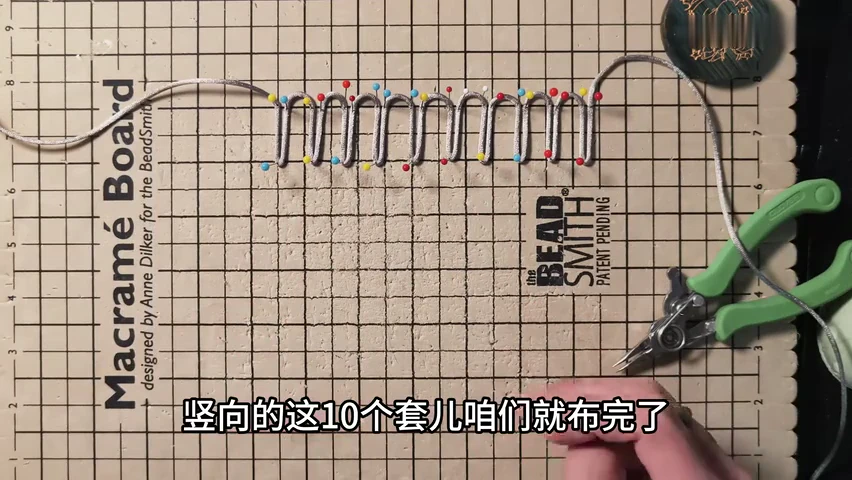
03. Complete the ten-fold row
Continue until the ten vertical folds are in place. Keep the row at an even height and leave the ends free.
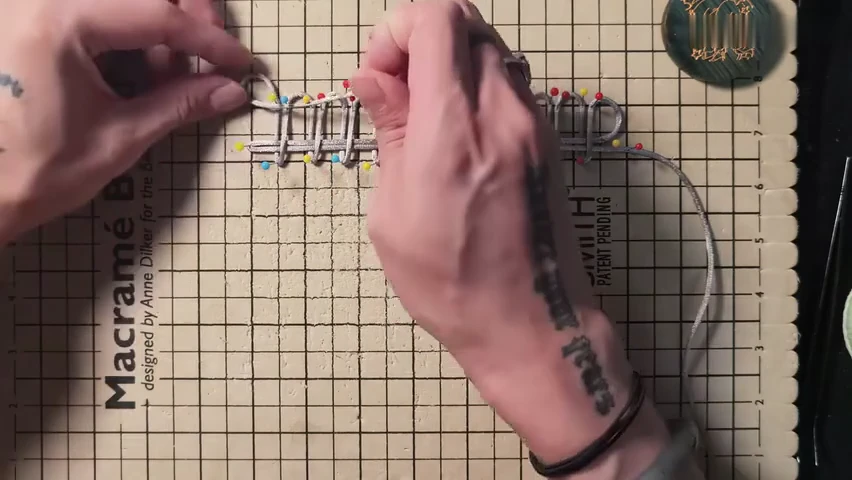
04. Work the first horizontal passage
Bring the next working length across the row of folds. Follow its entry and return while keeping the repeated openings visible.
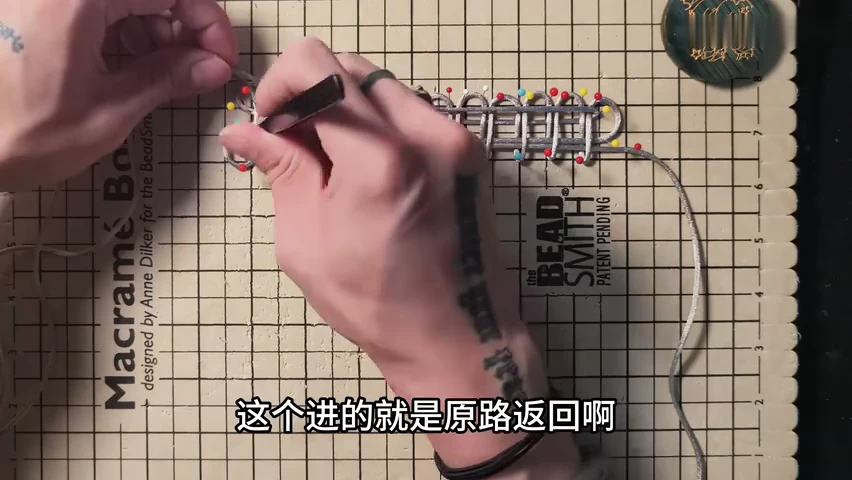
05. Return through the row
Continue the horizontal interlacing across the full band. Bring the end back through the existing route as demonstrated.
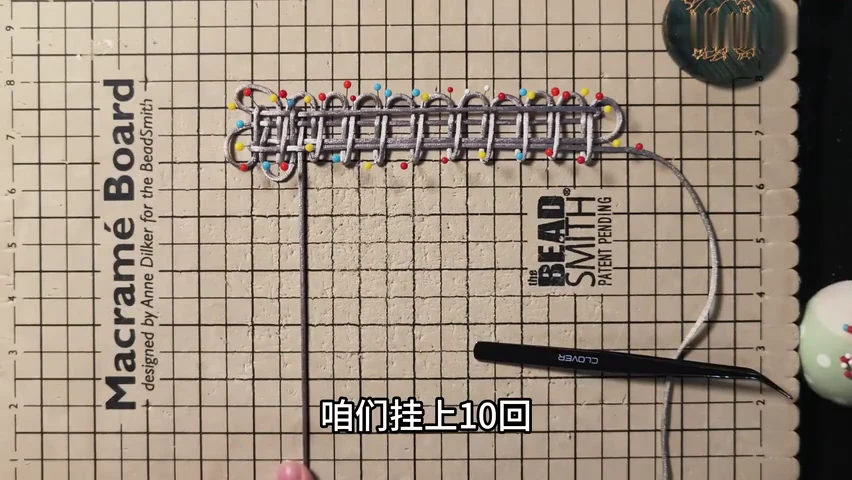
06. Inspect the completed long lattice
Check the repeated crossings along the full row. Keep both ends accessible and each outer fold open before releasing the pins.
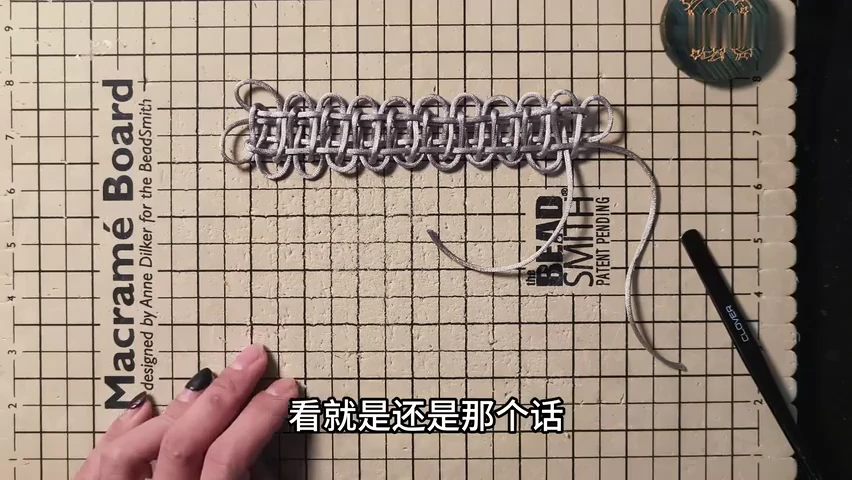
07. Release the band from its supports
Remove the pins carefully while supporting the loose lattice. Keep the row together so its repeated openings remain in order.
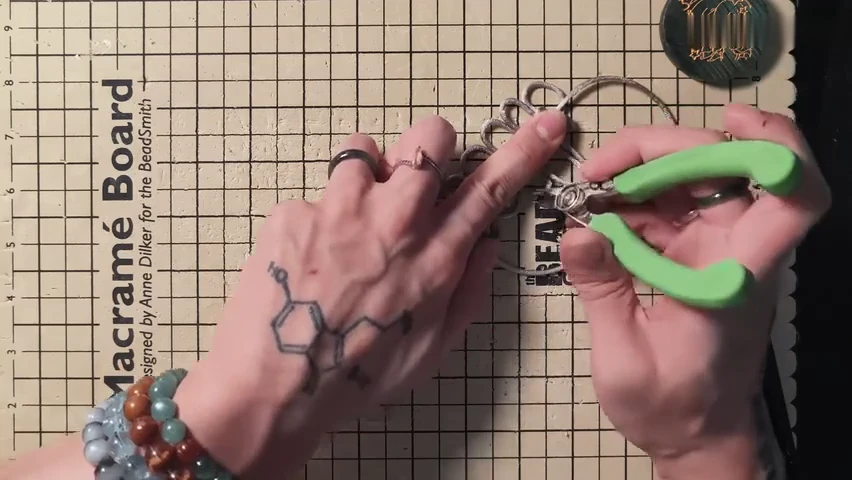
08. Close the repeated centre passages
Hold part of the band against the board and draw slack outward with the pliers. Work in small sections rather than compressing the whole length at once.
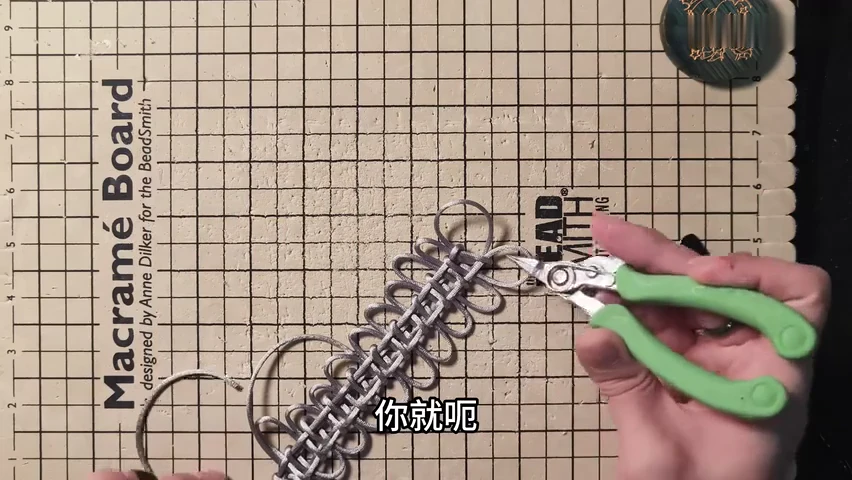
09. Continue along the neighbouring folds
Trace the same cord through the next openings. Reduce slack gradually while retaining an even width along the band.
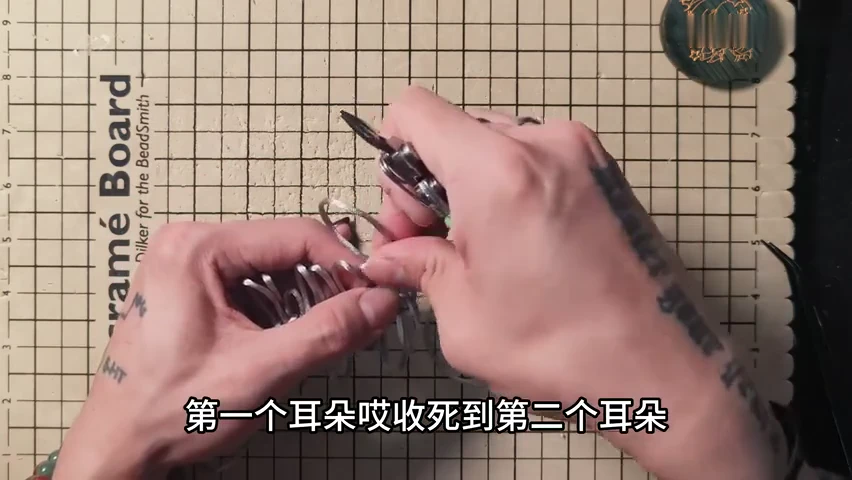
10. Transfer slack from one ear to the next
Lift the band into your hands. Follow the route from the first large fold into the second and continue in that order.
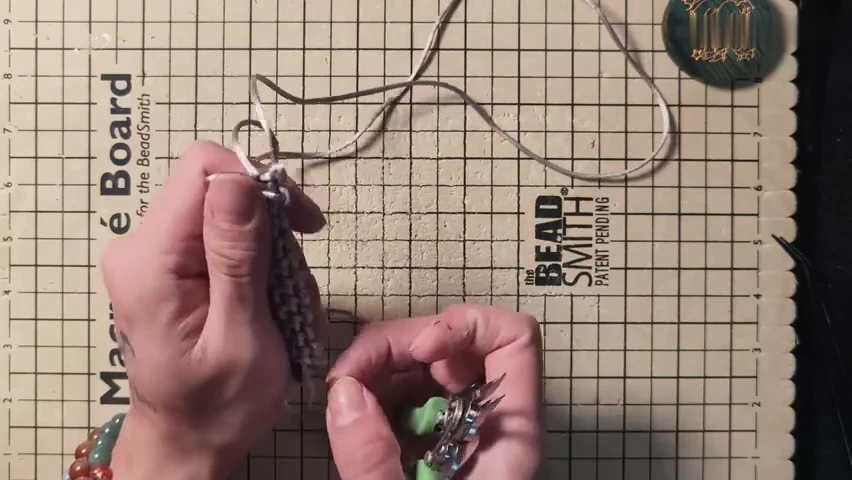
11. Reduce the remaining long loops
Continue the dressing sequence along the band. Straighten the repeated units as excess cord moves toward the ends.
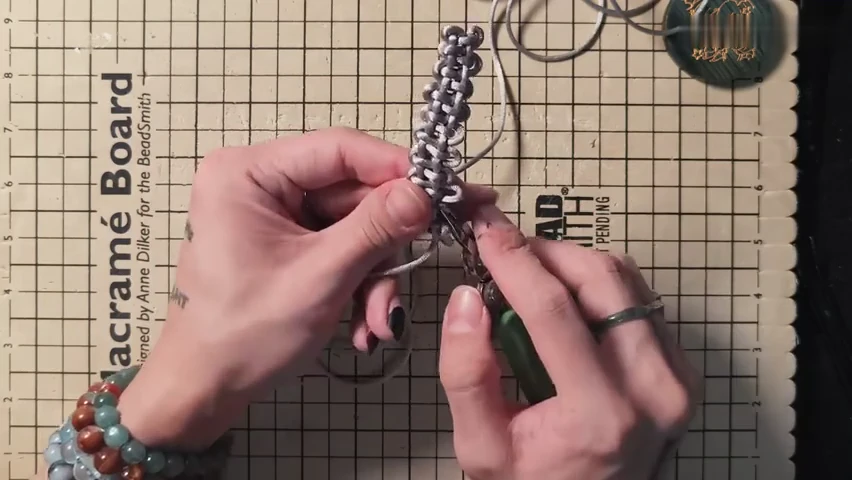
12. Balance the band along its length
Compare the widths of the repeated sections. Make small adjustments where a loop or crossing is larger than its neighbours.
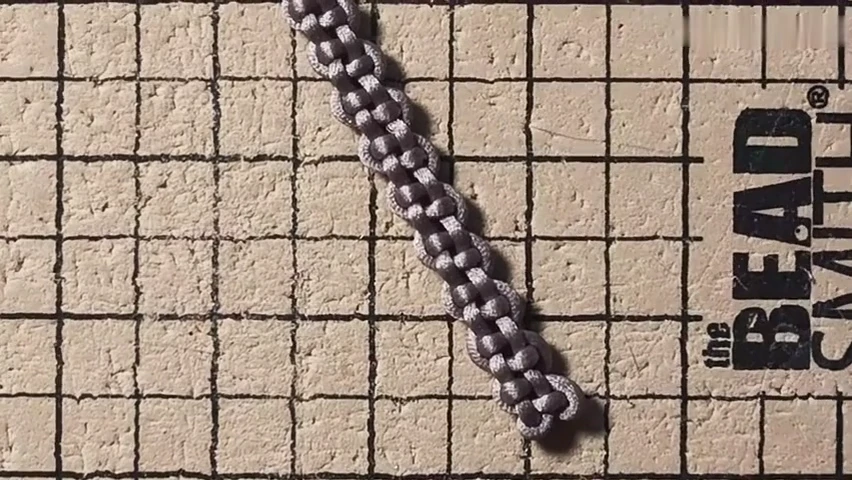
13. Inspect the final knotted strip
Lay the compact strip flat. Check that the repeated units form an even narrow band with distinct free ends.
Check your finished piece
- The repeated units form an even narrow strip.
- No large temporary loop remains among the repeated sections.
- The band lies flat without one section bunching or widening sharply.