
Basic knots · Lesson 13 of 18
Pipa Knot
Keep a small upper loop and build nested curves beneath it. The rounded lower body and narrow woven neck form the pipa-like pendant shown in the video.
琵琶结
1:54 demonstration. Pause and repeat each movement at your own pace.
Follow the cord, step by step.
Each image comes from this demonstration. Tap its time to replay the movement.
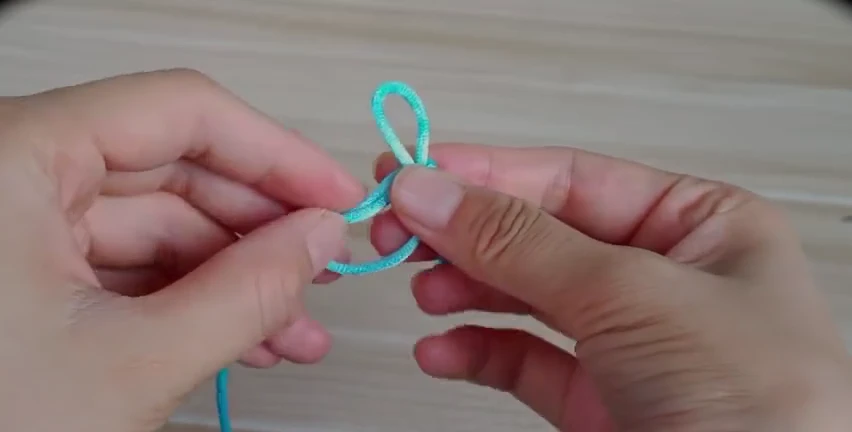
01. Keep the upper loop open
Hold the small upright loop at its base. Curve the working cord below it to begin the rounded lower part.
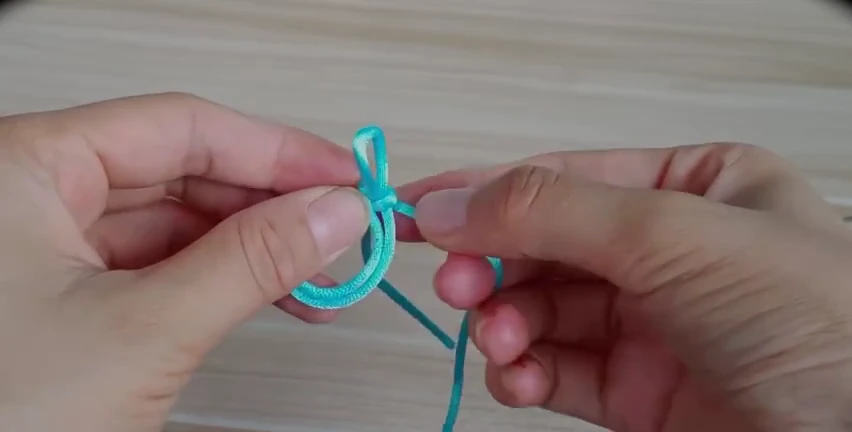
02. Add a nested curve
Lay the next curved strand alongside the first lower curve. Keep the arcs parallel and the small upper loop visible.
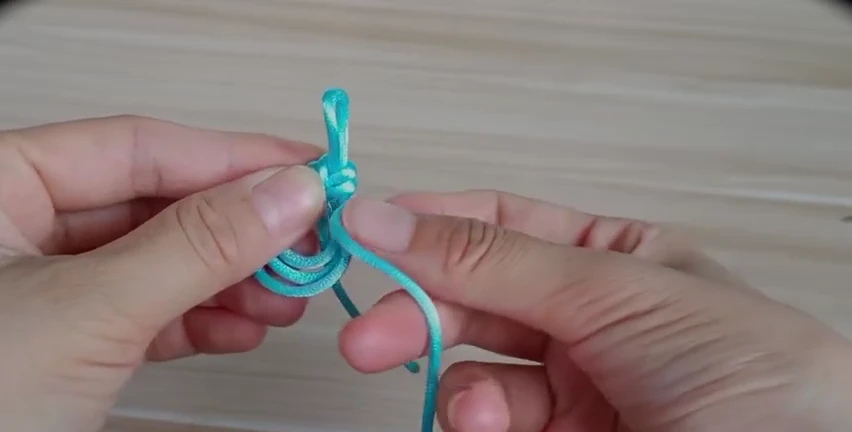
03. Seat the neck crossing
Hold the rounded curves while seating the new crossing at their upper edge. The exact passage is partly behind the thumb; follow 23–32 seconds in the video.
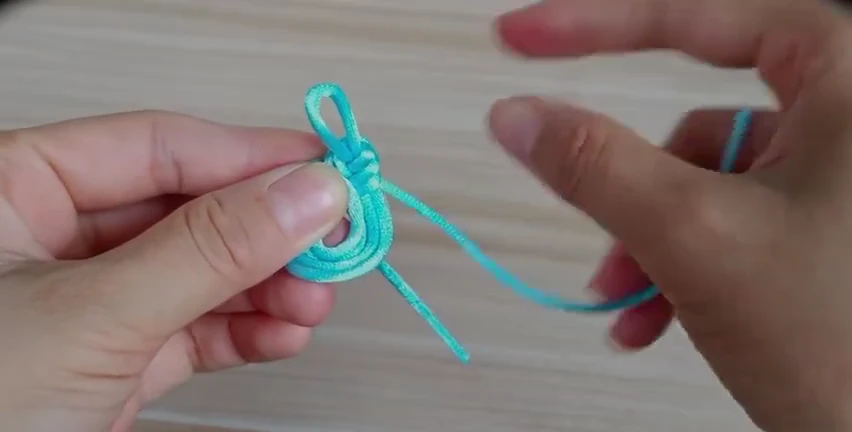
04. Build the layered body
Continue the same demonstrated wrap-and-seat movement. Let each new curve sit neatly beside the previous curve rather than stacking it out of the plane.
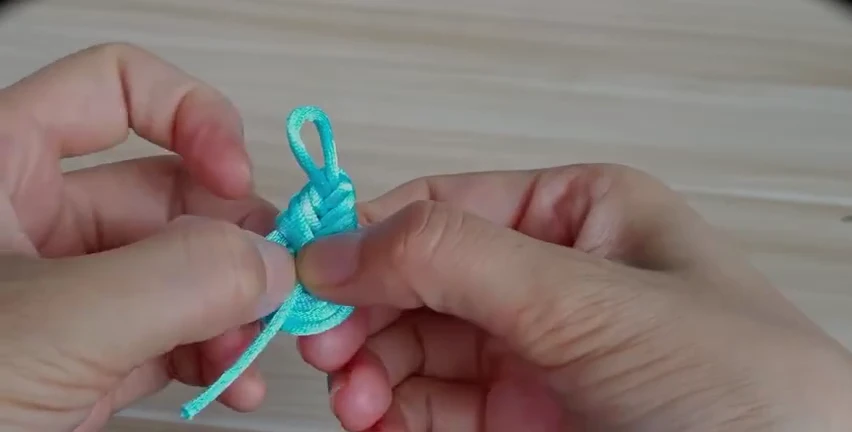
05. Guide the end through the body
Keep the nested curves open while moving the short working end toward the lower body. Follow 69–89 seconds for the entry, which is hidden during part of the movement.
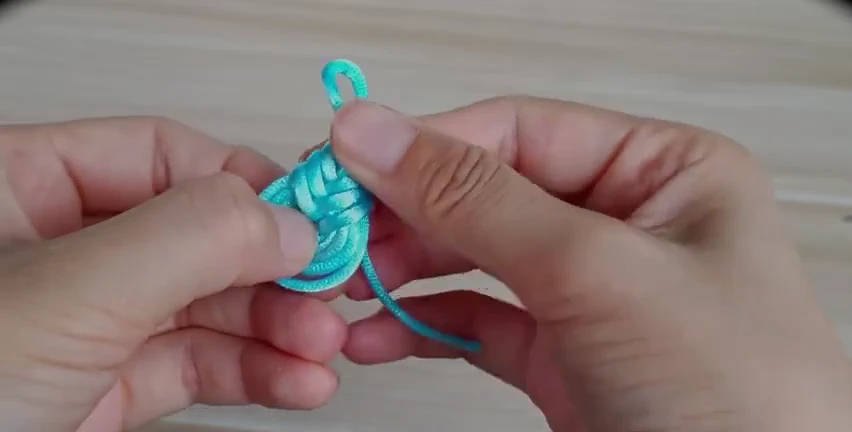
06. Tidy the nested curves
Draw slack through the curves gradually and adjust their spacing. Keep the rounded outline below the narrow woven neck.
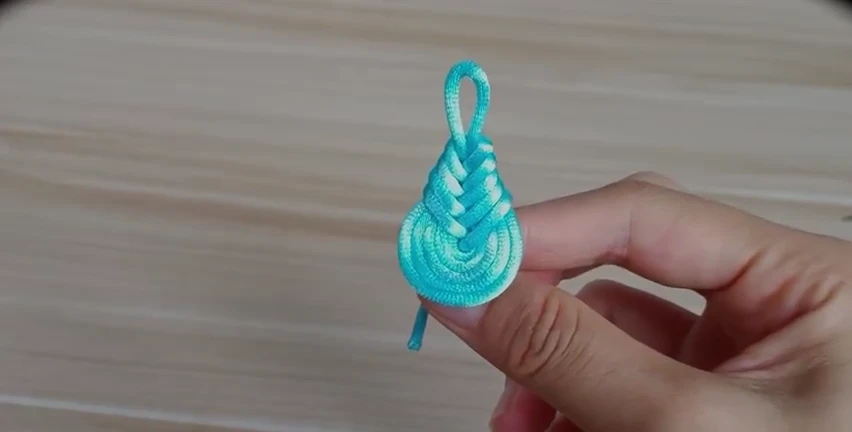
07. Compare the finished pipa shape
Check the small top loop, narrow neck and rounded teardrop body. Make the nested lower curves lie together before attaching the ornament.
Before you move on
- A small hanging loop remains at the top.
- The neck is narrower than the rounded lower body.
- The nested curves lie close together without a protruding loose arc.