
Chinese Knot
Xiu Qiu Knot
Join five clover units into a flat open network. The source keeps the neighbouring ears linked on the board, then dresses the connecting loops; a short second part compares the result made with flat cord.
绣球结
24:59 in total. Parts continue in order. Use English subtitles to switch captions on or off.
Follow the making process.
These checkpoints come from the demonstration. Replay the movement before tightening a hidden crossing.
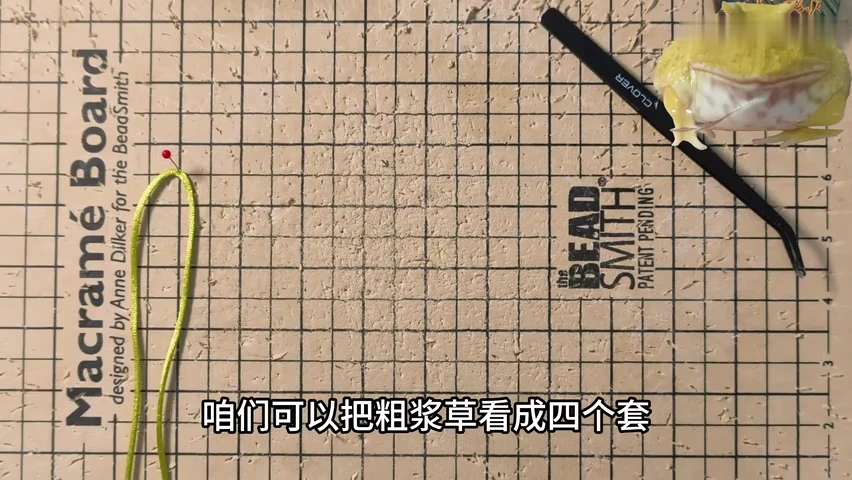
01. Pin the upright starting fold
Fold the cord and secure the standing loop. Keep the two working lengths available below it.
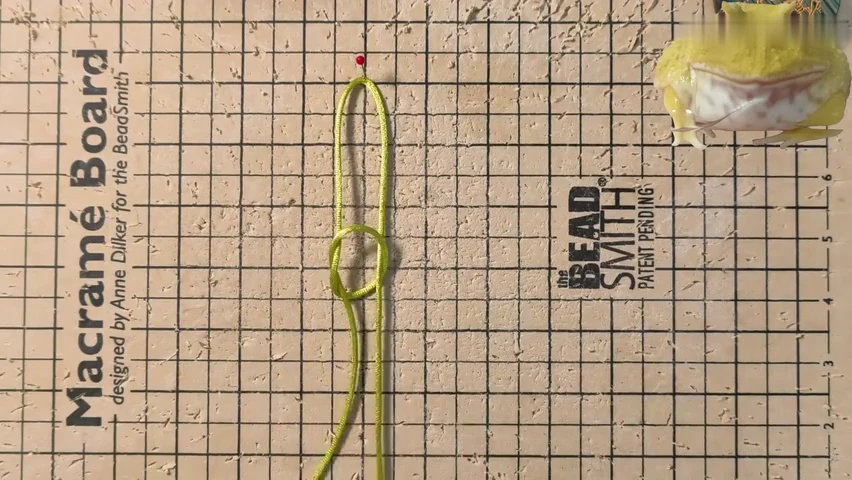
02. Begin the first clover crossing
Form the first small crossing and its open fold. Keep it loose while preparing the neighbouring unit.
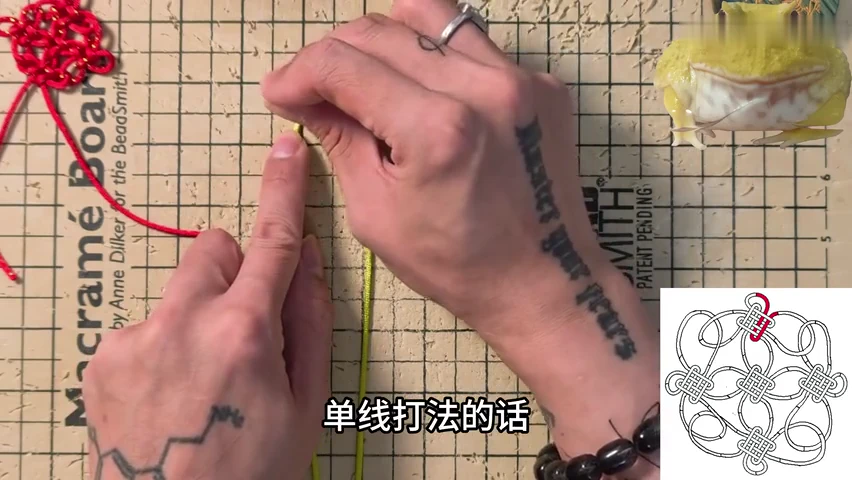
03. Follow the linked-clover diagram
Compare the first unit with the highlighted diagram. Keep the shared ear positions visible rather than tightening each unit separately.
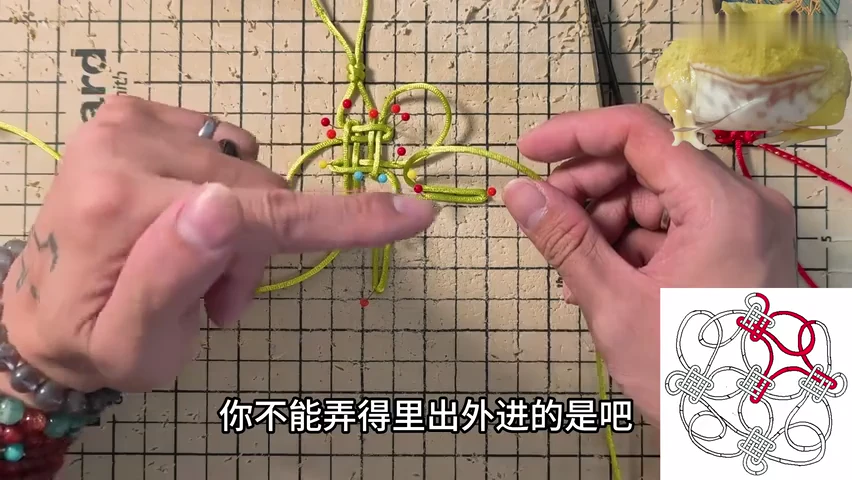
04. Build the first adjoining side
Continue the route into the neighbouring clover. Maintain the linking folds between units while pinning their outer turns.
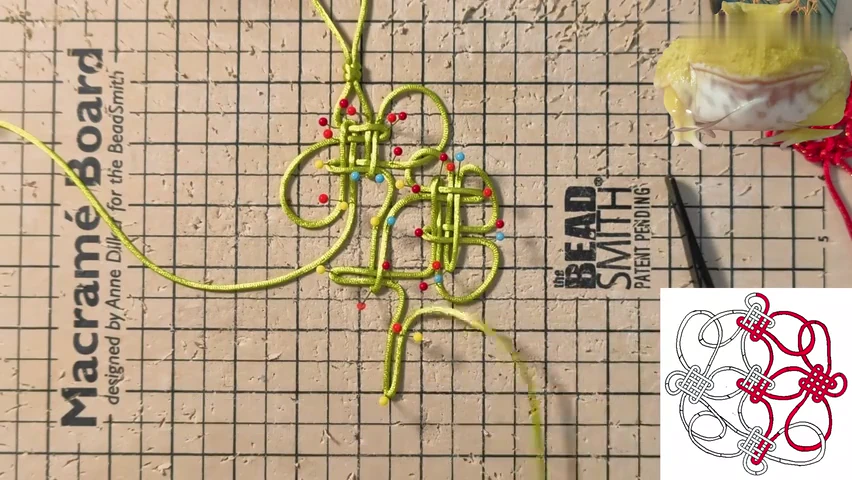
05. Complete the right-side unit
Check the right-hand clover crossing and its shared ears. Leave its lower opening available for the returning route.
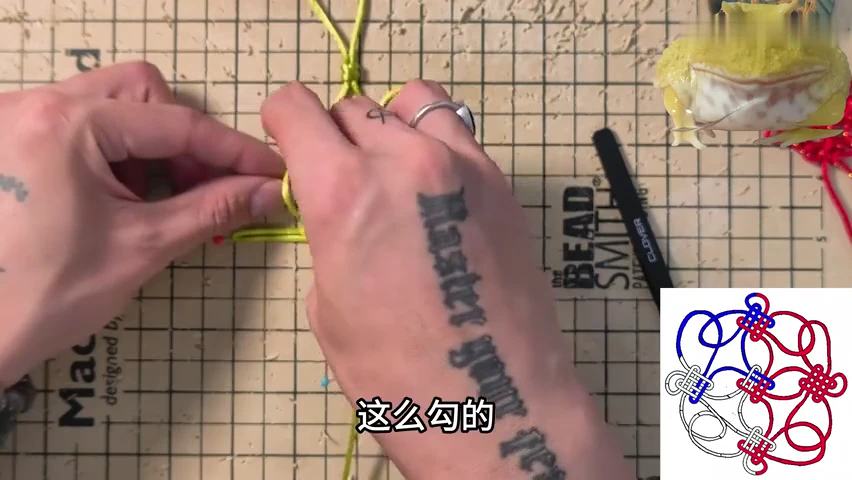
06. Work around the lower units
Continue the clover returns around the lower part of the network. Follow the diagram as the route changes direction.
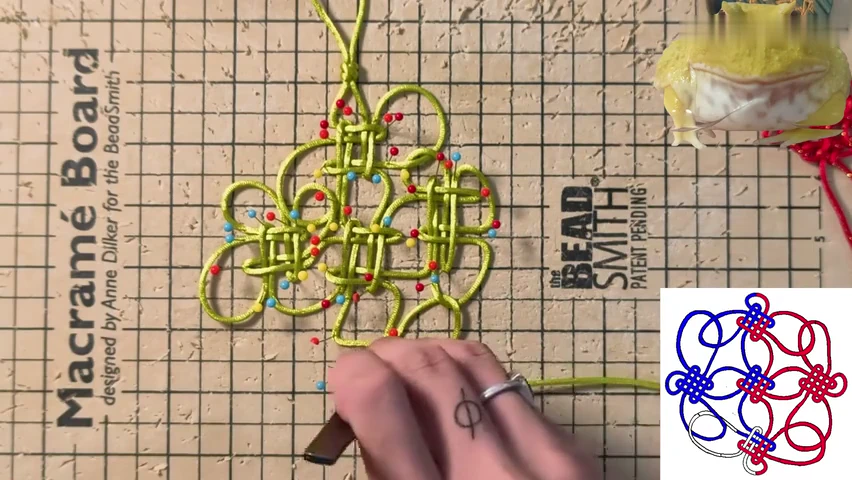
07. Close the remaining interlacing
Place the last linked passages through the existing arrangement. Keep the shared ears broad enough to inspect.
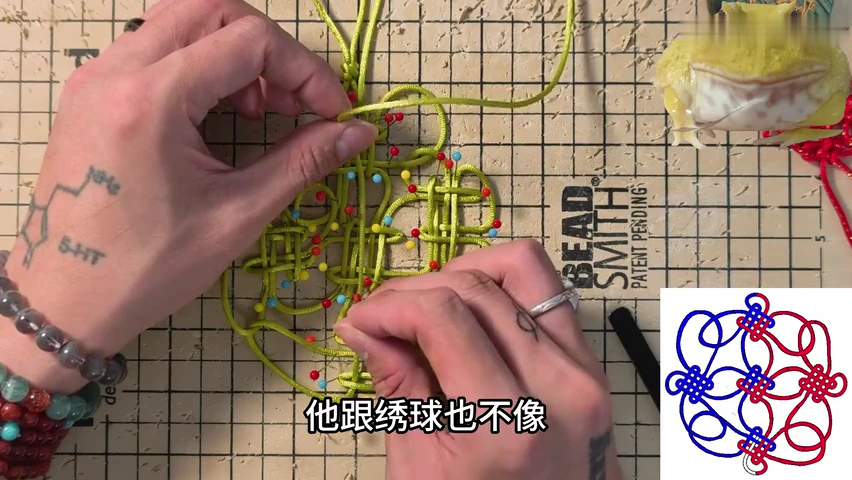
08. Inspect the complete pinned network
Trace the five clover units and their links against the completed diagram. Check the working ends before releasing supports.
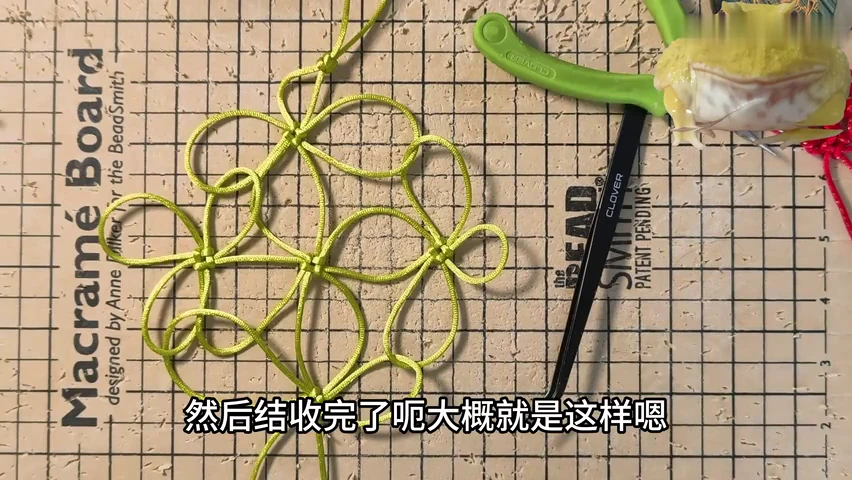
09. Release and spread the network
Remove the pins and draw the shared loops outward. Keep the central and outer units connected while opening the flat layout.
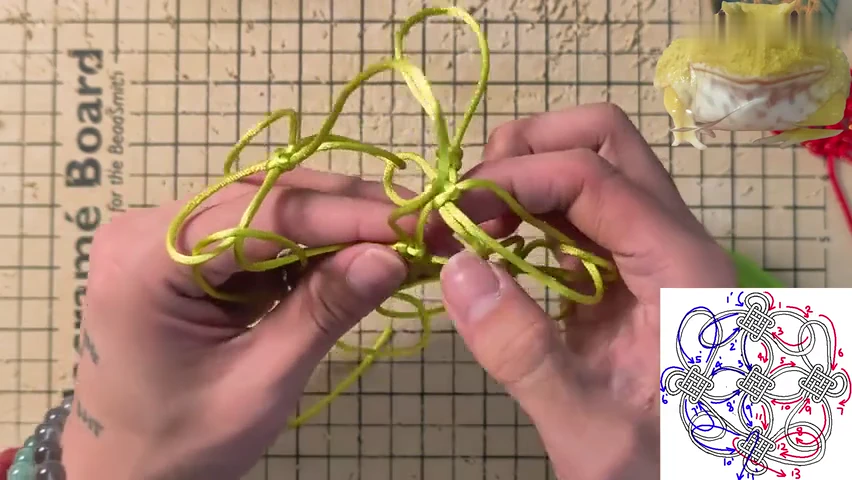
10. Dress the shared ears
Lift the network and follow slack through the linked loops. Reduce oversized connections gradually so adjacent units remain balanced.
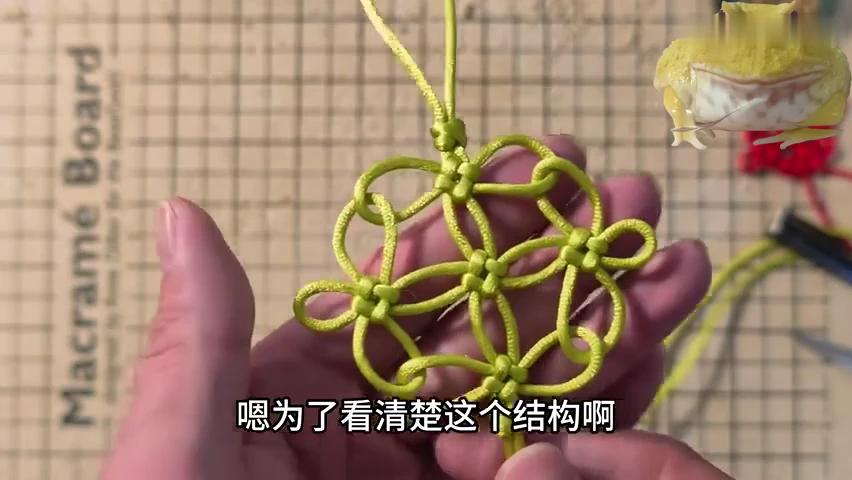
11. Check the flat open outline
Hold the lime-green result toward you. Balance the clover crossings and the open links between them.
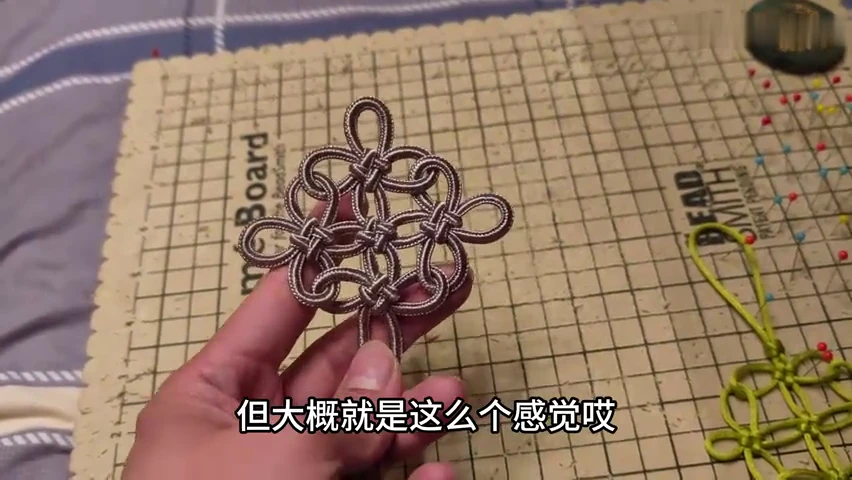
12. Compare the flat-cord result
Inspect the grey flat-cord sample beside the round-cord version. The short second part compares the finished outlines rather than demonstrating a new tying route.
Check your finished piece
- Five clover units remain linked in a flat network.
- The shared ears form clear open spaces between units.
- The outer loops and standing loop retain a balanced outline.