
Chinese Knot
Pan Chang Butterfly Knot
Combine a two-return Pan Chang centre with double-coin wings. Keep the wing passages loose while weaving the centre, then dress the lattice and balance the upper and lower curves of the butterfly.
盘长蝴蝶结
29:32 in total. Parts continue in order. Use English subtitles to switch captions on or off.
Follow the making process.
These checkpoints come from the demonstration. Replay the movement before tightening a hidden crossing.
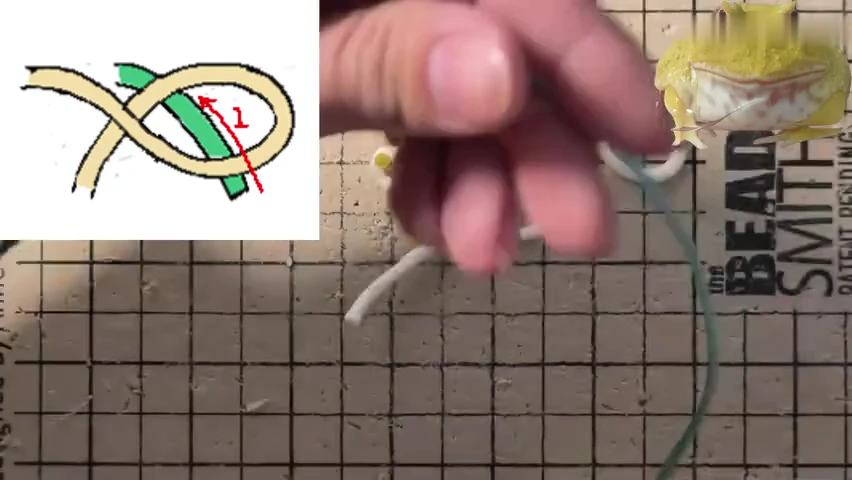
01. Study the double-coin wing passage
Follow the small wing diagram and the loose paired loop. Keep its curved passages open before adding them to the centre.
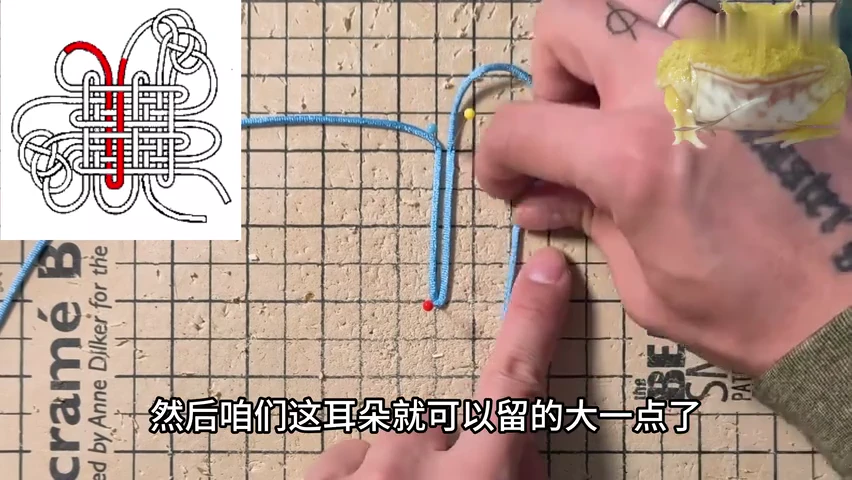
02. Pin the first centre folds
Lay the blue upright folds on the board. Keep a larger outer fold for the upper wing.
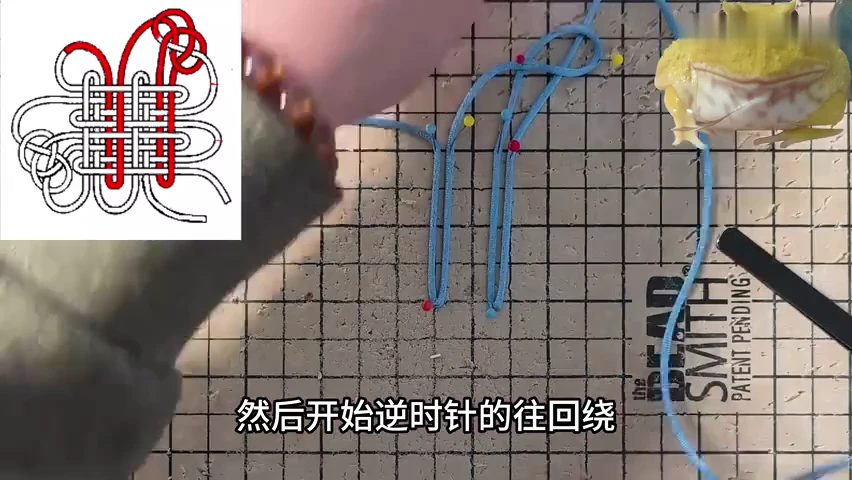
03. Turn the outer fold into a wing
Bring the long fold around the shown wing route while holding the centre strands in position.
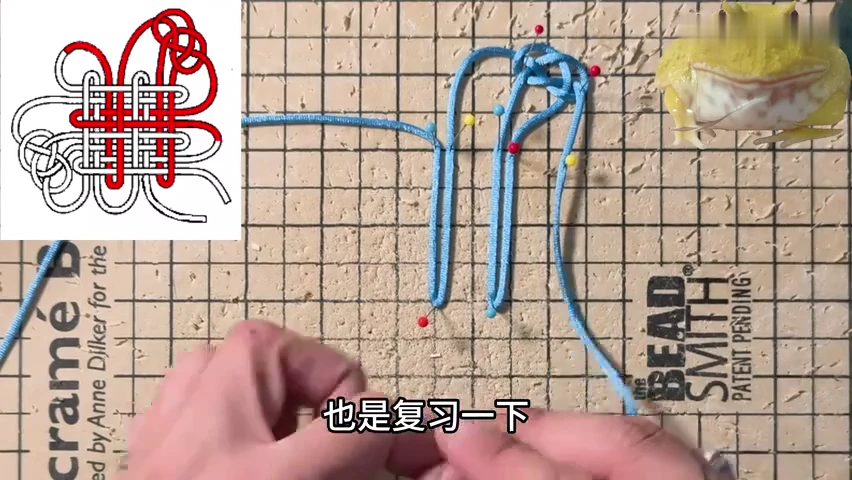
04. Complete the first double-coin wing
Finish the wing return through its earlier crossing. Keep the paired curves loose as the centre route continues.
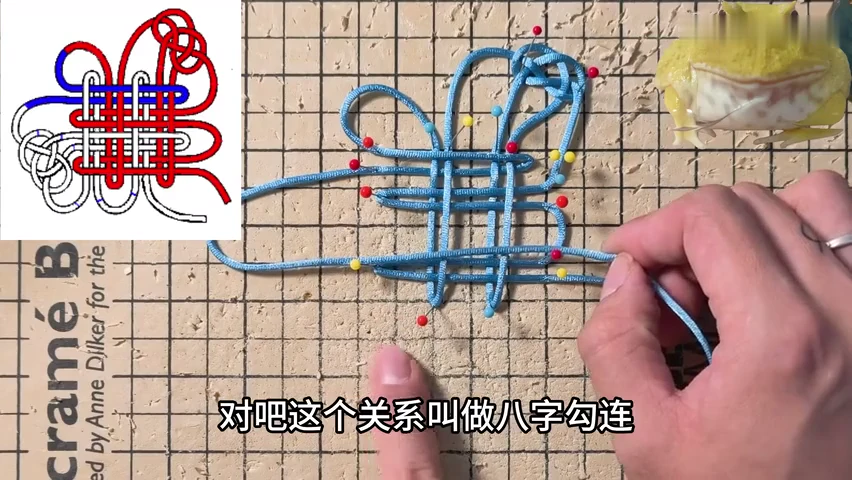
05. Weave the horizontal centre passages
Bring the working length across the pinned upright folds. Check the open lattice before returning toward the other wing.
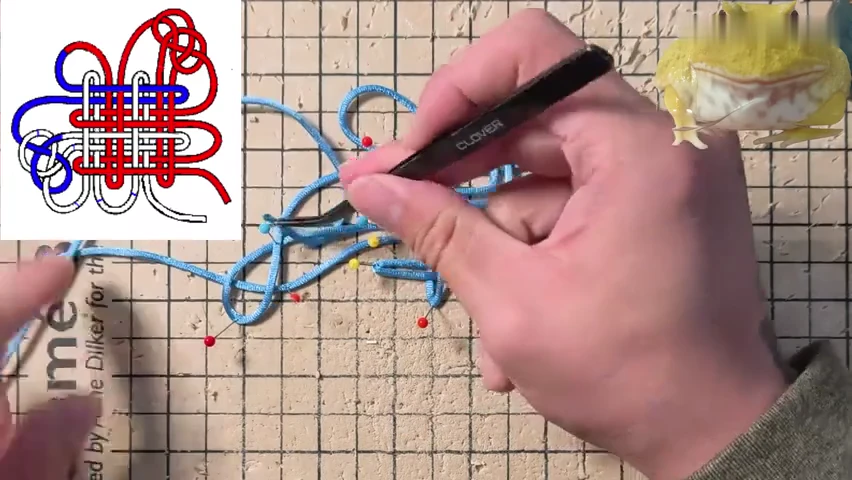
06. Build the opposite wing
Follow the highlighted return through the opposite large folds. Keep its curves distinct from the centre lattice.
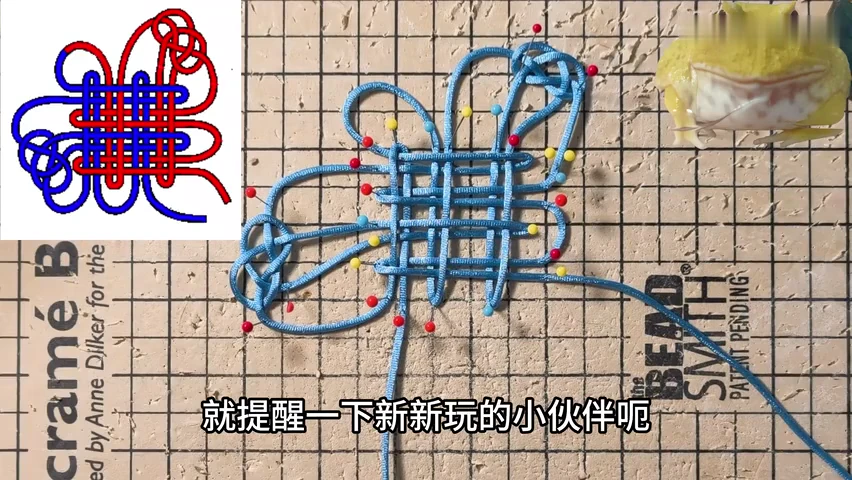
07. Check the complete pinned butterfly route
Compare the wing crossings and centre with the full diagram. Keep all outer curves open before removing the pins.
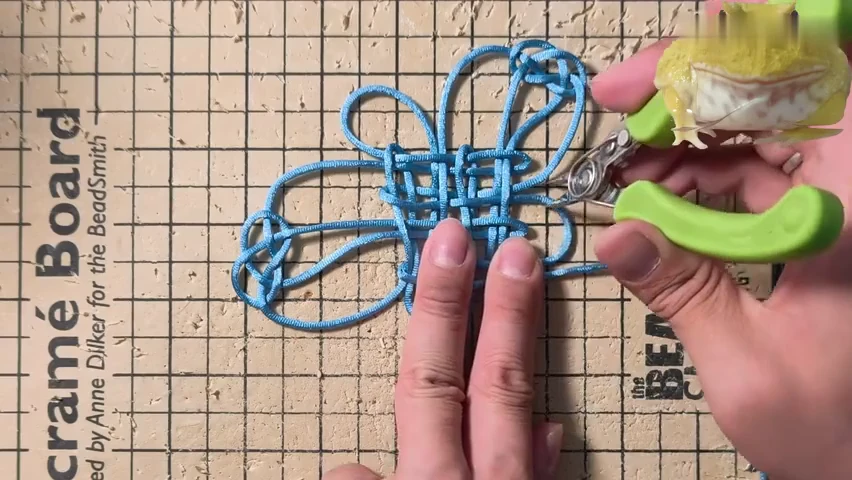
08. Release the supports
Hold the centre down and draw the indicated folds outward. Preserve the double-coin wing crossings as the woven face begins to close.
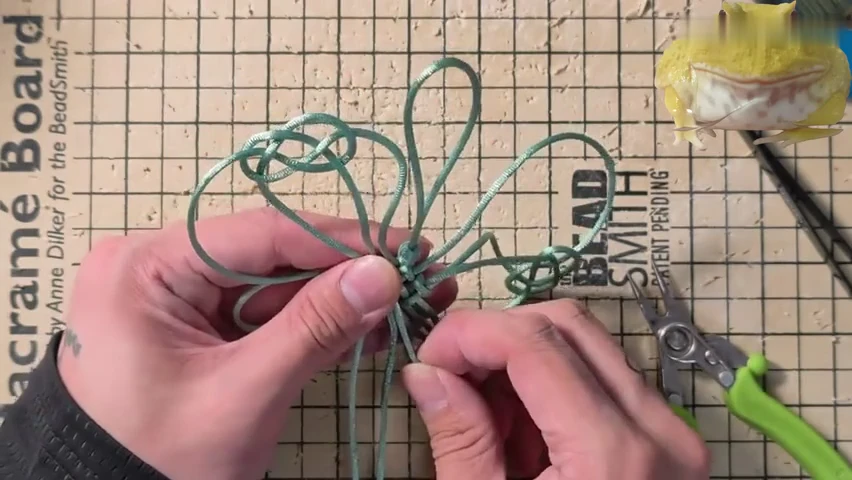
09. Dress the compact centre
Transfer slack through the centre in small stages. The later green practice sample shows the same adjustment process.
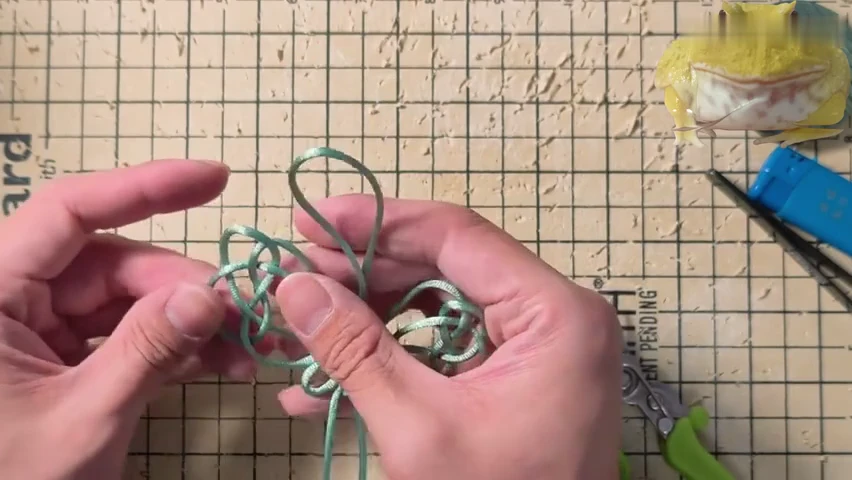
10. Balance the wing curves
Adjust the long upper arcs and smaller lower curves on each side. Compare their sizes while keeping the centre flat.
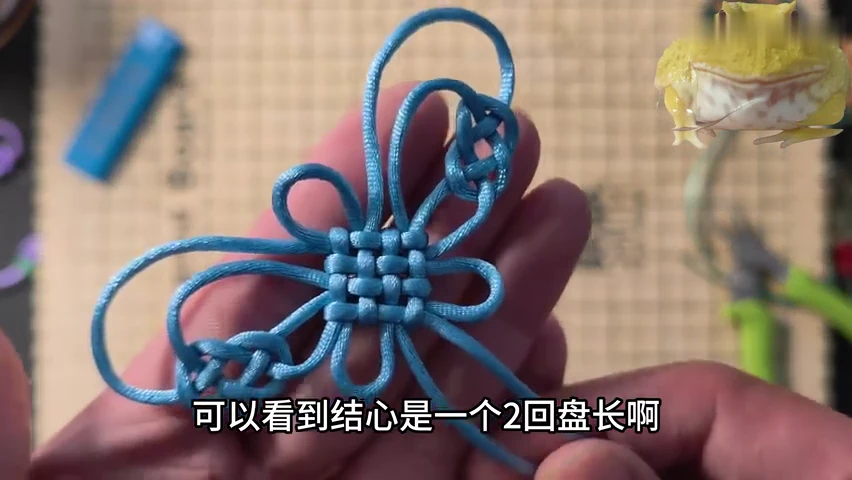
11. Inspect the finished butterfly
Hold the blue finished knot toward you. Check the paired wing outlines, small top and bottom loops and compact woven centre.
Check your finished piece
- A compact woven centre holds the wing passages.
- Upper and lower wing curves are distinct on both sides.
- Opposite wings are balanced and no large temporary fold remains.