
Basic knots · Lesson 14 of 18
Three-Loop Clover Knot
Form three open loops around a small central knot, then draw the slack through gradually to create the compact clover shown at the end.
三耳酢浆草结
1:44 demonstration. Pause and repeat each movement at your own pace.
Follow the cord, step by step.
Each image comes from this demonstration. Tap its time to replay the movement.
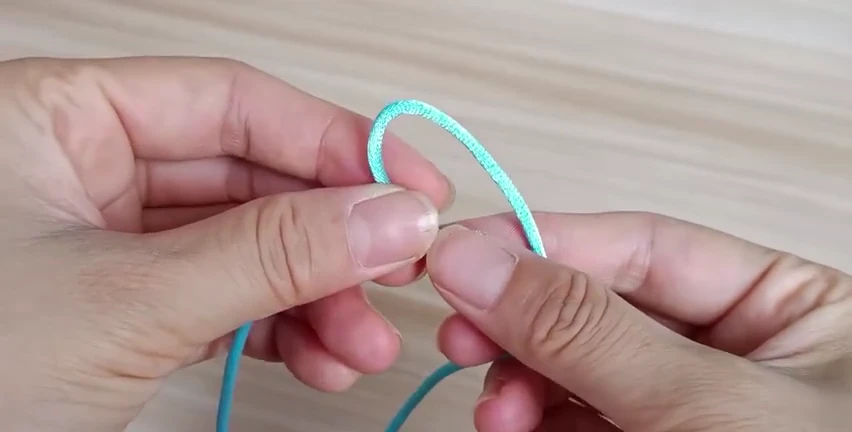
01. Fold the first loop
Fold the cord and hold an open upper loop. Pinch its base while leaving the loose strands free to move.
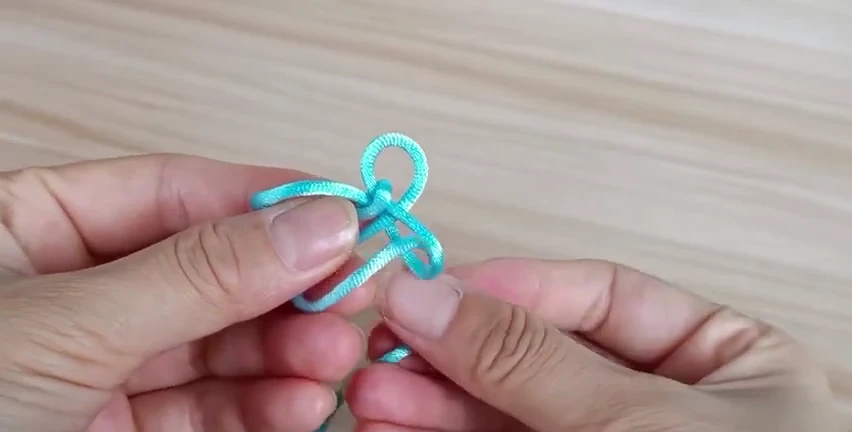
02. Leave the crossing loose
Bring the working cord around the pinched center. Keep the upper loop and the lower opening loose so the next passage can be checked.
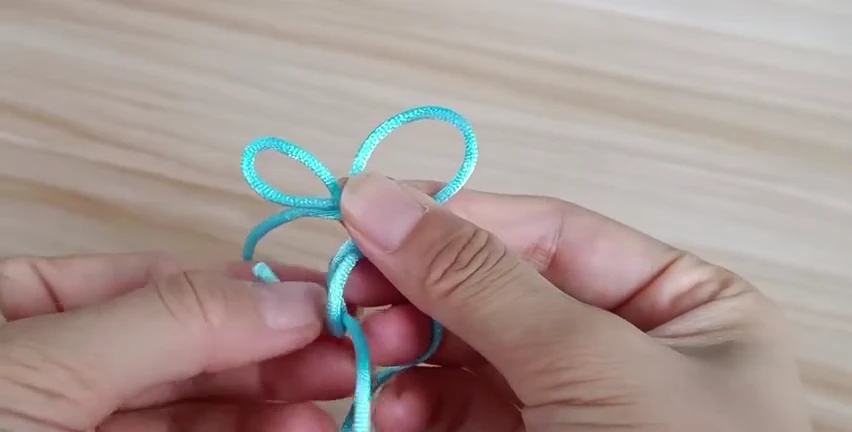
03. Arrange the three openings
Spread the upper and side loops while holding the center. The third opening is still loose below; do not tighten it away.
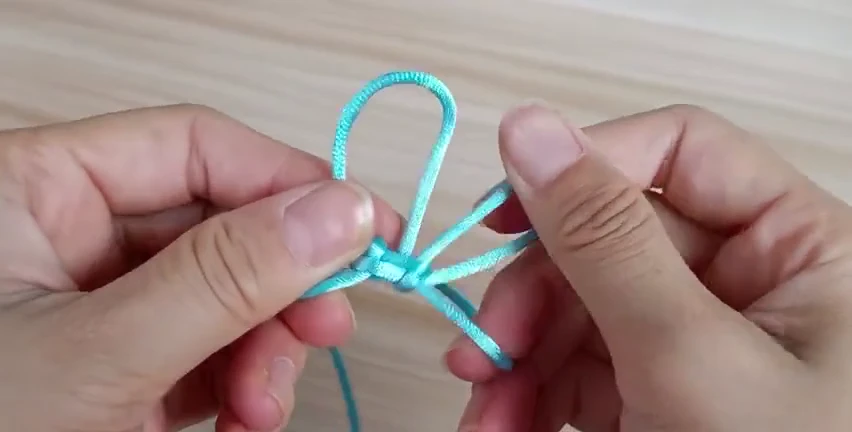
04. Close the central crossing
Move the working strand through the center as demonstrated and begin drawing the crossing together. Replay 27–40 seconds for the finger-covered entry.
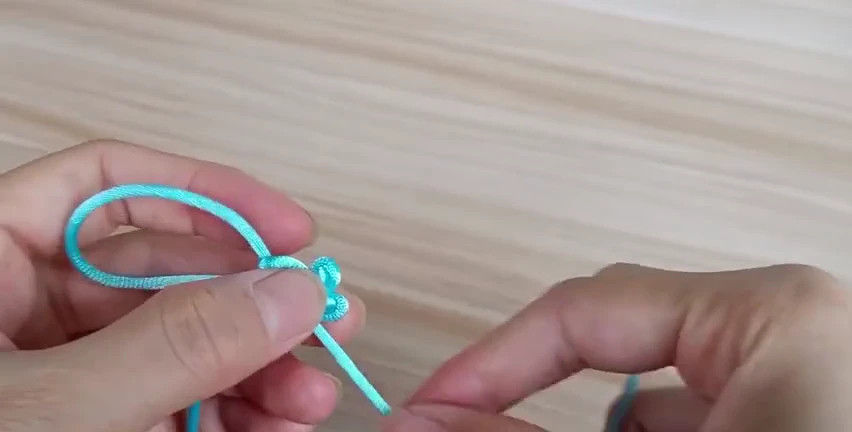
05. Feed slack through the loops
Hold the center and reduce the large temporary loops one at a time. Transfer slack along the cord instead of pulling only the two tails.
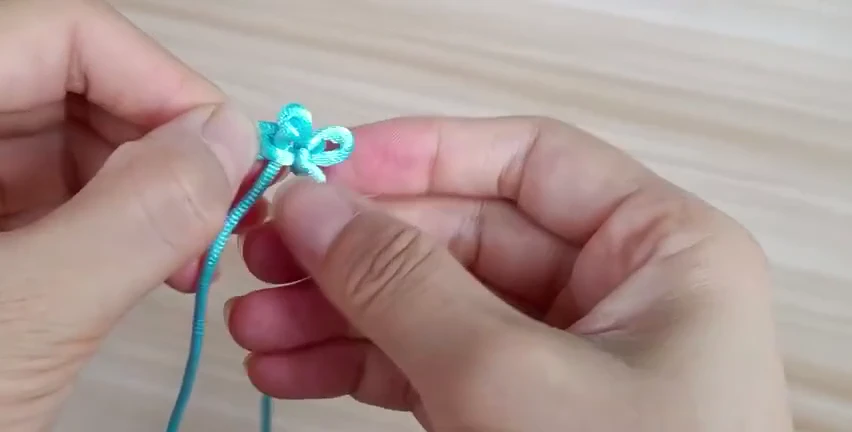
06. Balance the three ears
Adjust the three remaining loops around the compact center. Pull small amounts through neighboring sections until their sizes look balanced.
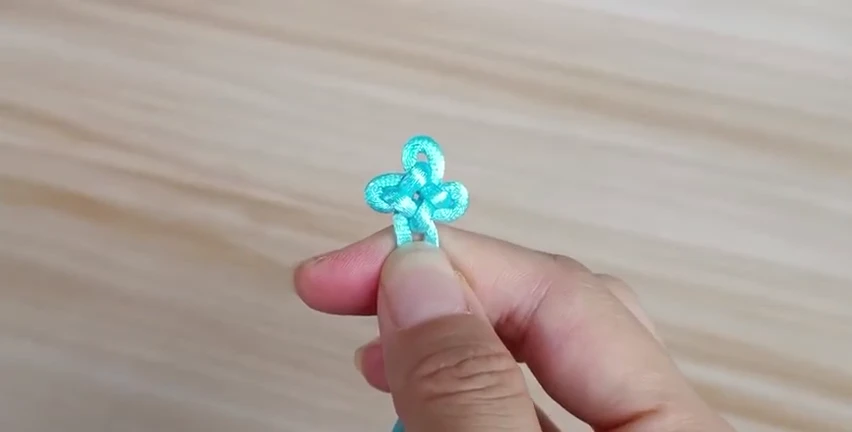
07. Check the clover outline
Compare the final three-loop shape with the demonstration. Keep the center compact and let the two tails leave together beneath it.
Before you move on
- Three main loops surround the small center.
- The loops have similar visual size after dressing.
- The two tails leave below the center without a large temporary loop.