
Chinese Knot
Fa Lun Wheel Knot
Build a wheel-shaped network around a small Pan Chang hub. The outer units stay open while the hub is woven; the closing sequence then draws the linked ears into a radial ring. Part of that source sequence is shown at 13 times normal speed.
法轮结
20:51 in total. Parts continue in order. Use English subtitles to switch captions on or off.
Follow the making process.
These checkpoints come from the demonstration. Replay the movement before tightening a hidden crossing.
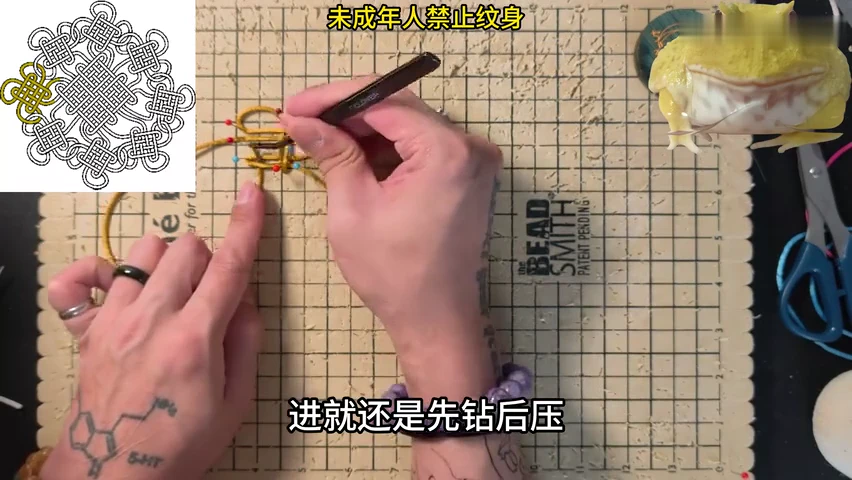
01. Begin the linked outer row
Lay the first open outer unit and its connecting fold. Keep each repeated crossing supported on the board.
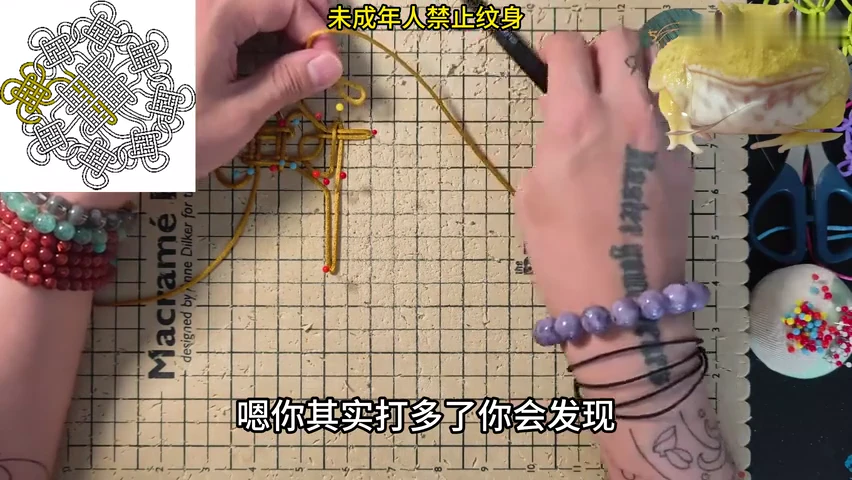
02. Continue the neighbouring units
Work along the row, linking the next unit through the shared ear. Keep the lower long folds open for the later centre.
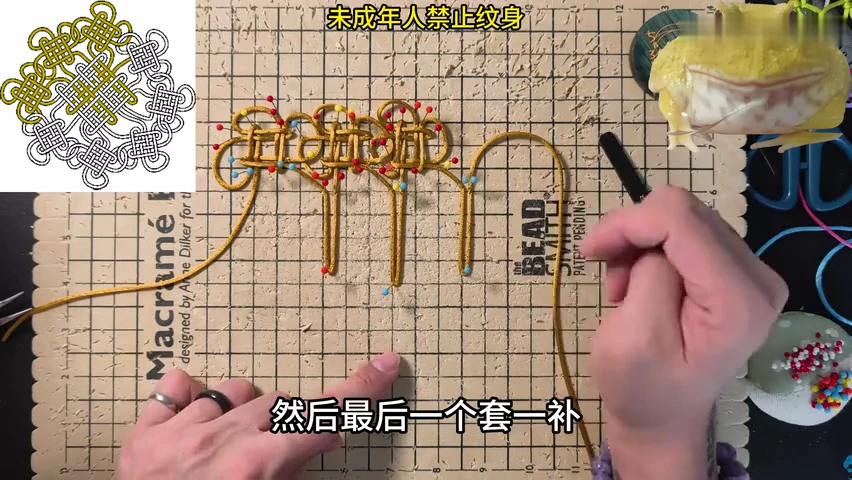
03. Finish the outer-unit row
Complete the last return in the row. Trace the connections and keep the working lengths separated.
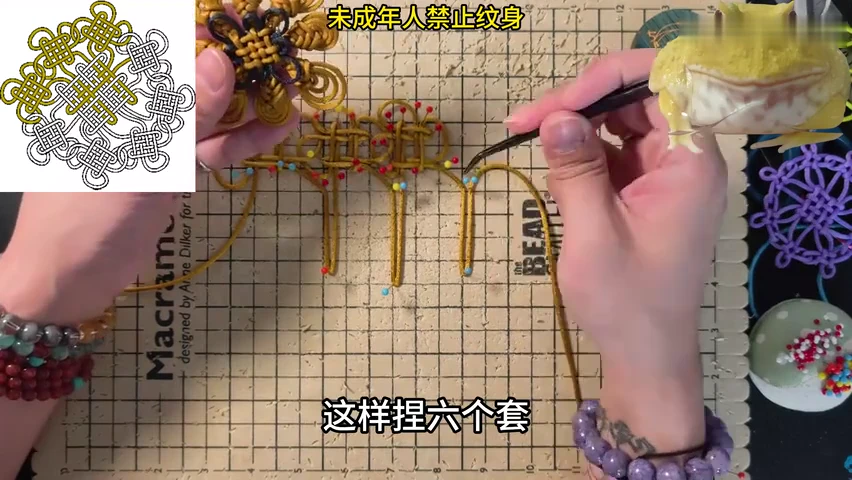
04. Draw out the six long folds
Identify and open the six folds named in the demonstration. These loose passages support the next arrangement around the hub.
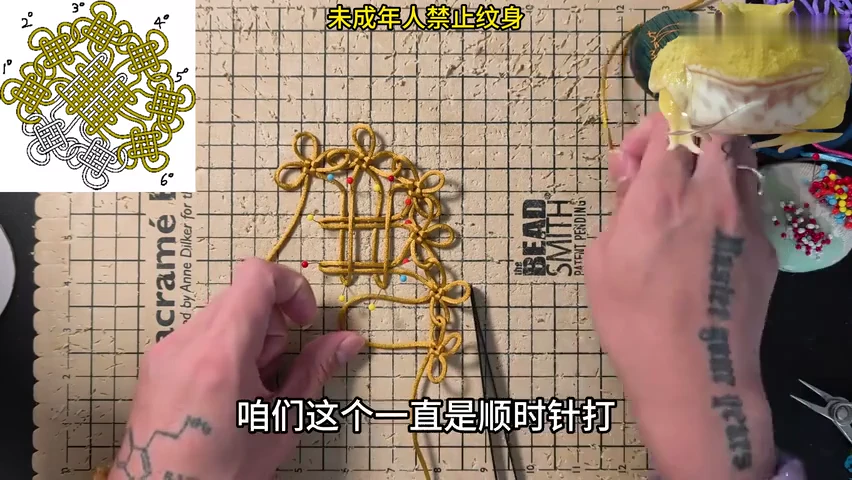
05. Turn the outer row around the centre
Bring the linked units into the surrounding outline. Arrange the long folds so the centre can be woven without closing the outer ring.
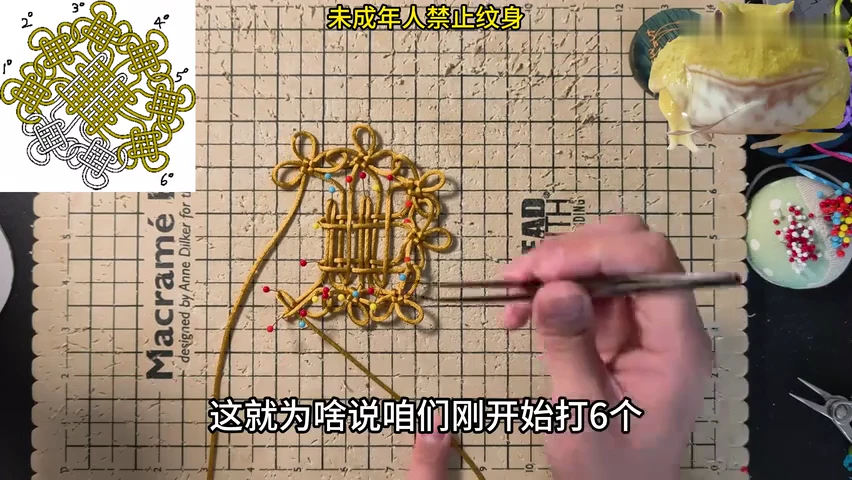
06. Weave the first hub route
Work the upright and returning passages through the central arrangement. Keep the open perimeter supported by pins.
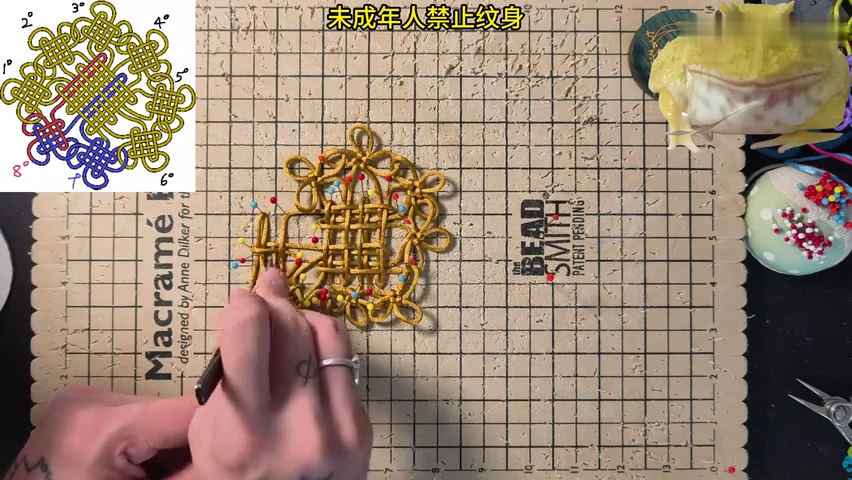
07. Complete the returning hub route
Follow the blue-highlighted return through the central crossings. Check the finished loose lattice and its connections to the outer units.
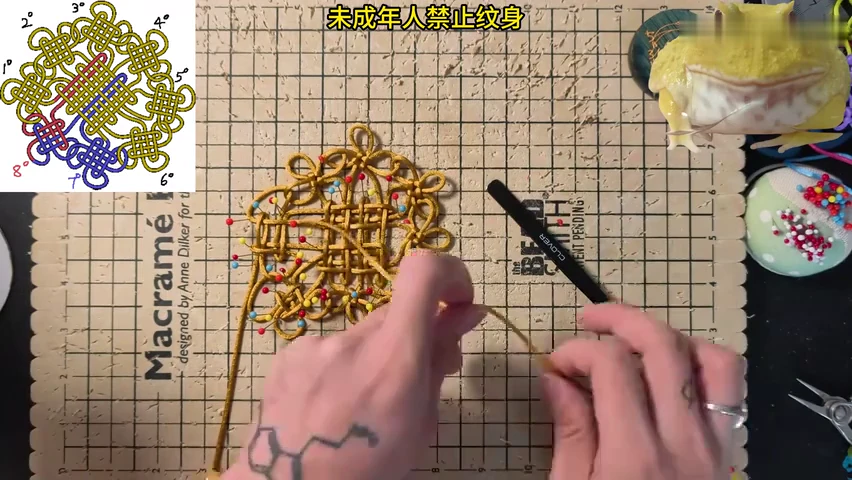
08. Release the pinned wheel structure
Support the centre while removing pins. Draw the indicated folds outward without losing the shared outer connections.
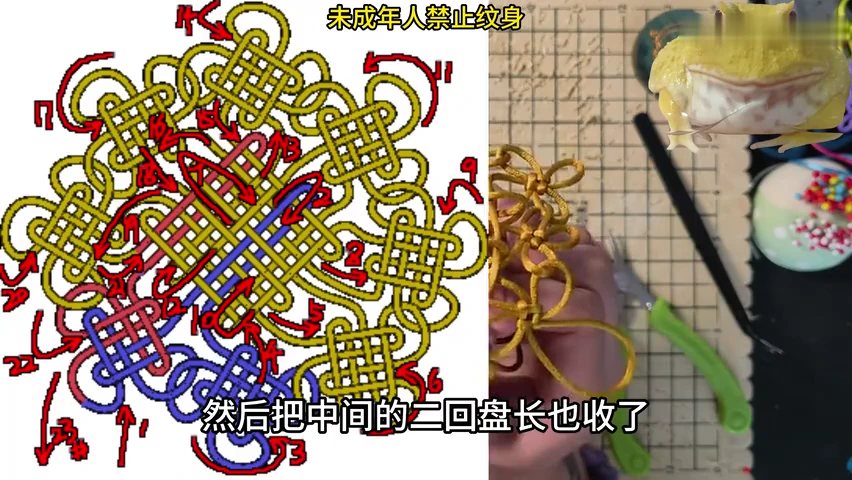
09. Close the woven hub first
Follow the enlarged diagram and begin compacting the small Pan Chang centre. Keep the surrounding ring of loops available for dressing.
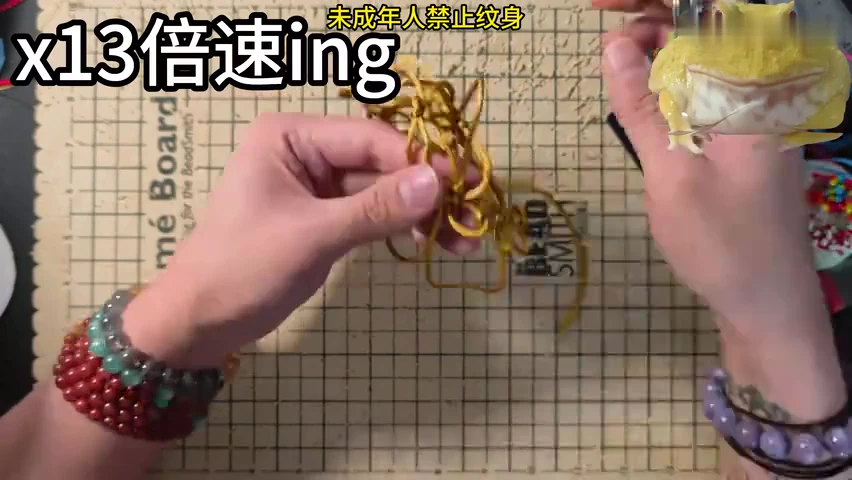
10. Follow the accelerated closing sequence
Use the route diagram to trace the surplus cord through the outer folds. This source passage is sped up 13 times; pause it to inspect each change.
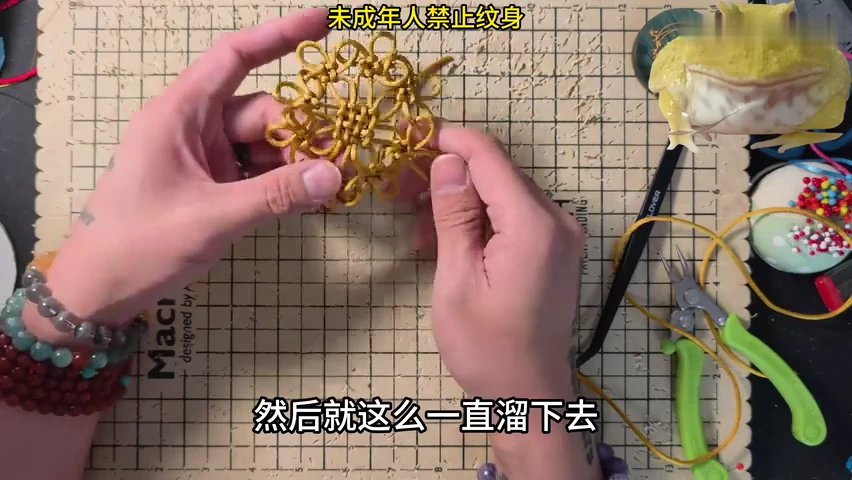
11. Continue around the outer ring
Transfer the remaining slack along the linked ears. Compare neighbouring units while keeping the compact hub centred.
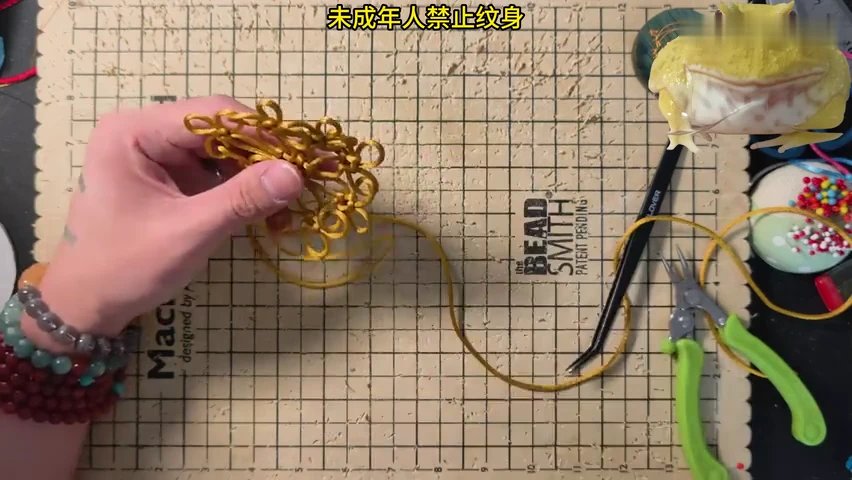
12. Inspect the finished radial network
Balance the open ring around the woven hub. Straighten the repeated outer units and separate the free ends.
Check your finished piece
- The woven hub remains compact at the centre of the radial network.
- The repeated outer units and shared openings are balanced.
- The source includes 13-times-speed closing footage; check the cord route and final shape rather than trying to match that hand speed.