
Chinese Knot
Tong Xin Knot
Weave a Pan Chang face, add the small clover detail below it, then turn the longer outer loops into a heart outline. Close-up passages show the lark's-head attachments that hold the shaped loops.
同心结
13:26 in total. Parts continue in order. Use English subtitles to switch captions on or off.
Follow the making process.
These checkpoints come from the demonstration. Replay the movement before tightening a hidden crossing.
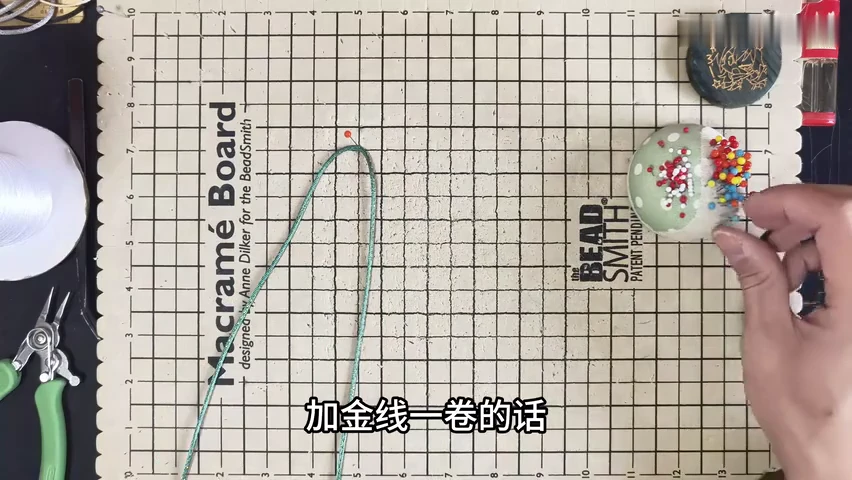
01. Pin the starting fold
Fix the middle and spread the working lengths. Leave the upper fold open while laying the parallel strands.
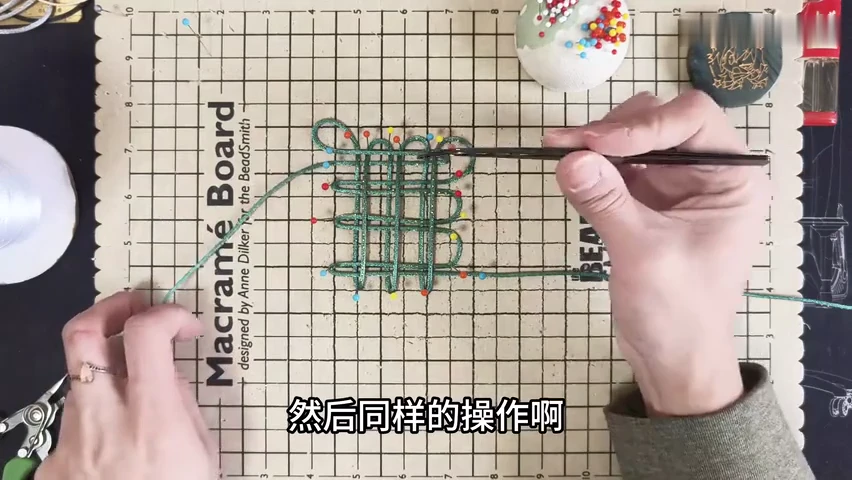
02. Build the woven lattice
Lay the vertical and horizontal routes across the pinned folds. Keep each crossing visible and the side turns loose.
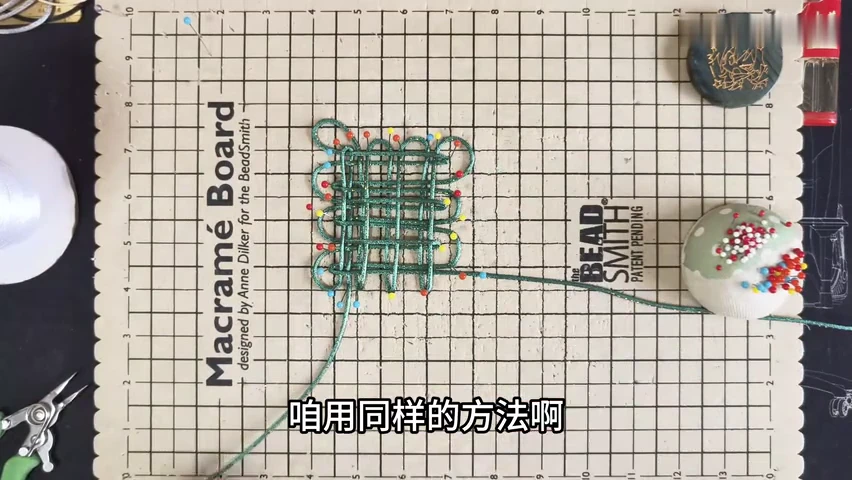
03. Check the completed pinned face
Trace the returned strands through the lattice. Keep the long outer loops available for the later heart outline.
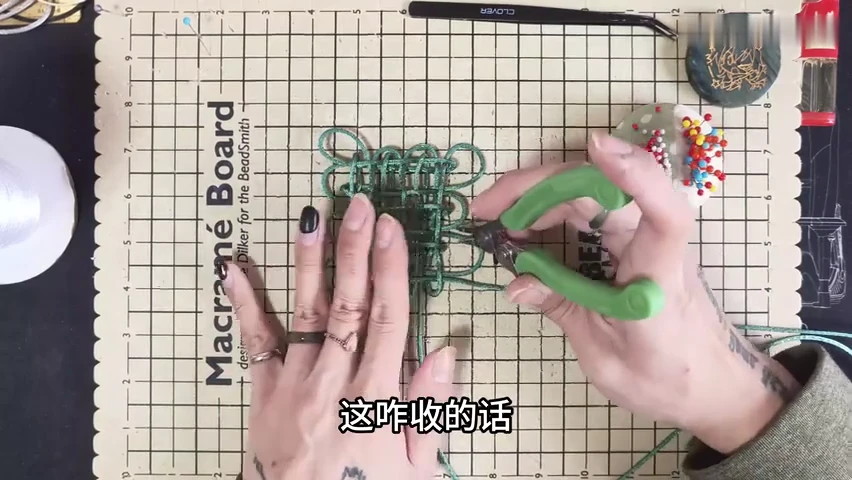
04. Release the pins
Support the centre while pulling the loose folds outward. Take slack from the middle gradually.
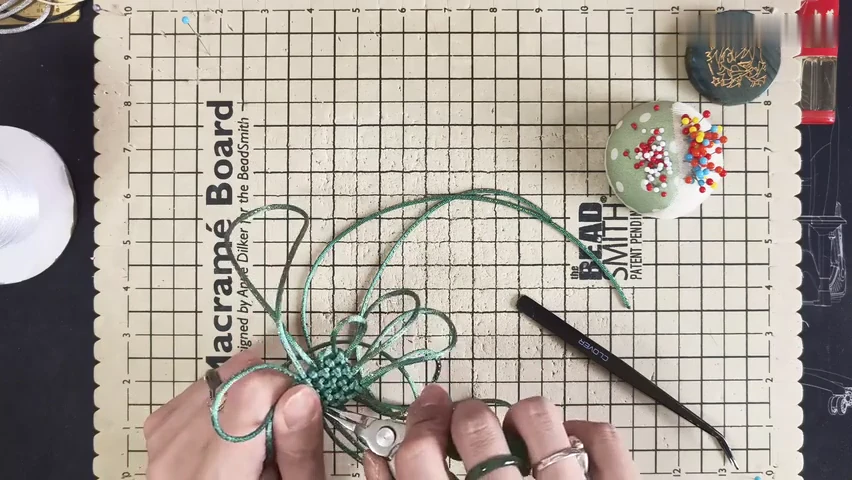
05. Close the woven centre
Lift the knot and work surplus cord through neighbouring folds. Leave the two long side loops broad.
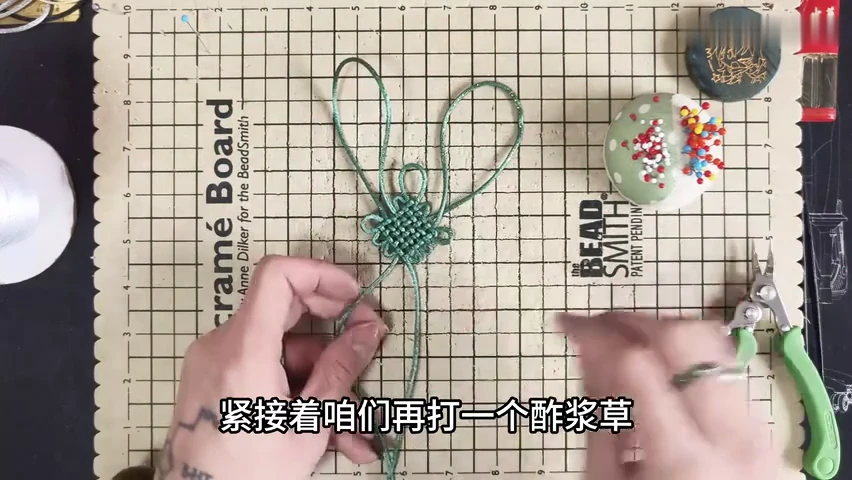
06. Prepare the clover below the face
Pin the working lengths below the woven body. The source now begins a clover knot as the lower detail.
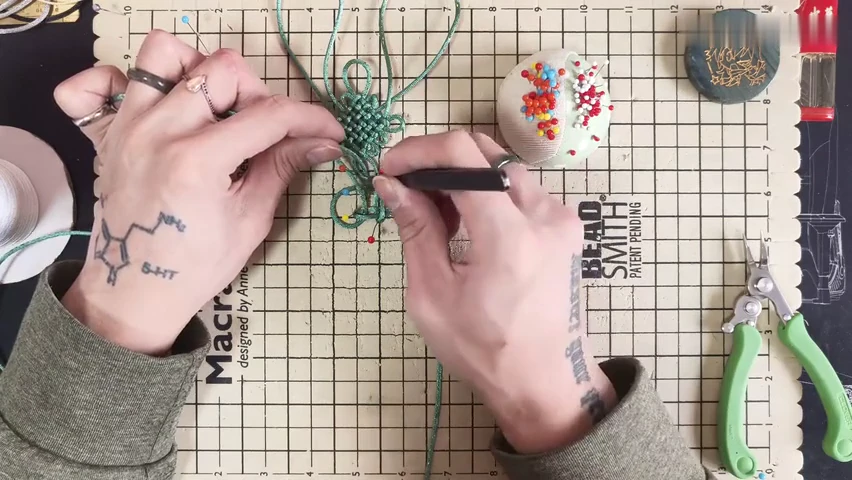
07. Finish the lower clover crossings
Work the small clover returns beneath the face. Keep its side loops open until the connecting strands are in place.
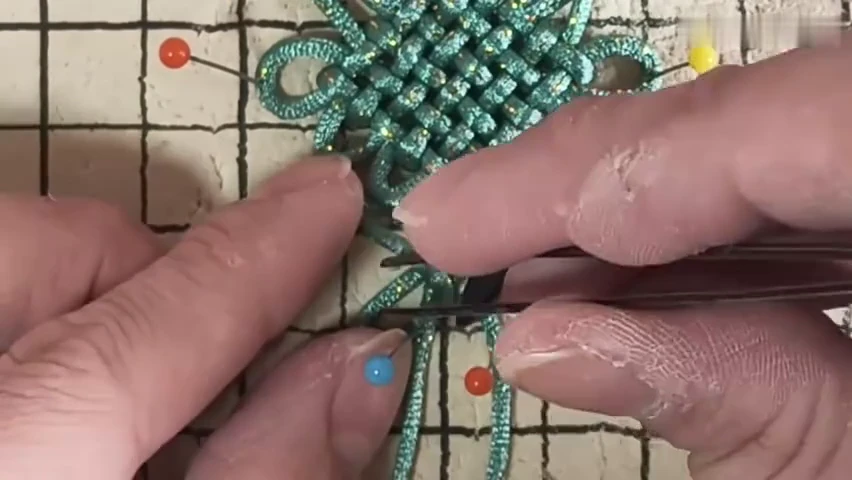
08. Make the loop attachment
Follow the close-up to take the indicated cord around the lower connection. Keep the small loop open while placing its return.
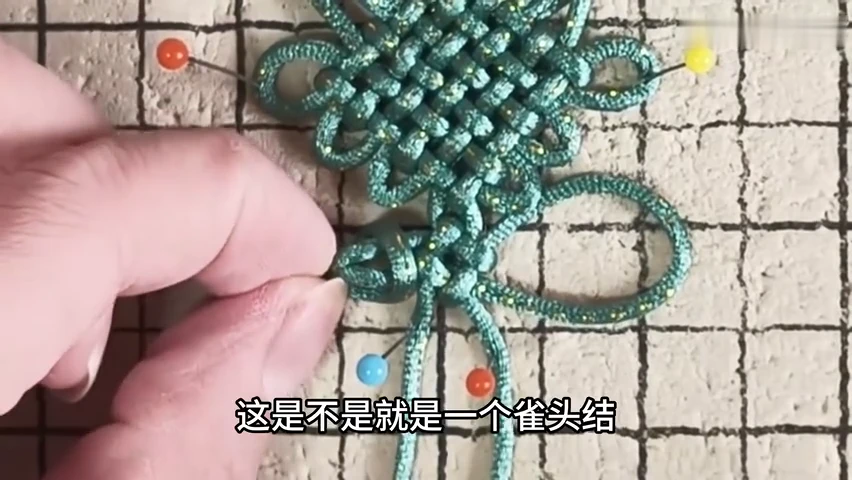
09. Check the lark's-head attachment
Inspect the paired wrap named in the close-up. Repeat the demonstrated connection on the neighbouring side.
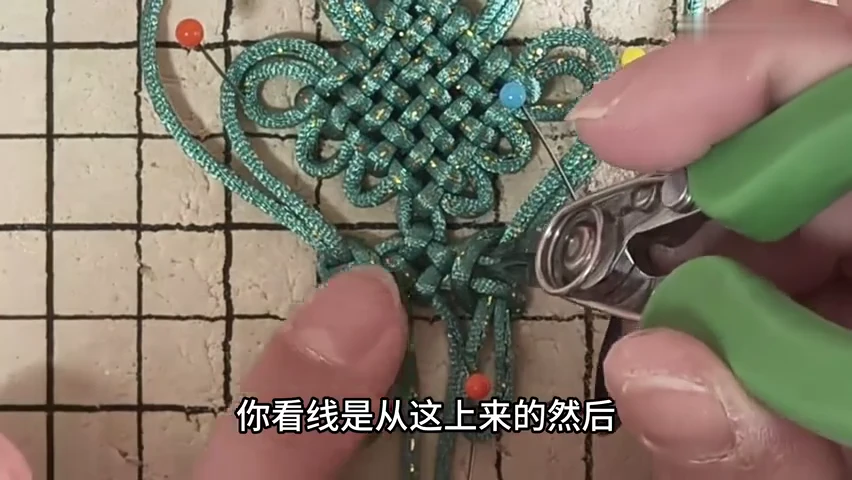
10. Close the matching attachment
Transfer slack through the paired wraps while holding the lower detail in place. Keep both long heart loops accessible.
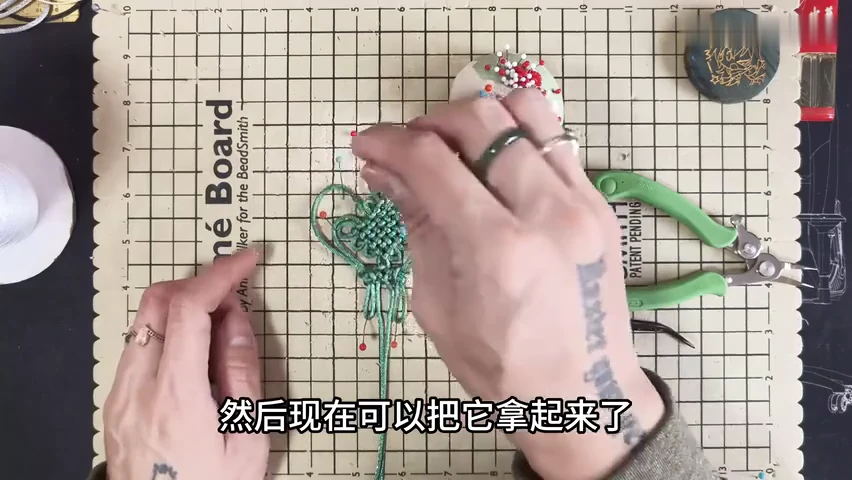
11. Shape the heart outline
Lift the connected piece and draw the long loops into two sides of the heart. Adjust their sizes gradually while keeping the woven face centred.
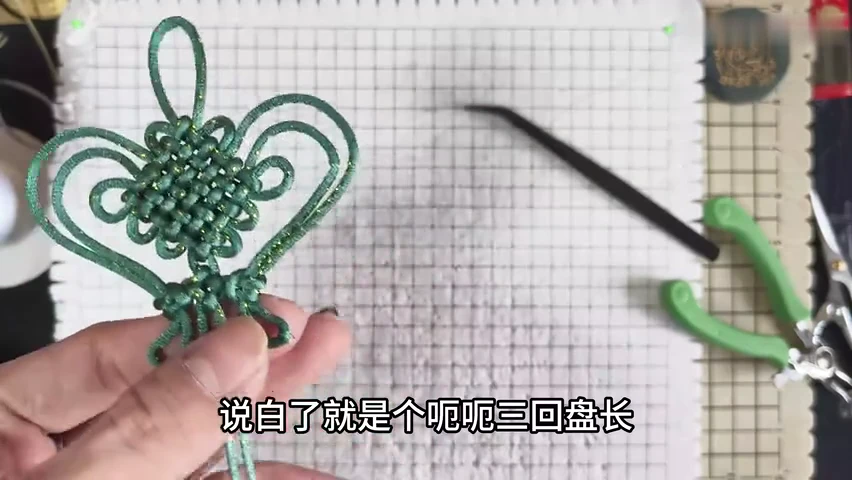
12. Balance the finished heart
Compare the two curved sides and the small lower detail. Ease the face flat and straighten the free ends.
Check your finished piece
- The long outer loops form a balanced heart around the woven face.
- The lower clover detail remains distinct beneath the face.
- The paired loop attachments are snug without twisting the heart outline.