
Chinese Knot
Wan Zi Knot
Arrange three large loops around a compact Wan Zi centre. Keep the cord doubled and loose while placing the return, then dress the centre and balance the standing and side loops.
万字结(总角结)
9:39 in total. Parts continue in order. Use English subtitles to switch captions on or off.
Follow the making process.
These checkpoints come from the demonstration. Replay the movement before tightening a hidden crossing.
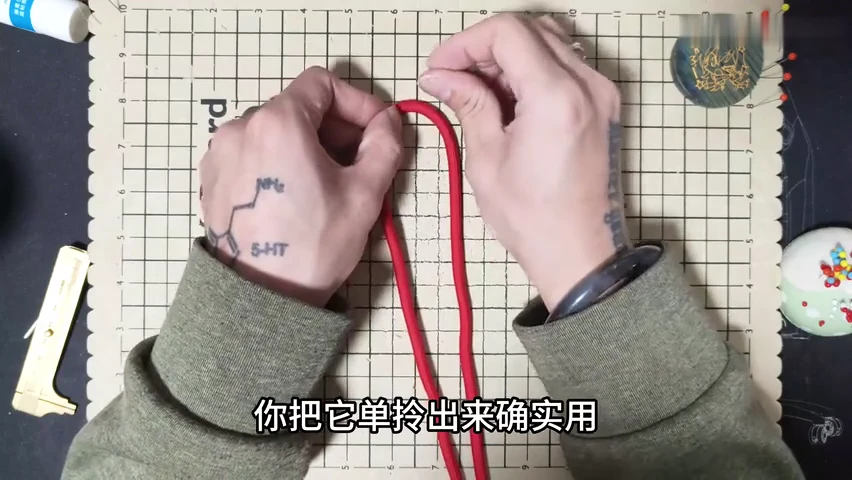
01. Fold and pin the cord
Pin the long folded loop upright. Spread the two working ends below it.
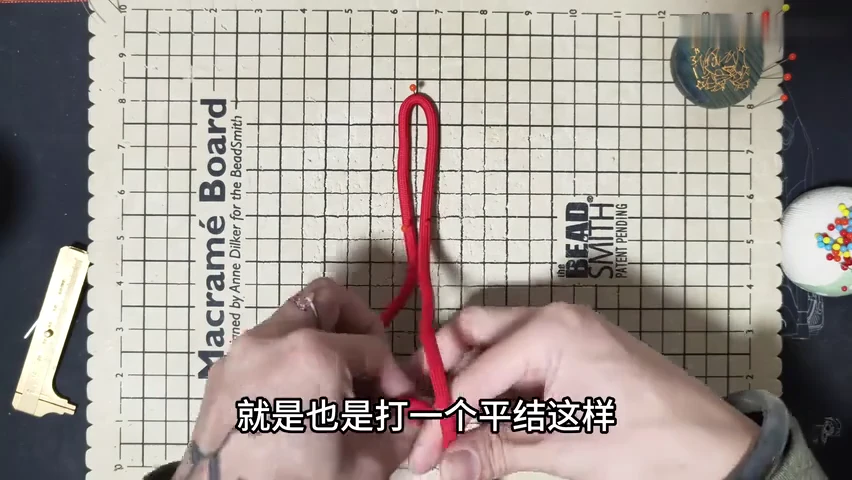
02. Place the first loose crossing
Bring the ends across the bottom of the standing loop. Hold the centre loosely while preparing the side loops.
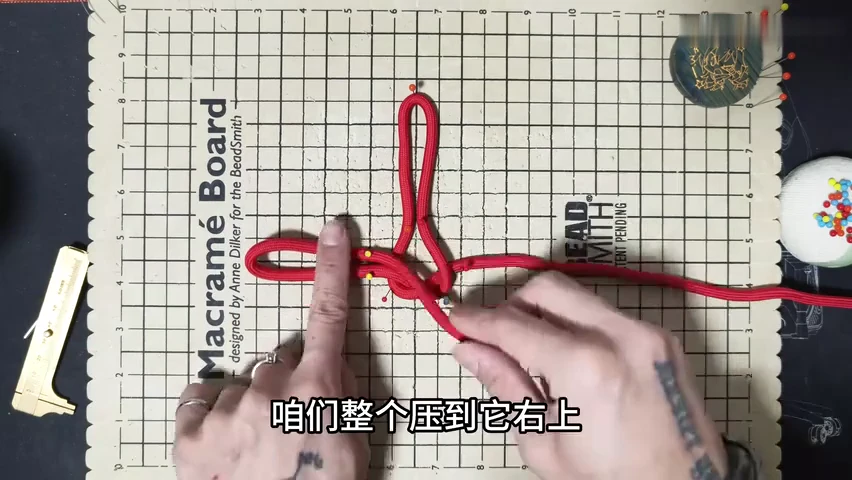
03. Form the left side loop
Fold the working length outward to the left and return it toward the centre. Keep the rounded loop broad.
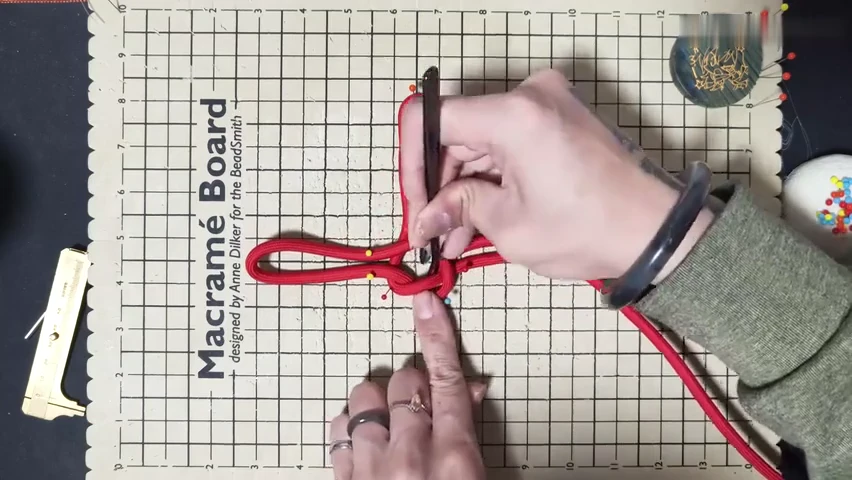
04. Place the lower return
Feed the returning length through the open centre along the demonstrated route. Keep the earlier side fold supported.
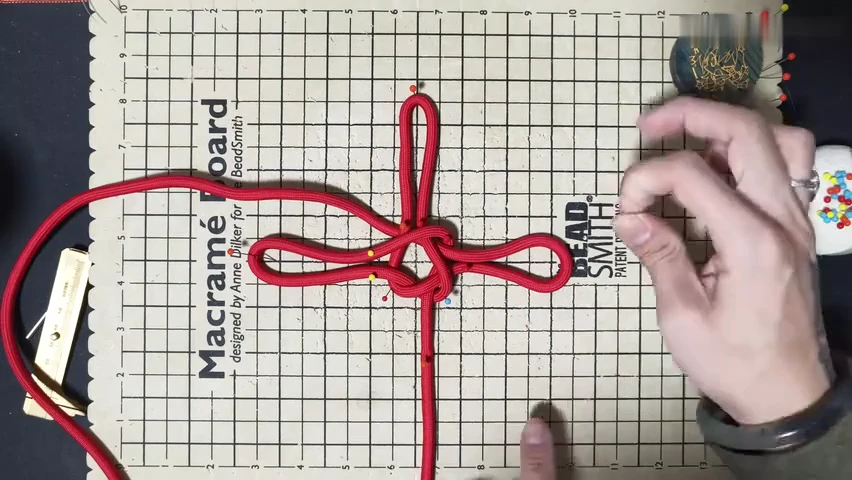
05. Check the three open loops
Complete the opposite side loop. Compare the long upright loop and two side loops before closing the centre.
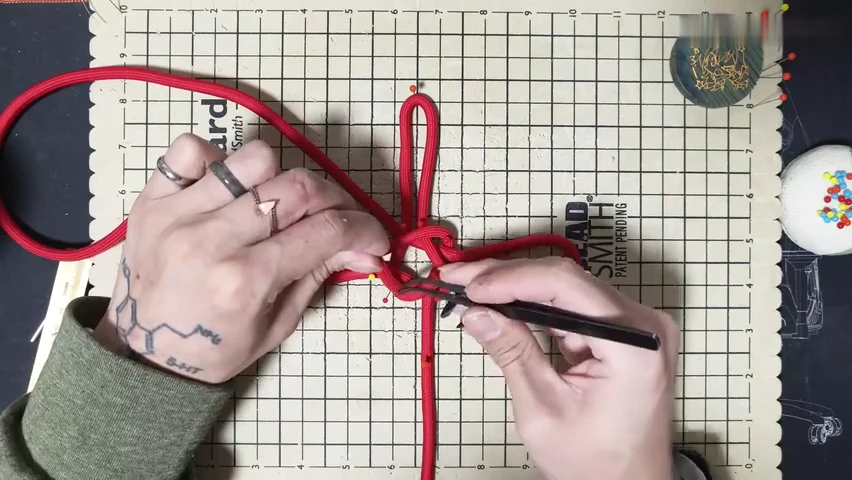
06. Tuck the remaining return through the centre
Use the pointed tool to find the intended central opening. Place the final return without pulling the outer loops shut.
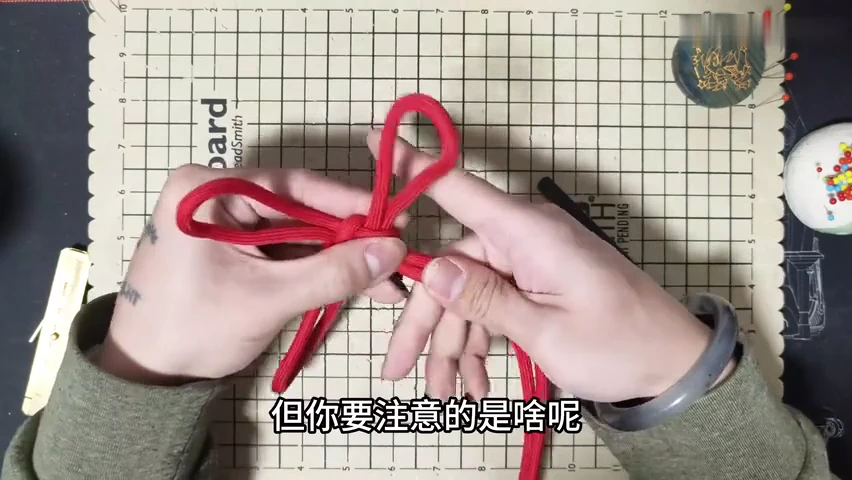
07. Lift the loose knot
Ease the pins out while supporting the small centre. Keep the doubled strands beside each other.
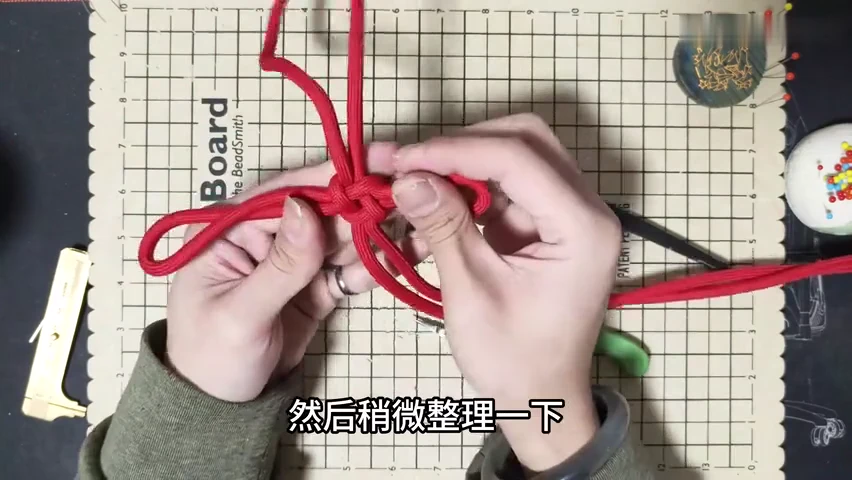
08. Dress the compact centre
Move surplus cord through the centre in small amounts. Straighten the neighbouring strands as the three loops settle.
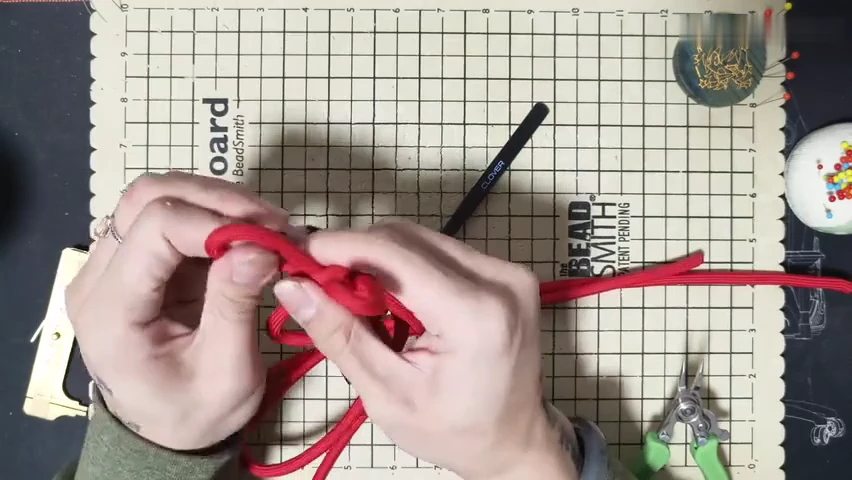
09. Adjust the working ends
Follow slack into the ends while holding the loop sizes steady. Compare both faces so the centre does not twist.
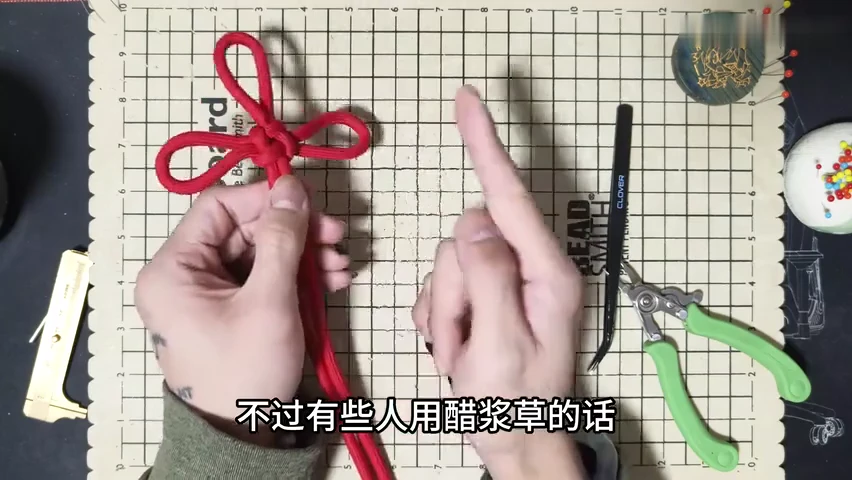
10. Check the finished loop outline
Balance the upright loop and two side ears around the compact centre. Leave the two ends distinct below it.
Check your finished piece
- The standing loop and two side loops are clear and balanced.
- The doubled strands sit alongside each other at the centre.
- The centre is compact and the free ends remain distinct.