
Chinese Knot
Zao Jing Knot
Place two coloured routes around an open upright fold, then close them into a compact Zao Jing centre. The source also shows a longer grey variant and finished applications after the main knot is dressed.
藻井结
13:30 in total. Parts continue in order. Use English subtitles to switch captions on or off.
Follow the making process.
These checkpoints come from the demonstration. Replay the movement before tightening a hidden crossing.
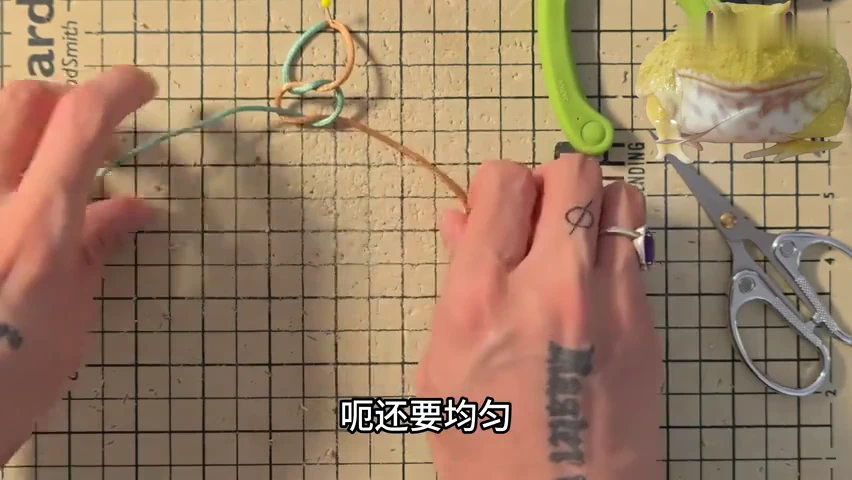
01. Arrange the starting fold
Lay the two colours around the upright open fold. Keep their free working lengths distinct.
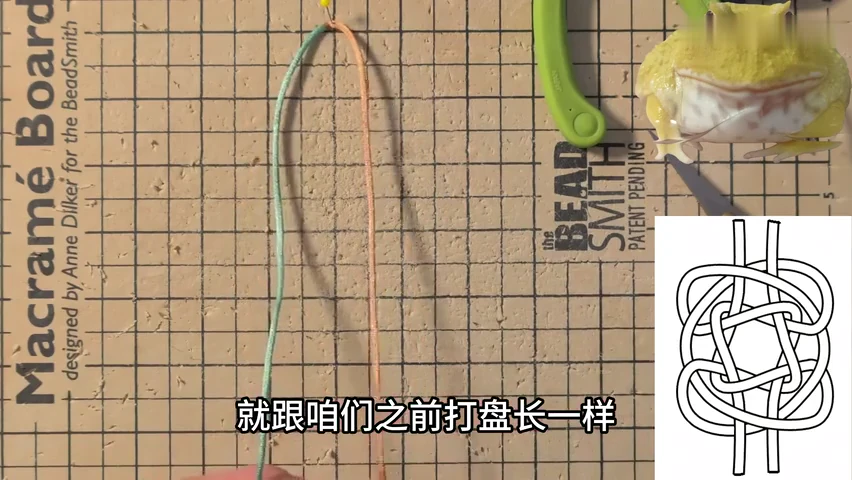
02. Pin the parallel upright strands
Secure the upper and lower turns on the board. Leave room at the bottom for the compact interlacing.
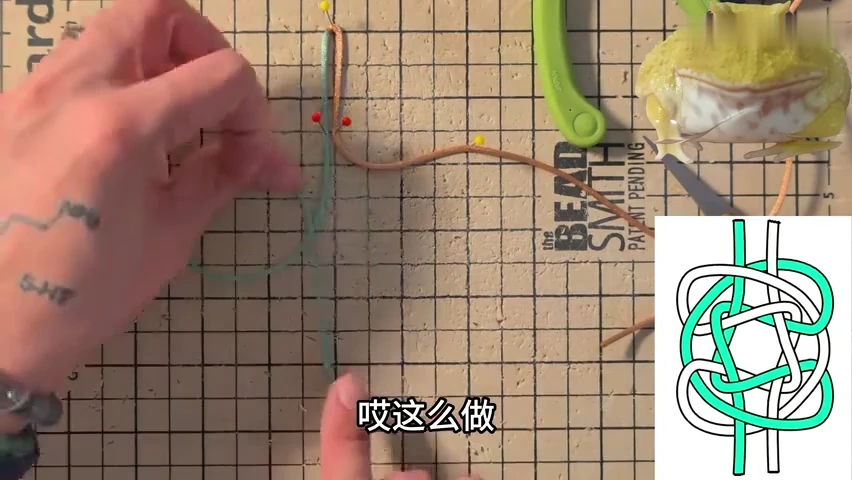
03. Start the green return route
Bring the green end around the lower folds along the highlighted diagram. Keep its side openings loose.
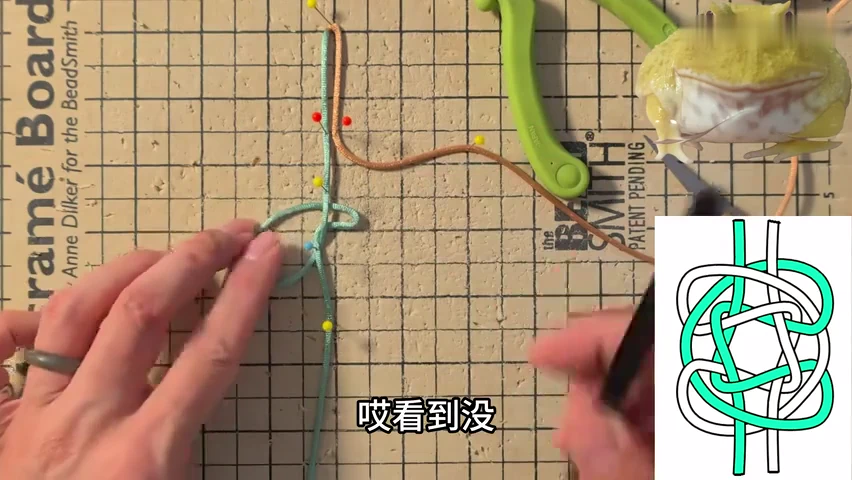
04. Complete the green crossings
Finish the green route around the open centre. Compare its entry and exit with the diagram before starting the gold return.
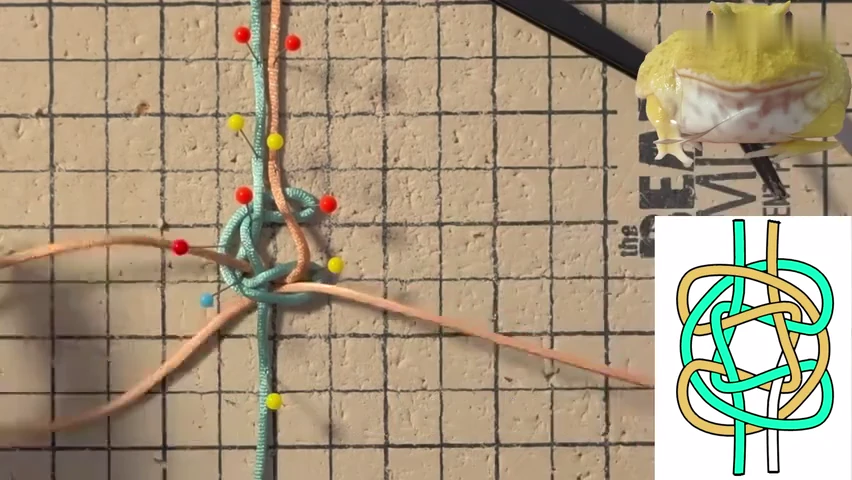
05. Place the gold returning passages
Work the gold length through the developing green route. Separate nearby strands with the pointed tool while following the diagram.
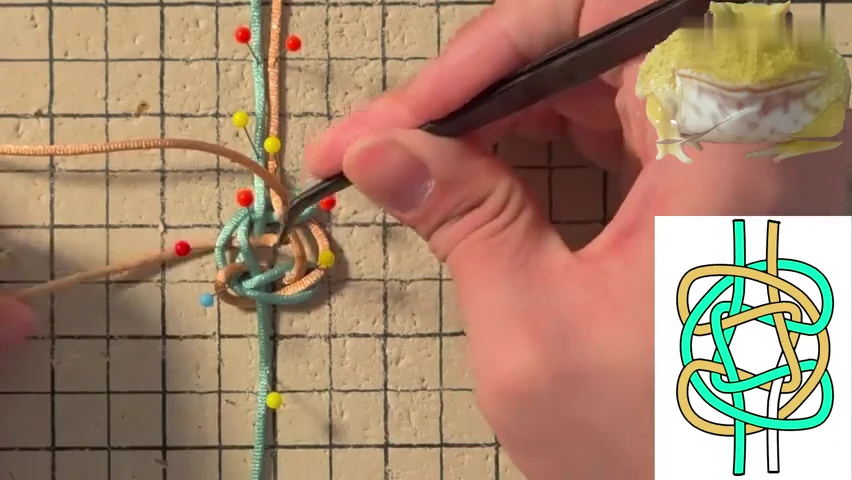
06. Tuck the final gold return
Place the last indicated passage through the small central opening. Keep both ends accessible.
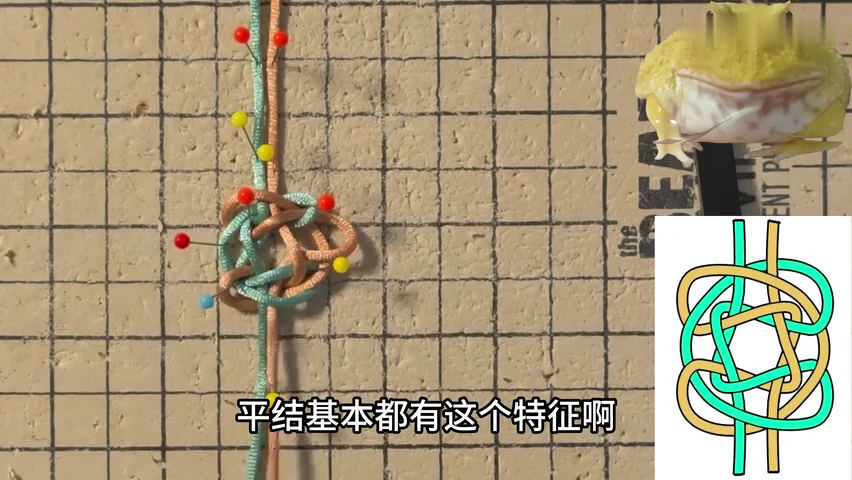
07. Inspect the complete pinned route
Trace both colours through the compact lattice. Check the long upright fold before removing supports.
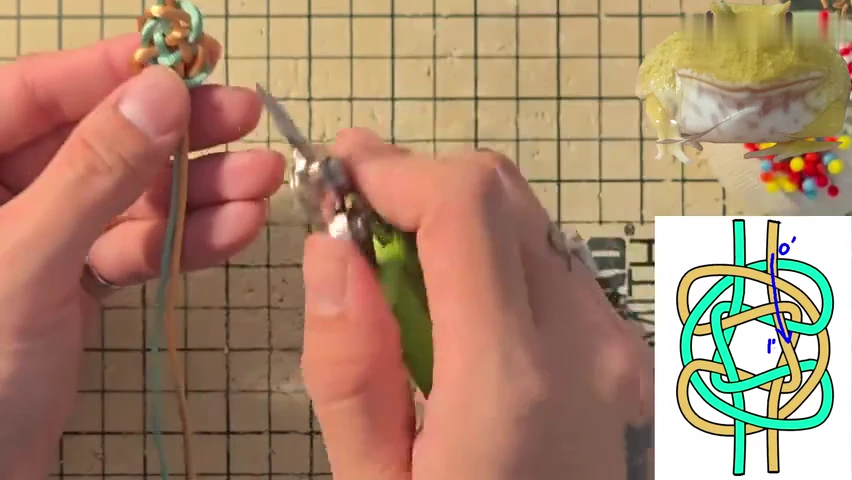
08. Lift and close the centre
Support the knot in your hand and draw loose cord through the outer folds. Keep the two colours in their established positions.
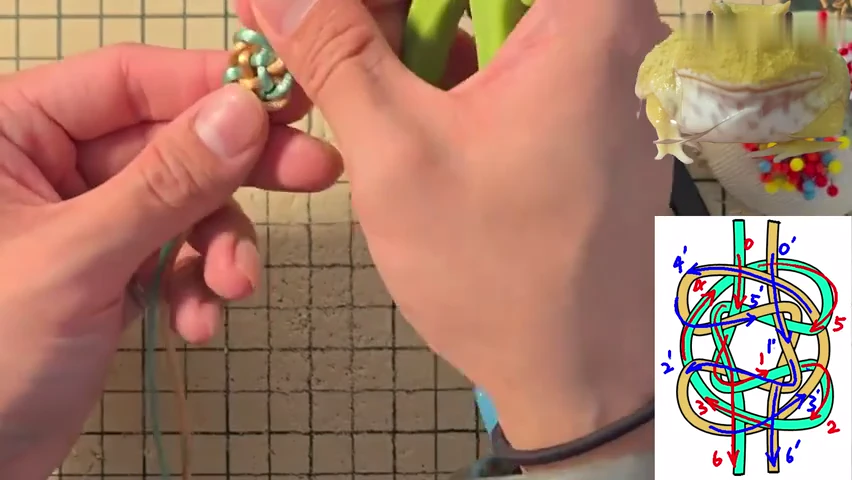
09. Dress each route in turn
Follow the numbered sequence and transfer slack through one colour at a time. Straighten the paired strands as the centre compacts.
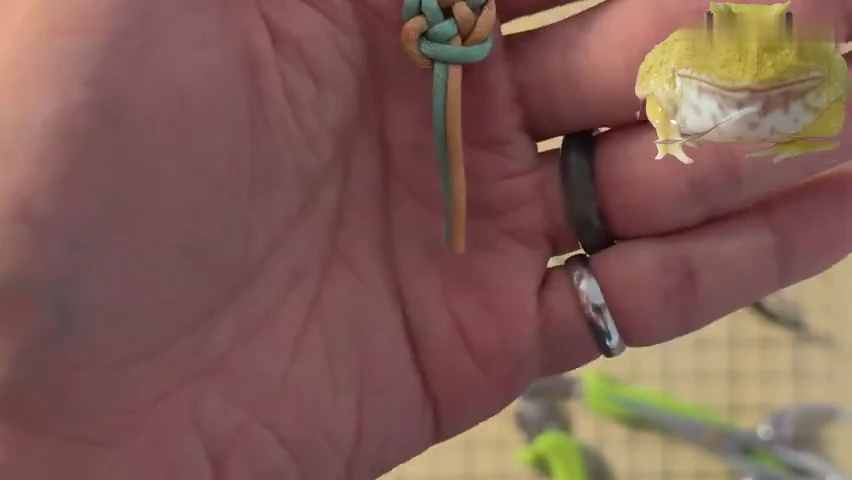
10. Set the finished compact face
Balance the small central crossings and the upright loop. Keep the free ends distinct beneath the knot.
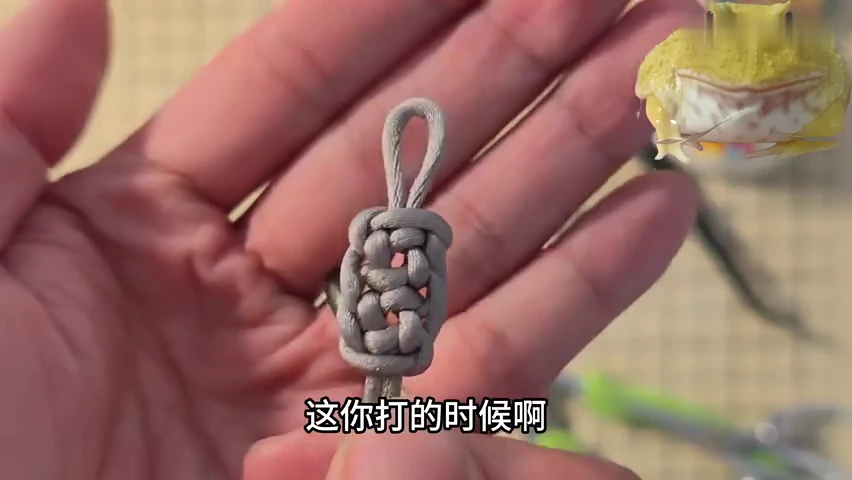
11. Compare the longer variant
Study the grey sample to see how extending the repeated structure changes its length. It is a comparison after the main demonstration.
Check your finished piece
- The compact centre keeps both routes in order.
- The upright loop and lower free ends remain distinct.
- The face has no large loose central passage.