
Chinese Knot
Layered Chrysanthemum Knot
Build the layered crossings of a chrysanthemum-shaped knot on a radial guide. The source turns the working folds through half-turns, then closes and dresses the layers into long petals with smaller turns near the centre.
八重菊结
16:06 in total. Parts continue in order. Use English subtitles to switch captions on or off.
Follow the making process.
These checkpoints come from the demonstration. Replay the movement before tightening a hidden crossing.
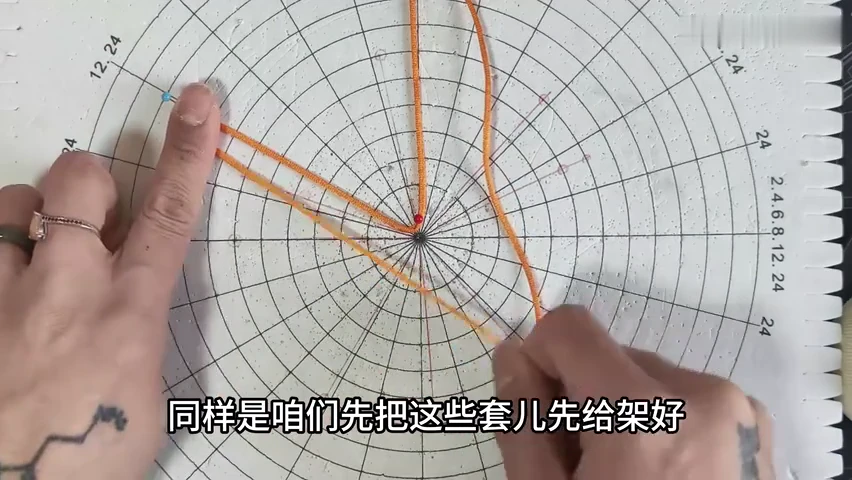
01. Lay the radial folds
Arrange the standing fold and the working bights around the guide. Keep their common crossing point visible.
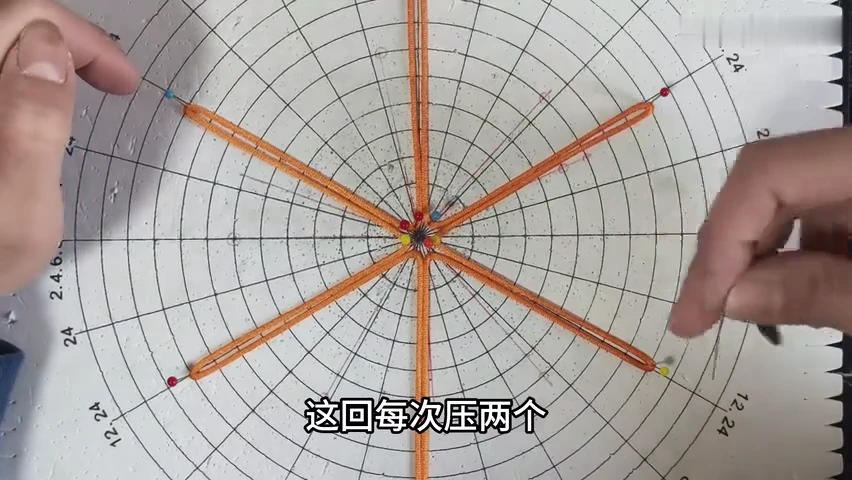
02. Begin the two-fold passage
Follow the shown route through two neighbouring folds at a time. Keep the earlier turns supported while adding each passage.
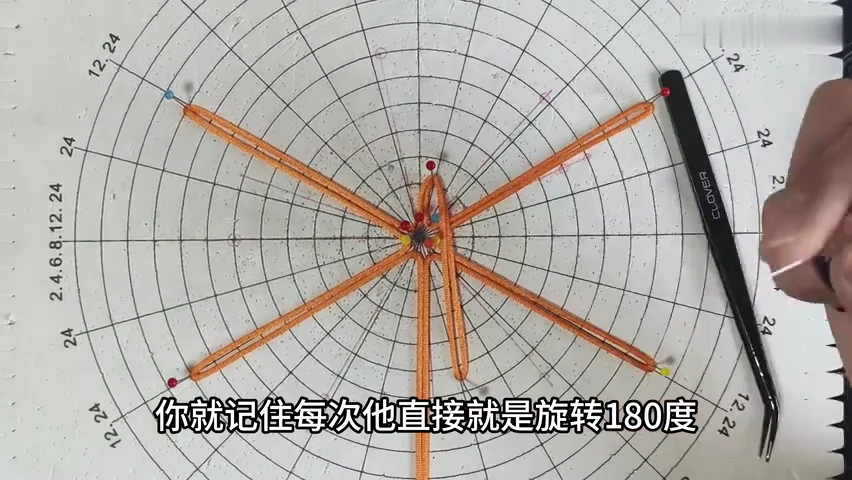
03. Turn the working fold through a half-turn
Rotate the selected fold by the demonstrated 180 degrees. Keep the neighbouring strands in place before bringing the next fold around.
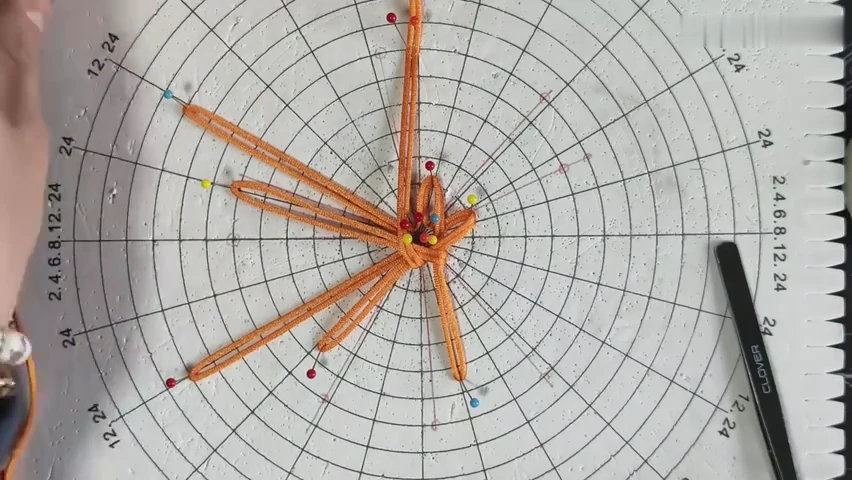
04. Continue the layered returns
Repeat the half-turn and crossing sequence around the radial layout. Maintain the loose layers at the centre.
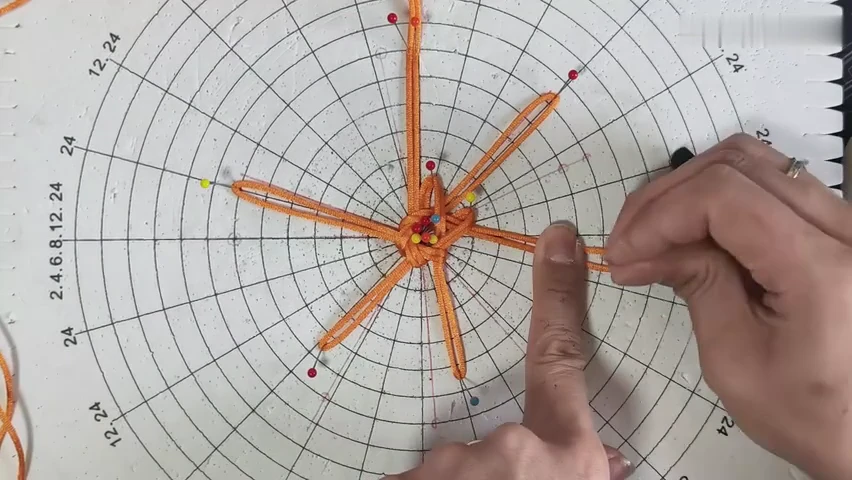
05. Check the first complete route
Compare the pinned centre and long radial folds. Trace the working ends through before lifting the knot.
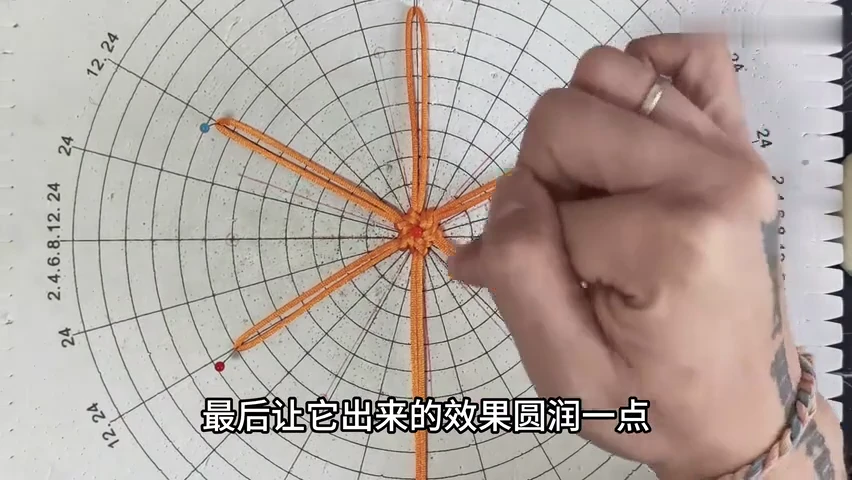
06. Review the rounded return method
The source repeats a return to make its final shape rounder. Compare this passage before continuing the closing sequence.
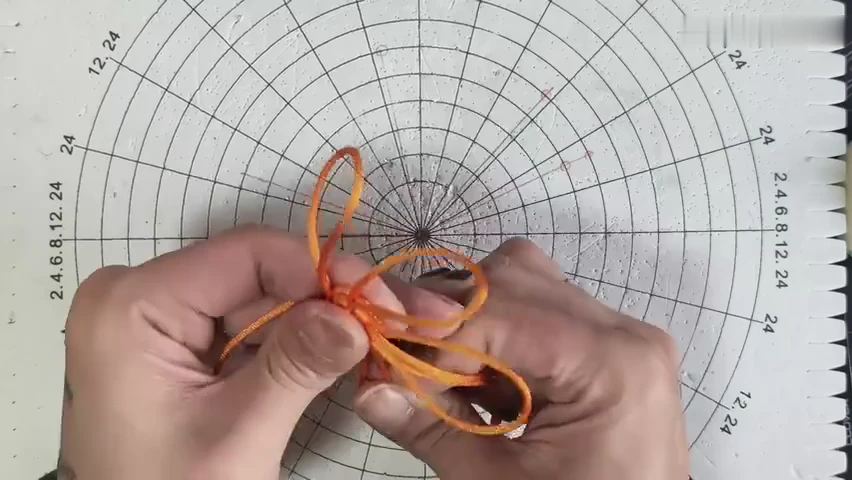
07. Lift the loose layered flower
Support the centre as the pins are released. Keep the long ears separated while taking the knot into your hands.
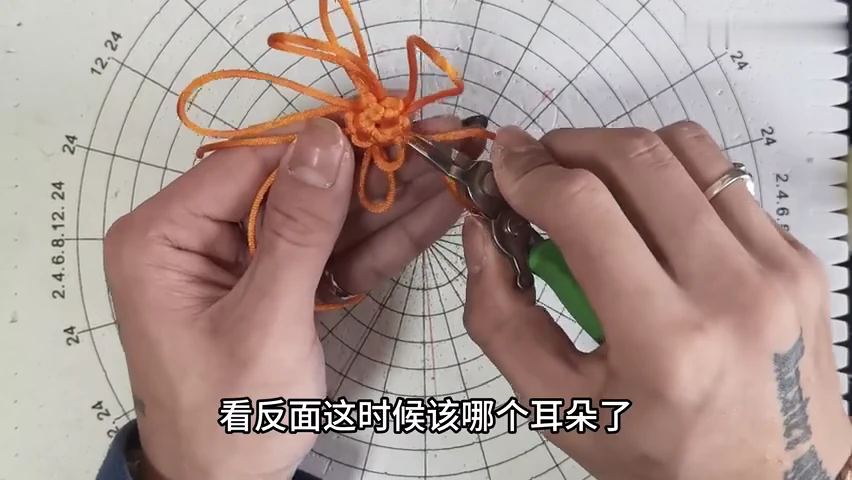
08. Start dressing from the reverse face
Turn the knot over to identify the next oversized loop. Transfer excess cord through that loop while retaining the layered centre.
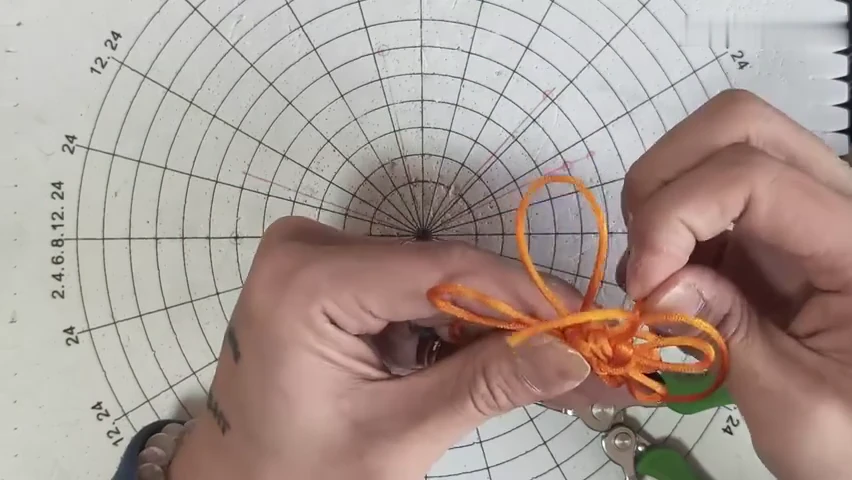
09. Close the remaining large folds
Continue around the cord route, reducing the temporary loops in small stages. Check both faces as the layers settle.
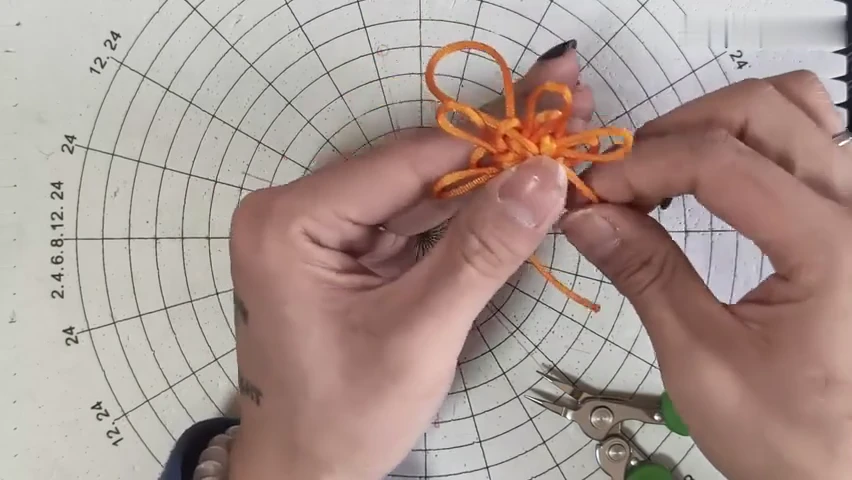
10. Balance the long petals
Compare neighbouring ears and shift small amounts of slack. Keep the small inner turns distinct from the longer outer loops.
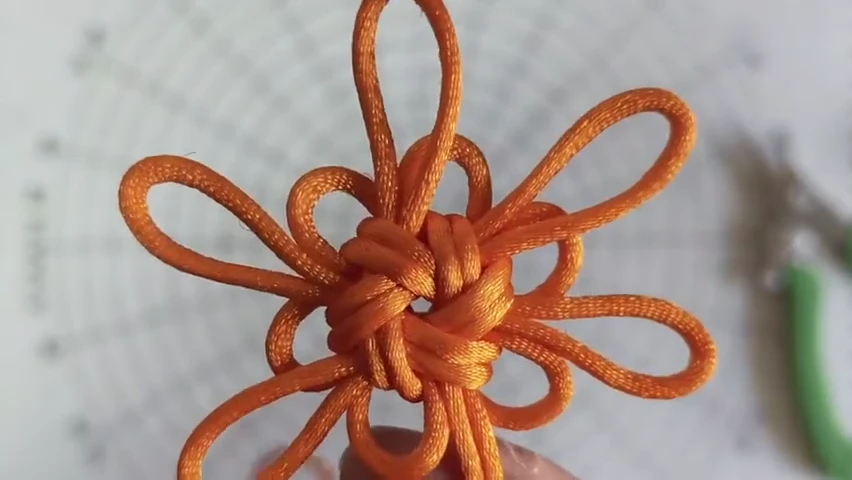
11. Inspect the layered centre
Hold the finished face toward you. Check the crossed layers and the balanced flower outline before the final adjustment.
Check your finished piece
- The layered centre is compact and orderly.
- Long outer ears and smaller inner turns remain distinct.
- The petals form a balanced radial outline without a loose temporary fold.