
Chinese Knot
Cao Hua Knot
Use a radial pin layout and a temporary bead spacer to make an open-centred Cao Hua knot. Work the loose circular crossings first, then lift the structure and balance its long ears and smaller turns around the opening.
草花结
13:48 in total. Parts continue in order. Use English subtitles to switch captions on or off.
Follow the making process.
These checkpoints come from the demonstration. Replay the movement before tightening a hidden crossing.
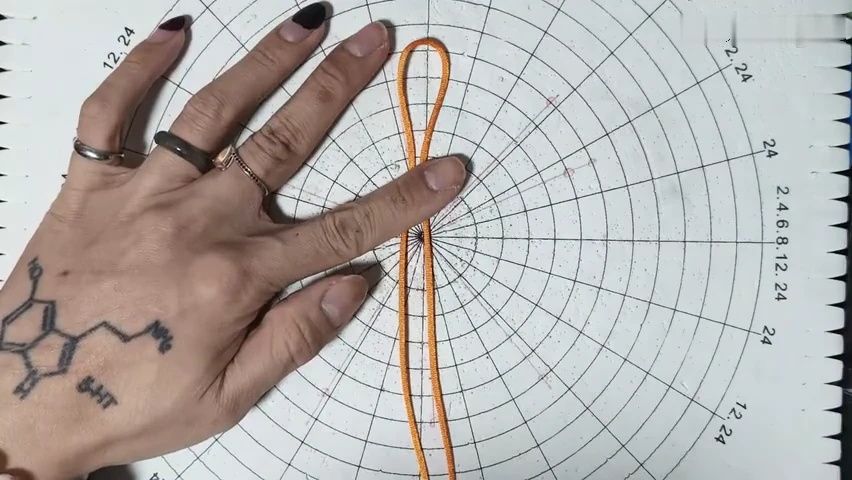
01. Pin the starting upright loop
Fold the cord and hold the standing loop on the radial guide. Keep the free lengths available below it.
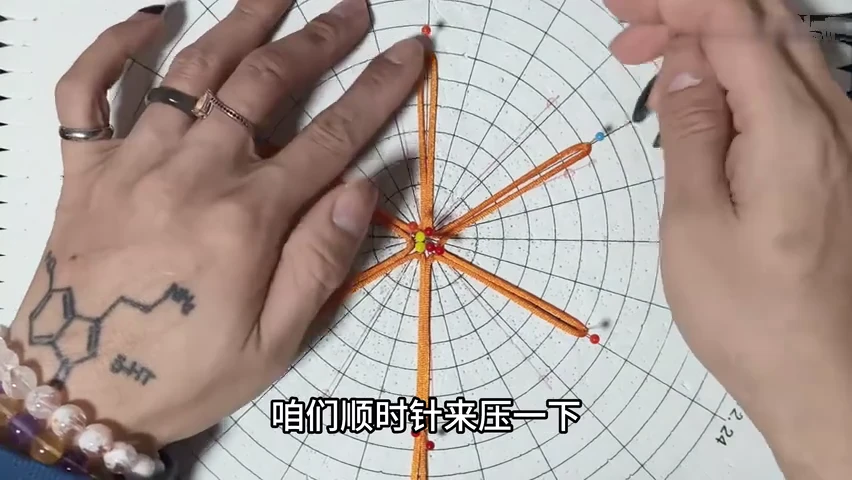
02. Spread the radial folds
Arrange the long folds around the centre and secure their turns. Keep their crossing point visible.
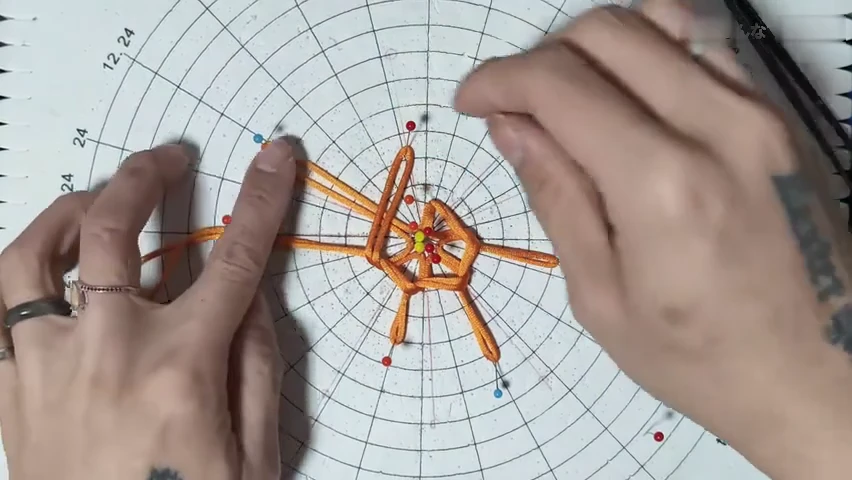
03. Return through the central arrangement
Continue the working route around the radial folds. Support the open centre around the temporary bead while placing each new return.
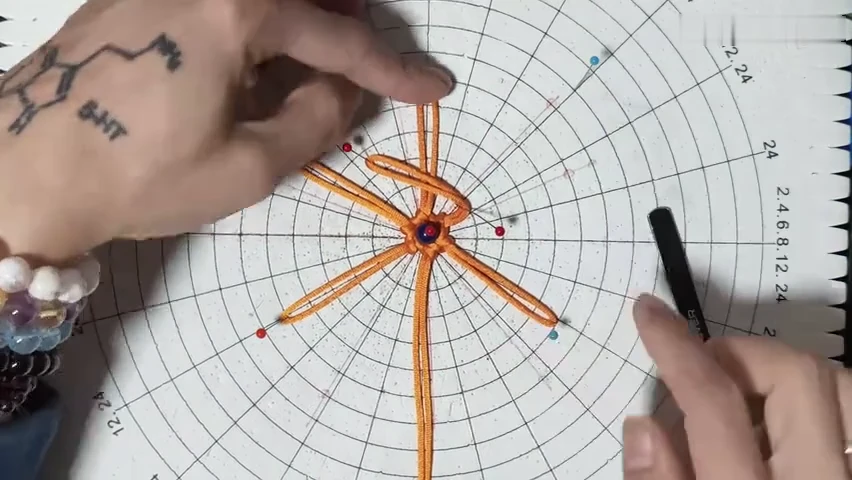
04. Check the completed pinned route
Compare the circular structure and its long ears before releasing supports. Keep the central opening loose.
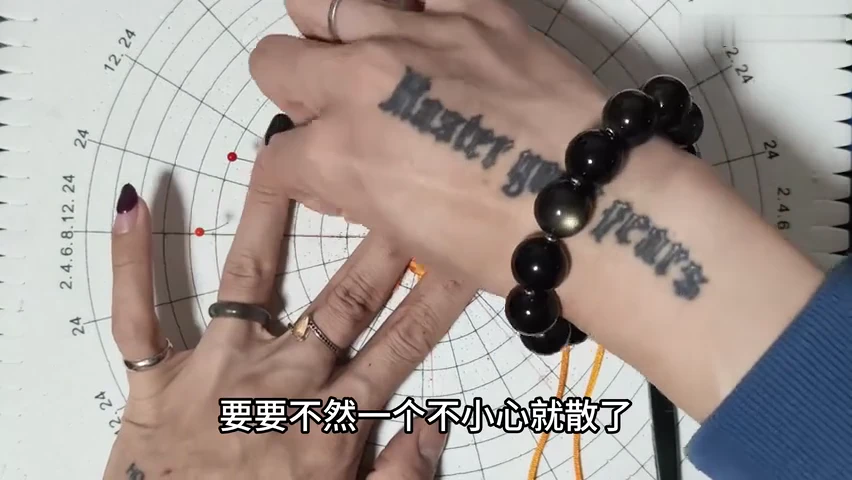
05. Release the pins carefully
Support the crossings as the pins come out. This loose structure can open easily, so keep the centre between your fingers.
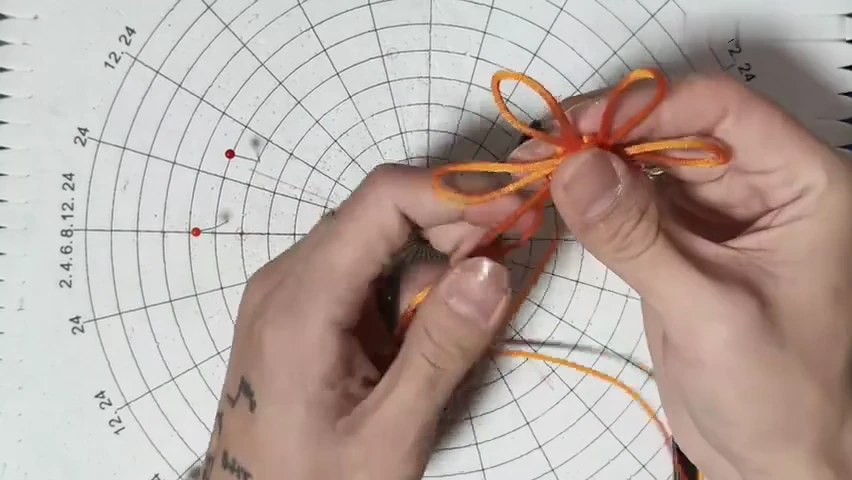
06. Lift the open flower structure
Take the knot into your hands without closing its middle. Spread the long outer loops to retain the radial order.
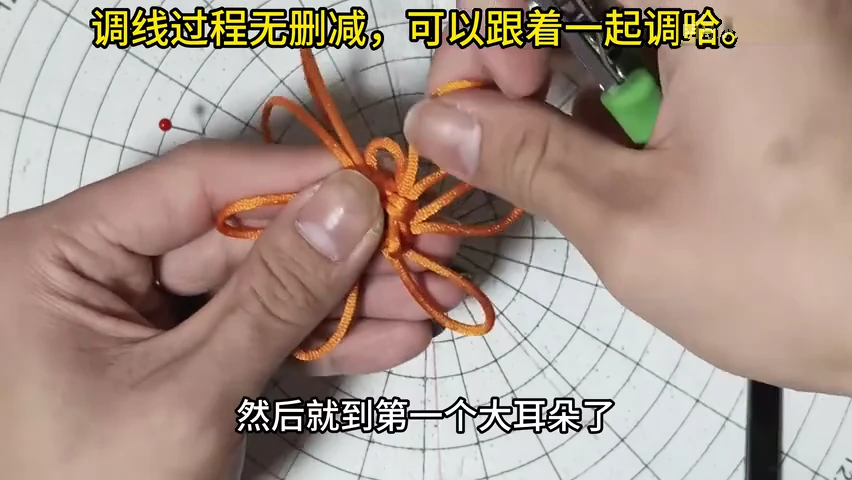
07. Reduce the first large loop
Follow the continuous cord into the first oversized ear. Transfer slack through the neighbouring crossing in small amounts.
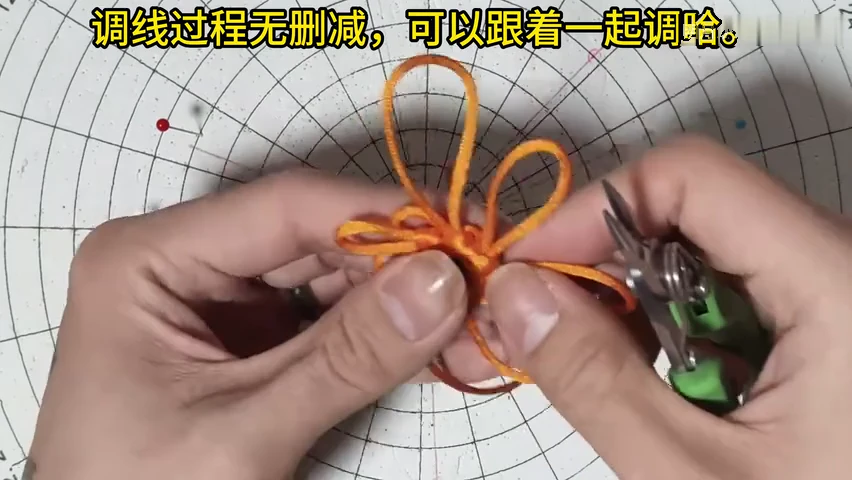
08. Continue through the neighbouring ears
Move around the ring, reducing each large fold in turn. Keep the smaller turns distinct beside the long outer loops.
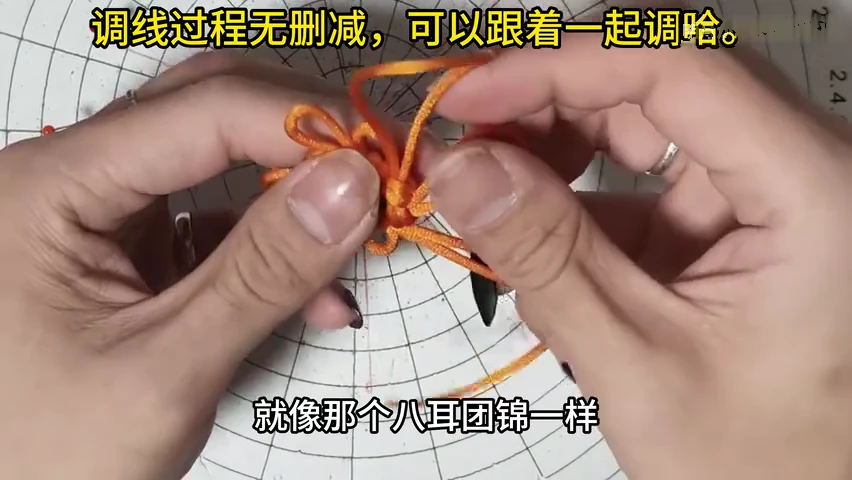
09. Balance the circular face
Compare the loop sizes and transfer slack where needed. Support the open middle while tightening the surrounding crossings.
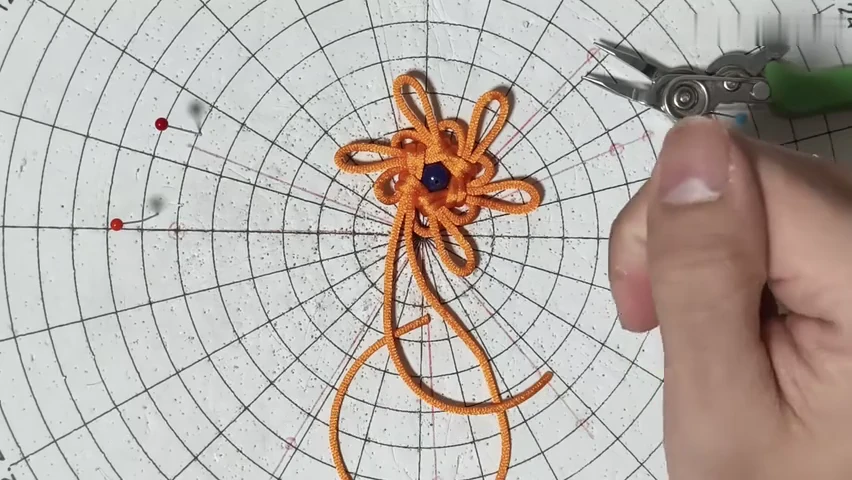
10. Check the clear central opening
Set the knot flat and inspect the centre. Reduce any remaining large temporary fold without pulling the opening shut.
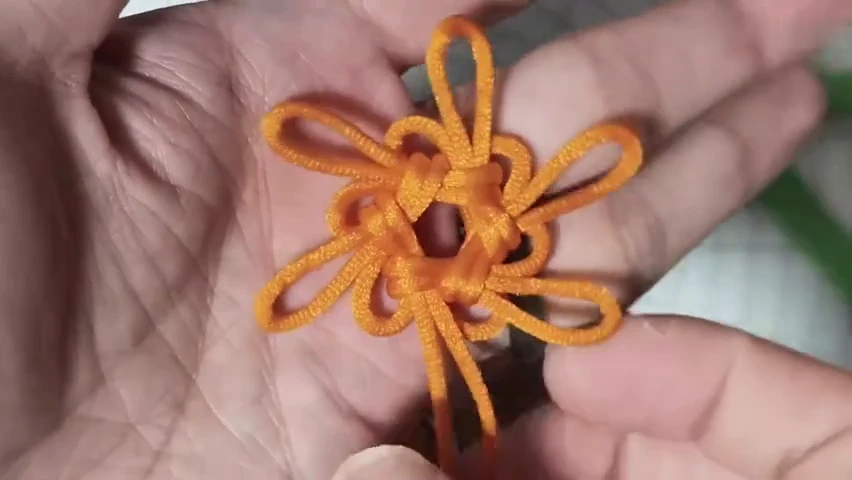
11. Set the finished flower outline
Remove the temporary bead and ease the long ears into an even radial arrangement. Check that the central opening stays clear and the small turns remain distinct.
Check your finished piece
- The central opening remains clear.
- The long outer ears and smaller turns remain distinct.
- The radial outline is balanced, with no large temporary slack loop.