
Chinese Knot
Tuan Jin Edging
Add a contrasting cord to prepared Tuan Jin knots and compare upper, inner and lower edging. The demonstration starts with loose six-loop solid-centre bases for upper and inner edging, then adds lower edging to a tightened base.
团锦滚边
48:52 in total. Parts continue in order. Use English subtitles to switch captions on or off.
Follow the making process.
These checkpoints come from the demonstration. Replay the movement before tightening a hidden crossing.
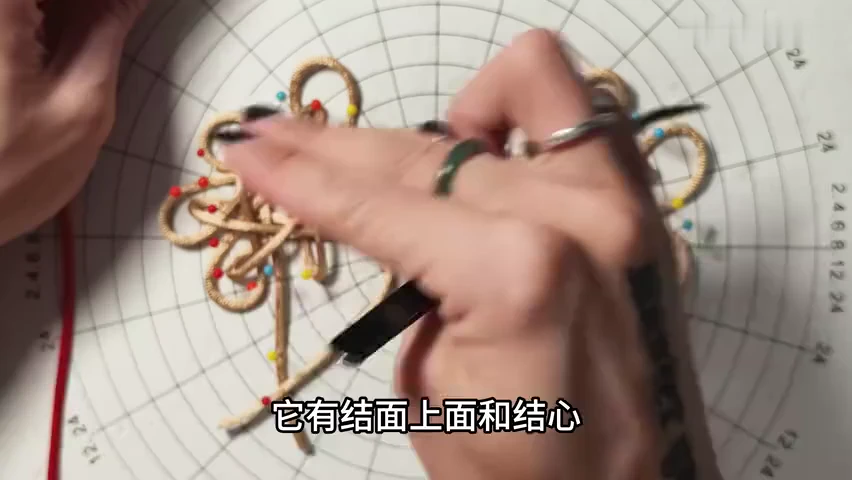
01. Identify the prepared base
Inspect the loose solid-centre Tuan Jin knot and its six outer loops. This lesson begins with the base already woven; the hollow eight-loop project uses a different structure.
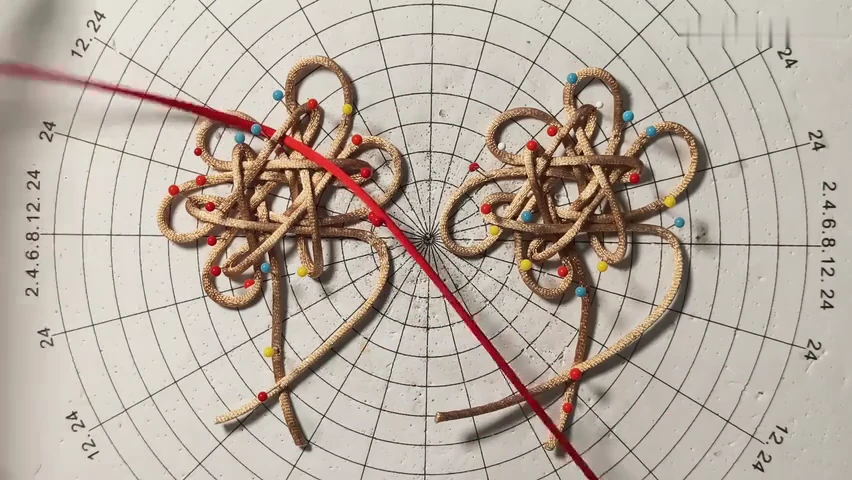
02. Start the upper edging
Bring the red edging cord into the first demonstrated passage of the loose gold base. Keep its centre and outer folds supported by the pins.
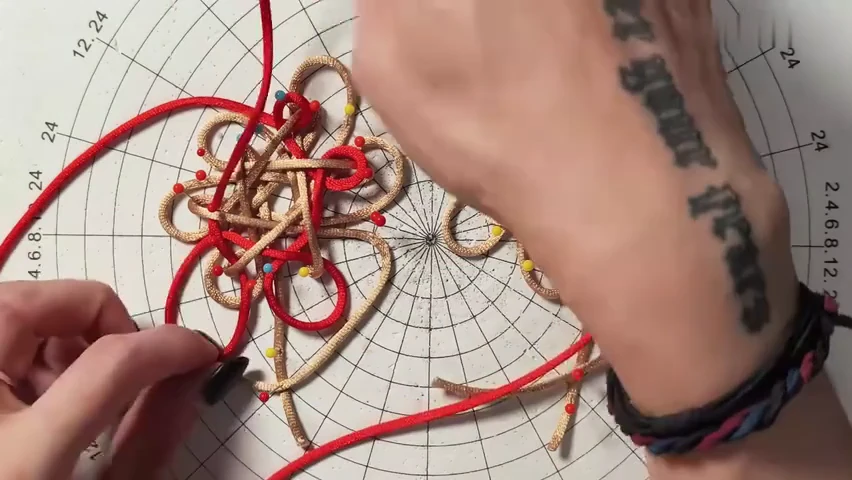
03. Continue the upper edging around the base
Carry the red route through the neighbouring passages. Keep the red loops loose while following its crossings around the gold structure.
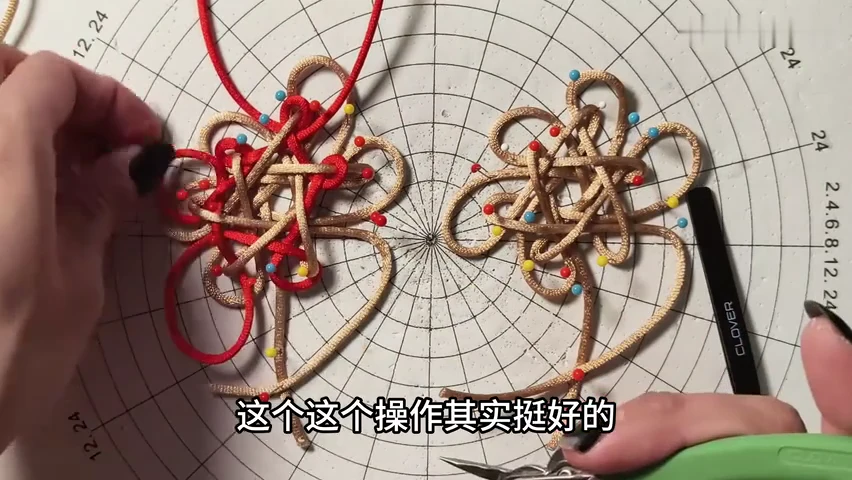
04. Check the completed upper route
Compare the red edging with the gold base before tightening. Trace the added cord around the centre and keep both ends accessible.
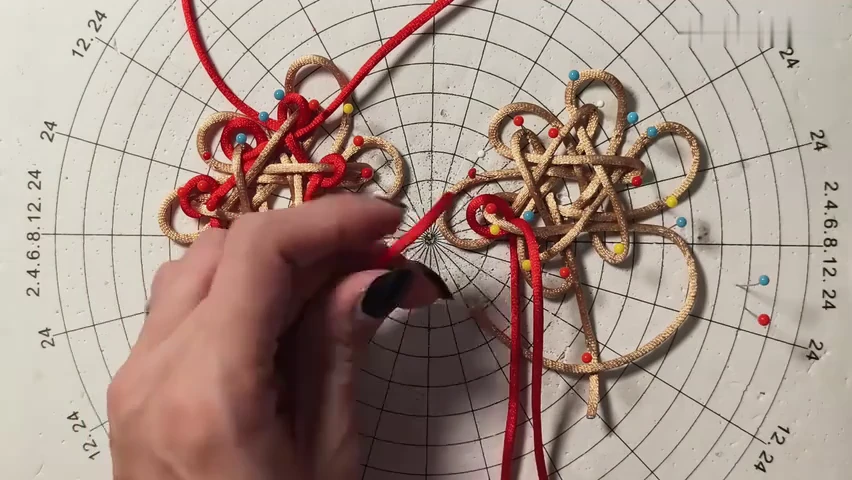
05. Begin inner edging on the second base
Use the second loose base for the next method. Place the red route through its first indicated passage, keeping the centre open for access.
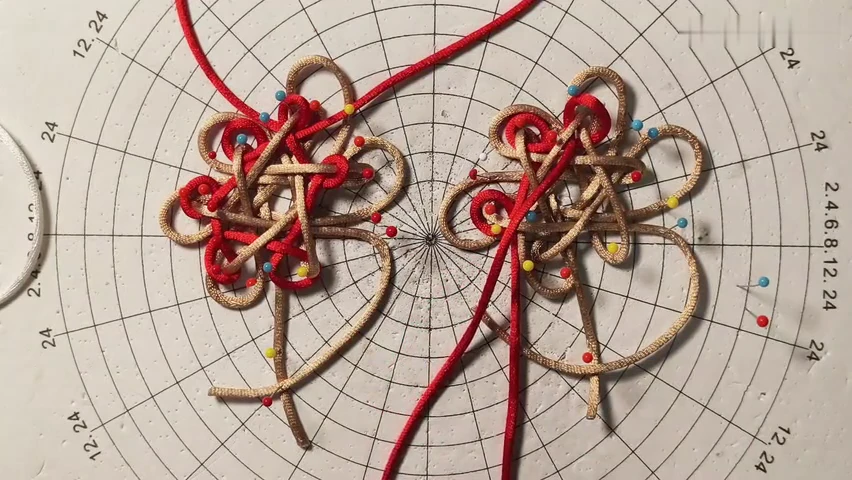
06. Continue the inner edging
Work the red cord around the second base. Follow its crossing order at each gold loop rather than copying the earlier upper route.
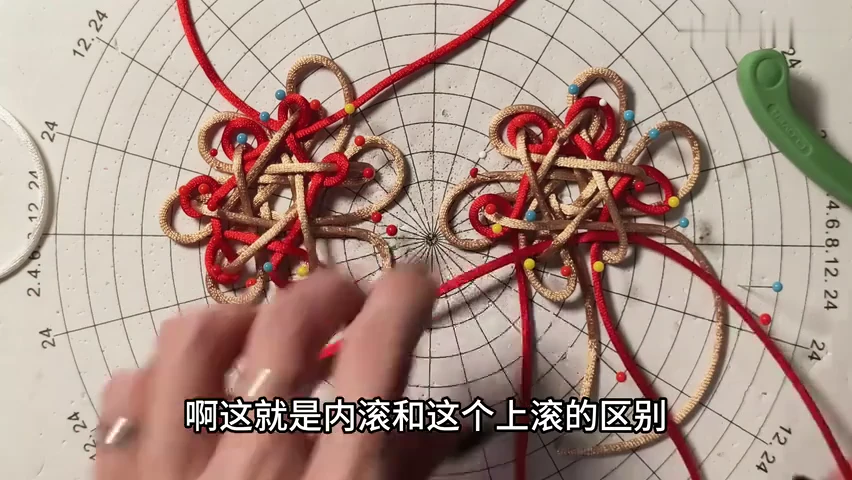
07. Compare the two loose edging routes
Inspect the side-by-side bases. Check how the red route sits relative to the gold face in the upper and inner methods.
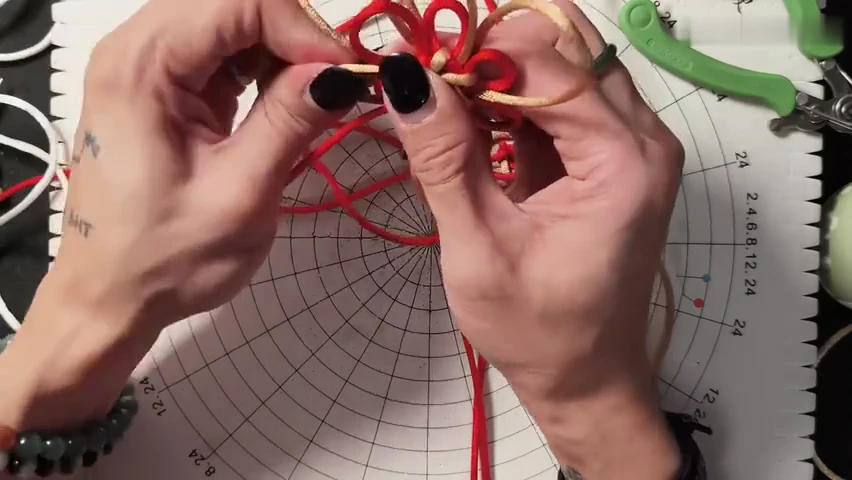
08. Lift a base and close the woven centre
Release the pins and support the knot between your fingers. Reduce the loose gold structure gradually while keeping the red edging in its intended passages.
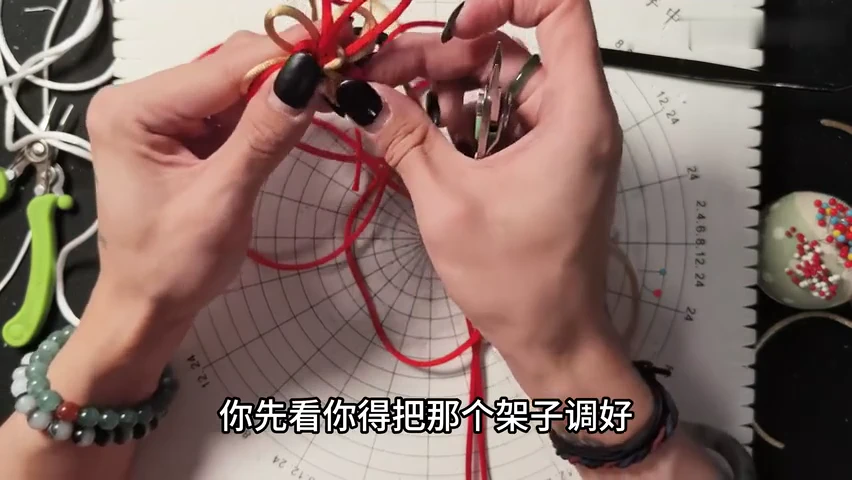
09. Set the base before balancing the added cord
Shape the gold frame and its outer ears first. Keep the red loops accessible until the base has a stable, even form.
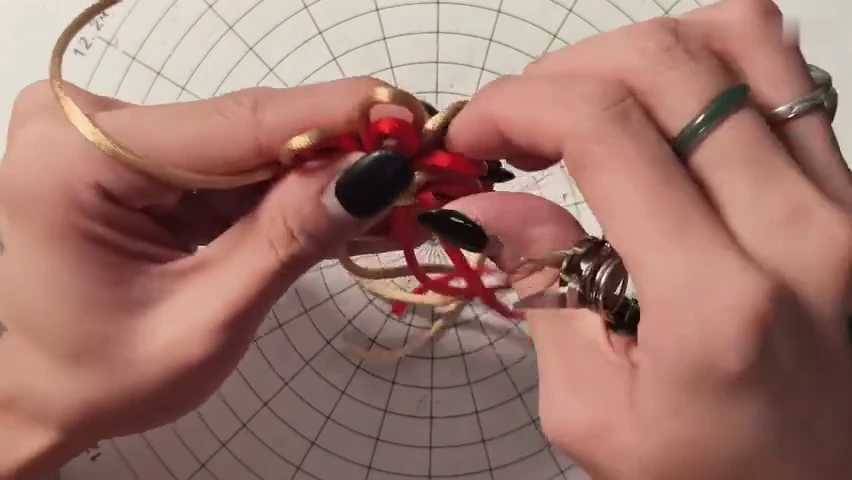
10. Dress the two colours together
Transfer small amounts of slack through the gold and red routes. Compare neighbouring loops and straighten strands as the centre becomes compact.
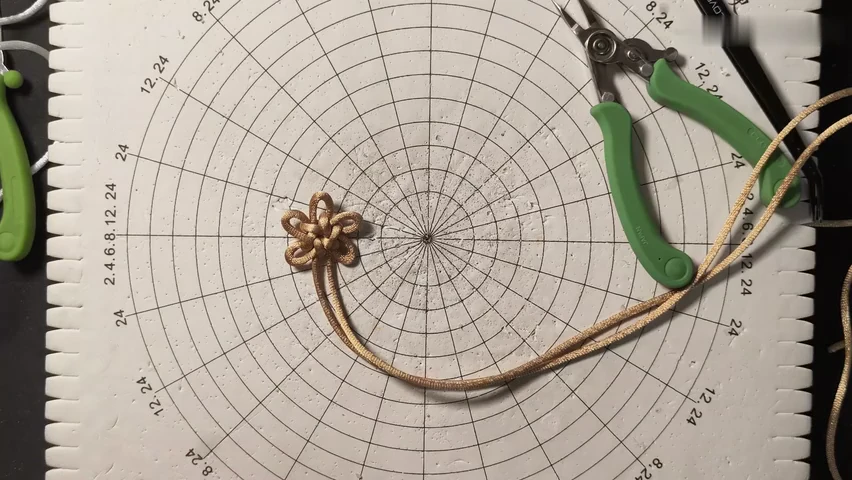
11. Prepare a tightened base for lower edging
Begin lower edging with a compact gold Tuan Jin knot. Unlike the first two demonstrations, its woven centre is already closed.
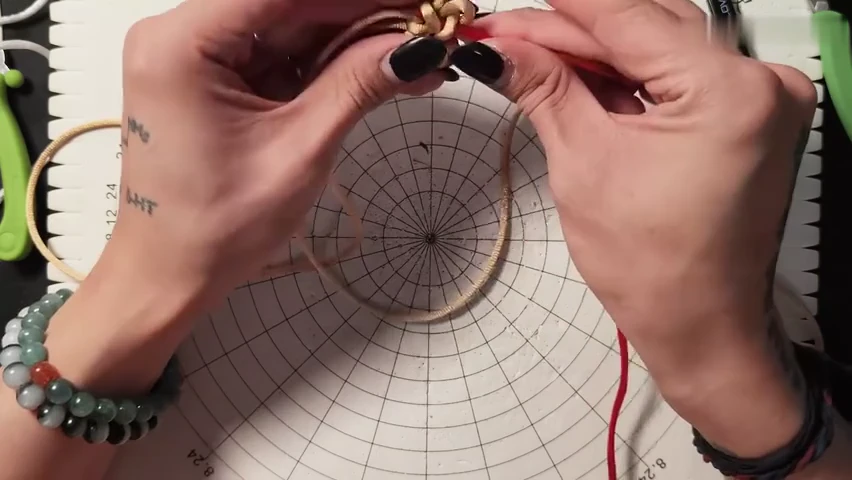
12. Thread the first edging passage
Use the prepared red tip or threading needle to feed the added cord through the indicated opening. Support the small knot so its shape remains stable.
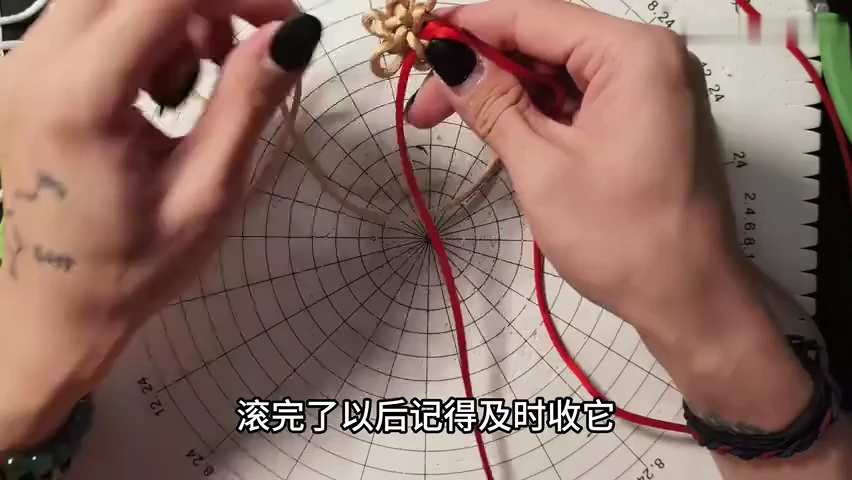
13. Snug the added loop as you work
Close the first added loop gently before moving on. The demonstration tightens each completed edging turn as the route progresses.
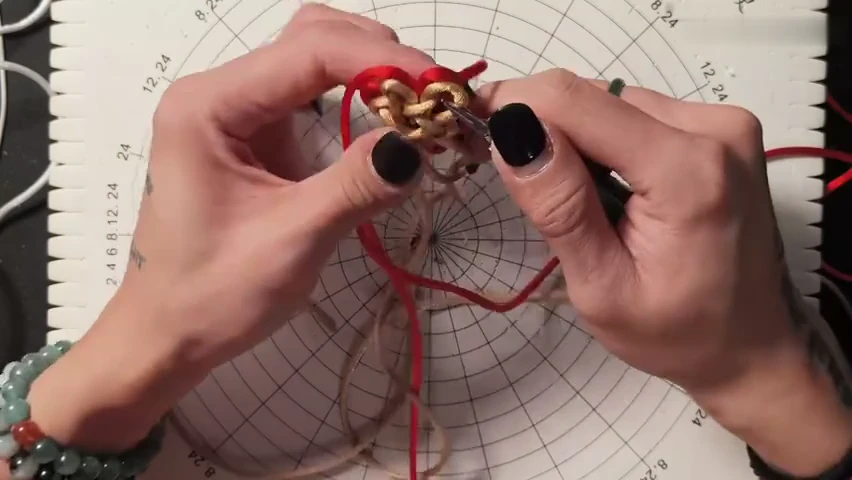
14. Continue around the tightened base
Repeat the demonstrated passage at neighbouring loops. Keep the red additions even while preserving the compact gold frame.
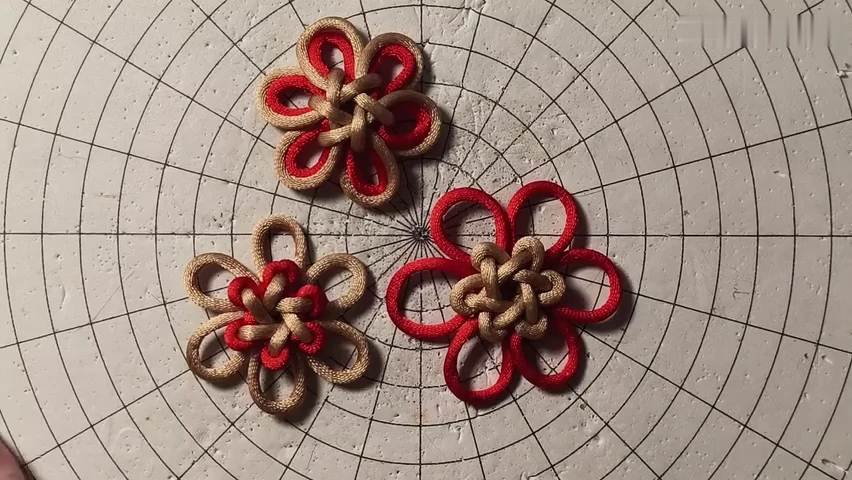
15. Compare the three finished samples
Lay the three knots side by side. Compare where the red loops sit around the gold faces and check that each base retains balanced outer ears.
Check your finished piece
- The added cord follows the selected edging method consistently around the base.
- The original Tuan Jin face remains compact and recognisable.
- The added loops and original ears have balanced sizes.