
Chinese Knot
Hollow Tuan Jin Knot
Tie an eight-loop Tuan Jin knot with an open centre. Keep the circular route loose on the board, then use the bead shown in the demonstration as a temporary spacer while reducing and balancing the outer loops.
八耳空心团锦结
24:28 in total. Parts continue in order. Use English subtitles to switch captions on or off.
Follow the making process.
These checkpoints come from the demonstration. Replay the movement before tightening a hidden crossing.
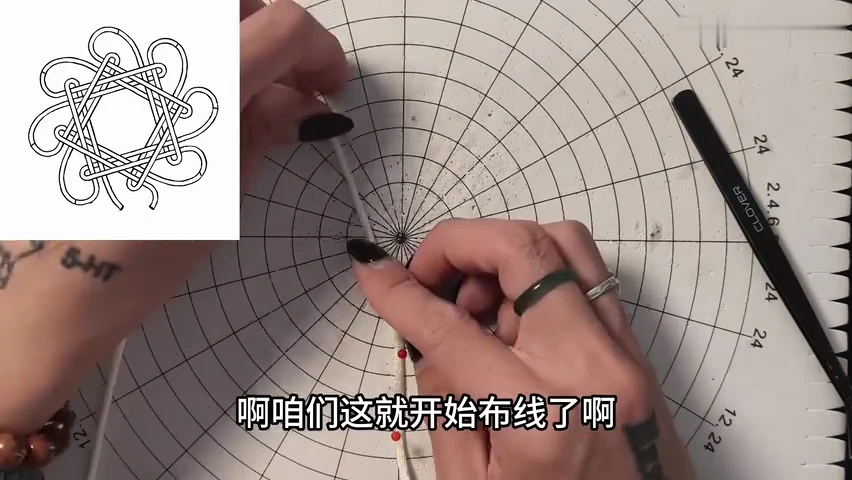
01. Fix the cord on the radial guide
Pin the starting fold near the centre of the guide. Spread the working cord so each new turn can be held independently.
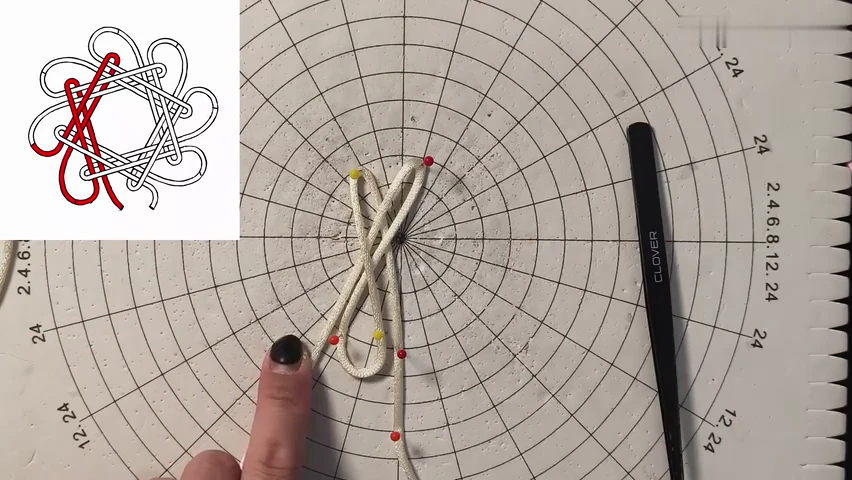
02. Lay the first open crossing
Form the initial long fold and its crossing as shown by the highlighted route. Keep both openings loose and secure their turns with pins.
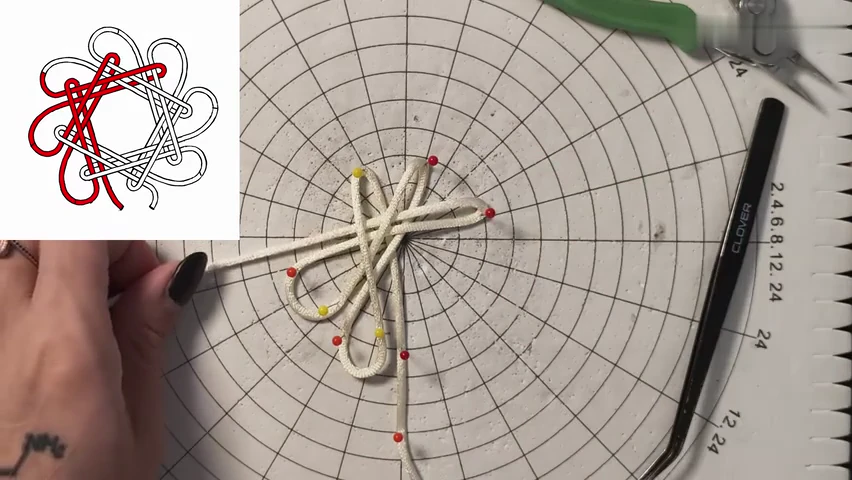
03. Continue around the circular layout
Add the next loops around the centre. Keep their radial positions visible while following the red-highlighted route through earlier folds.
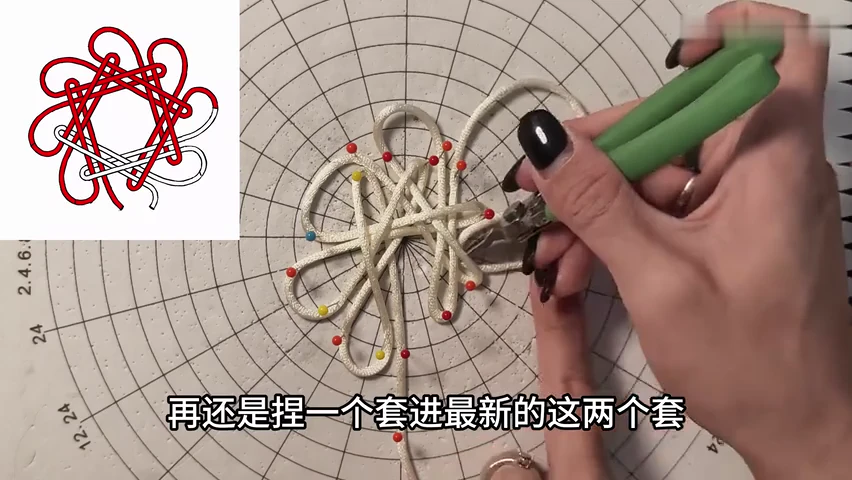
04. Finish the first route around the ring
Work the remaining folds around the pinned arrangement. Compare the crossing pattern with the diagram before starting the return section.
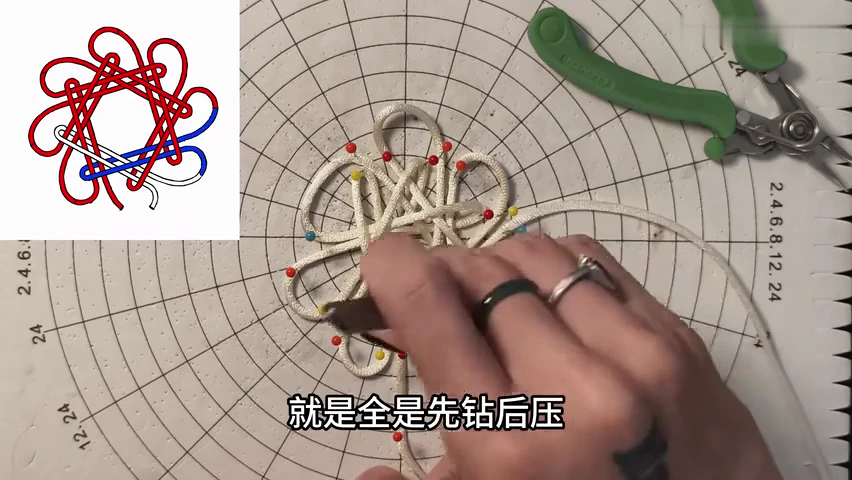
05. Start the returning interlacing
Follow the blue-highlighted path back through the existing loops. Separate the intended entry from neighbouring strands with the pointed tool.
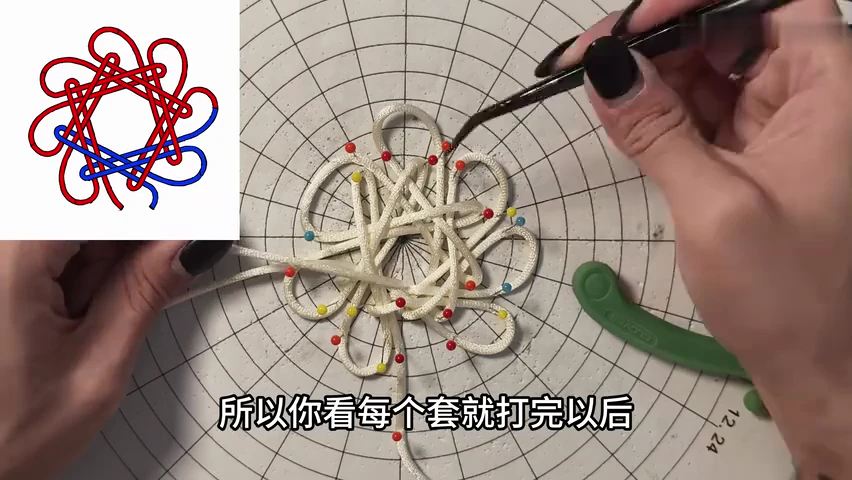
06. Complete the final pinned passages
Finish each returning loop and inspect its entry and exit. Keep the central crossings open until the route is complete.
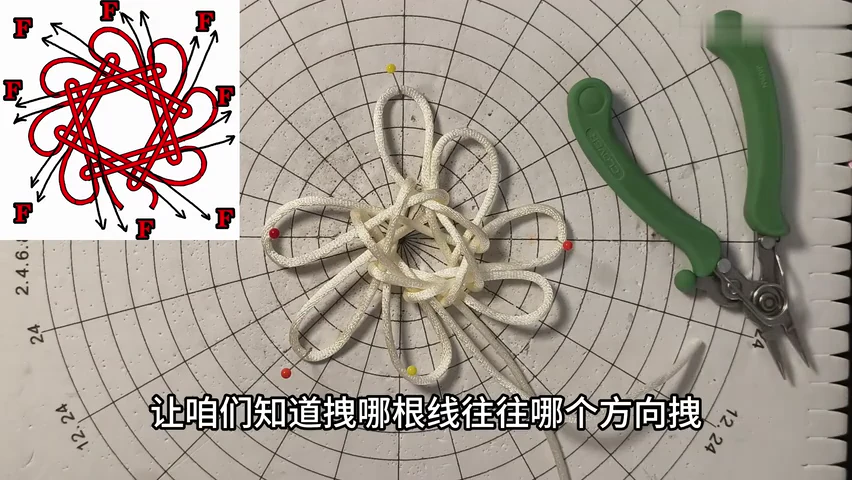
07. Release the pins and expand the ears
Remove the supports while holding the middle. Draw the eight outer loops outward in the directions marked on the diagram.
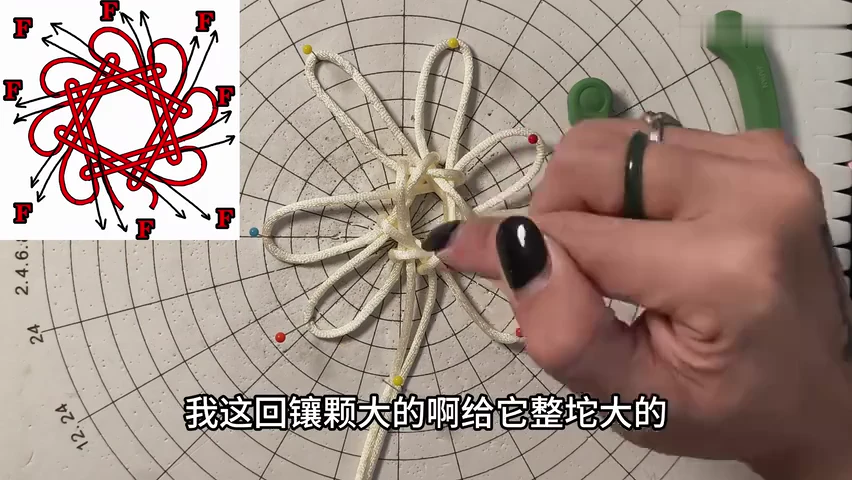
08. Open the centre
Ease the strands around the central opening apart. Keep the surrounding ears broad while establishing the hollow middle.
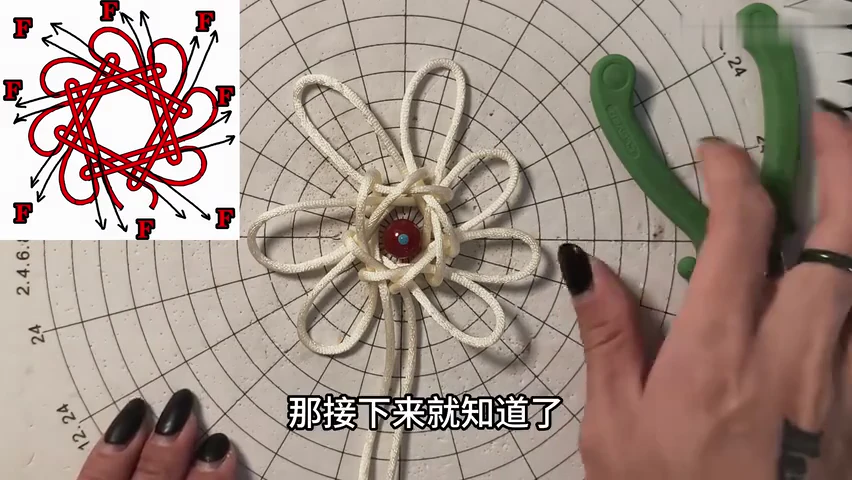
09. Place the temporary bead spacer
Set the bead into the central opening as shown. Keep it centred while preparing to reduce the surrounding slack.
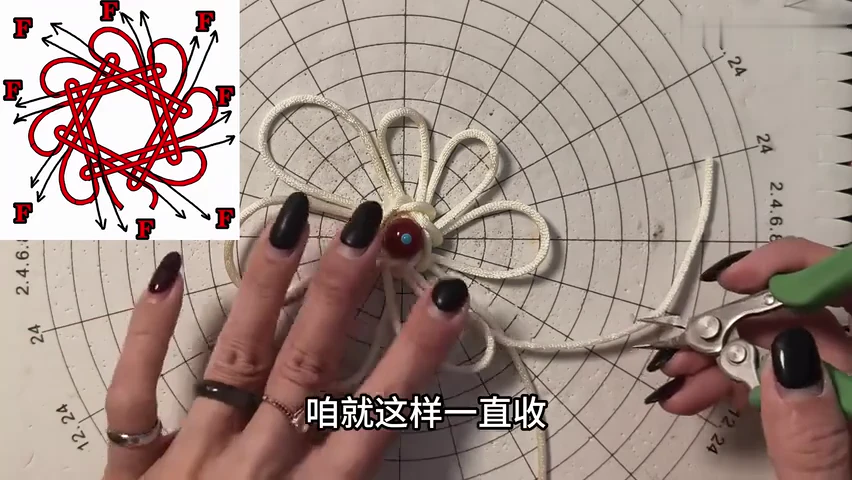
10. Reduce slack around the ring
Transfer cord through the neighbouring ears in small amounts. Let the bead keep the middle open while the woven ring becomes compact.
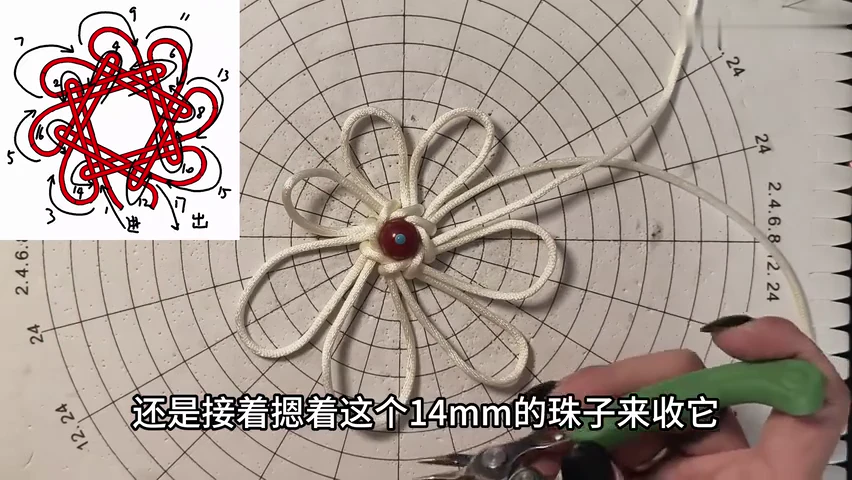
11. Follow the numbered dressing route
Continue around the route in the diagram. Move surplus from each large loop into the next passage while retaining the opening around the spacer.
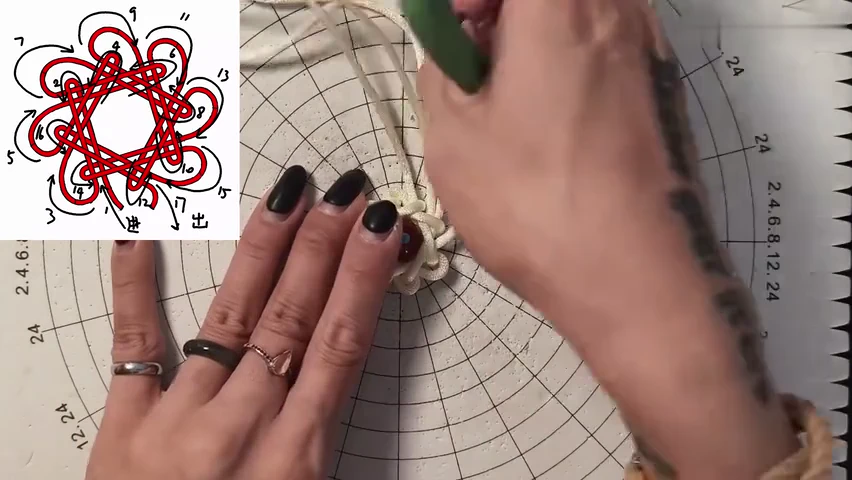
12. Balance the small outer ears
Reduce the remaining large folds and compare the eight ears. Keep the ring evenly spaced around its open centre.
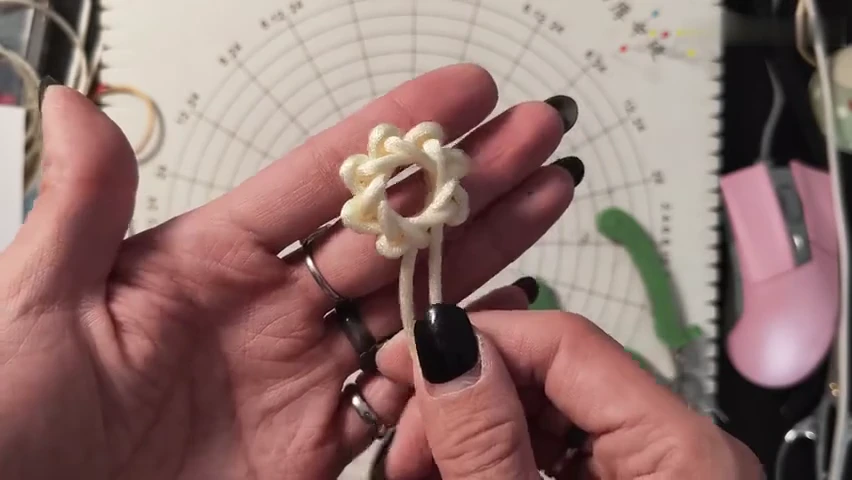
13. Inspect the opening without the spacer
Take the shaped knot into your hand and check the empty centre. Ease the eight ears into a balanced ring without closing the hole.
Check your finished piece
- A clear central opening remains after the temporary spacer is removed.
- Eight small outer ears form a balanced ring.
- The interlacing around the opening is compact, with no large temporary fold.