
Chinese Knot
Triangular Bao Knot
Arrange six repeated folds on a pin board, then work the remaining routes through them to build a triangular Bao knot. The long closing stage shows how the loose fan of loops becomes a compact triangular face.
三角形宝结
36:29 in total. Parts continue in order. Use English subtitles to switch captions on or off.
Follow the making process.
These checkpoints come from the demonstration. Replay the movement before tightening a hidden crossing.
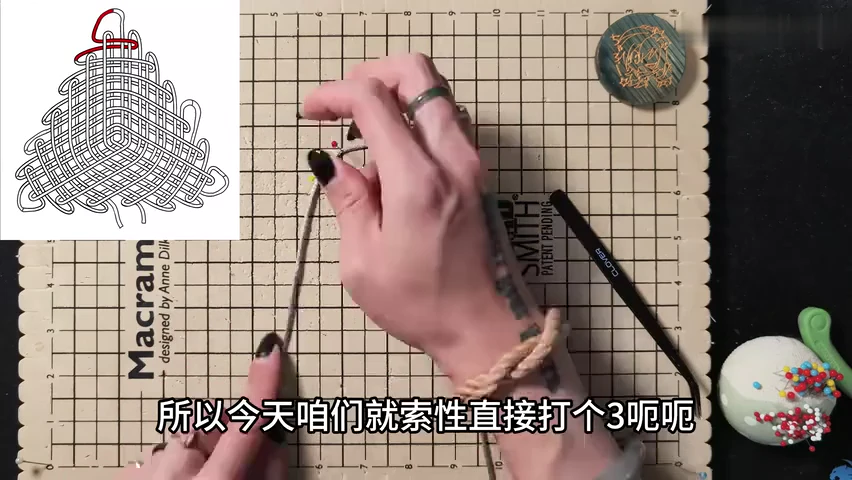
01. Pin the starting fold
Fix the cord near its middle on the board. Spread the long ends apart and establish the small top fold shown in the diagram.
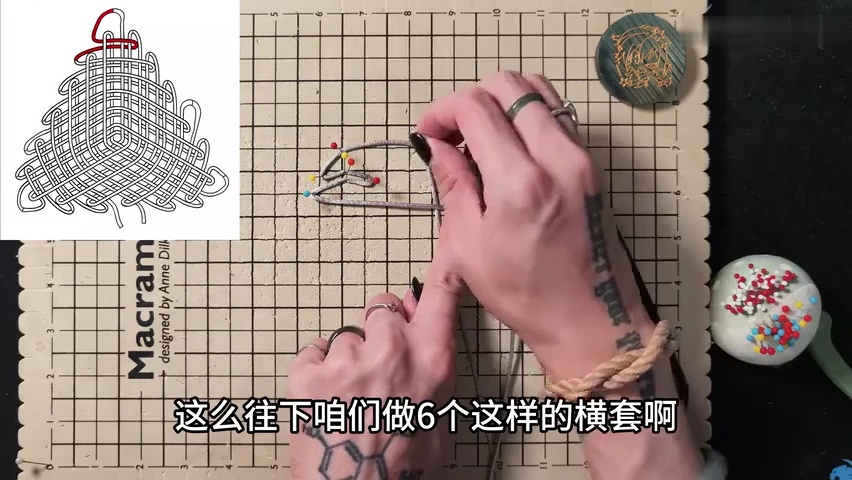
02. Begin the six horizontal folds
Work downward from the top fold. Pin each horizontal return separately, keeping the developing triangular arrangement open.
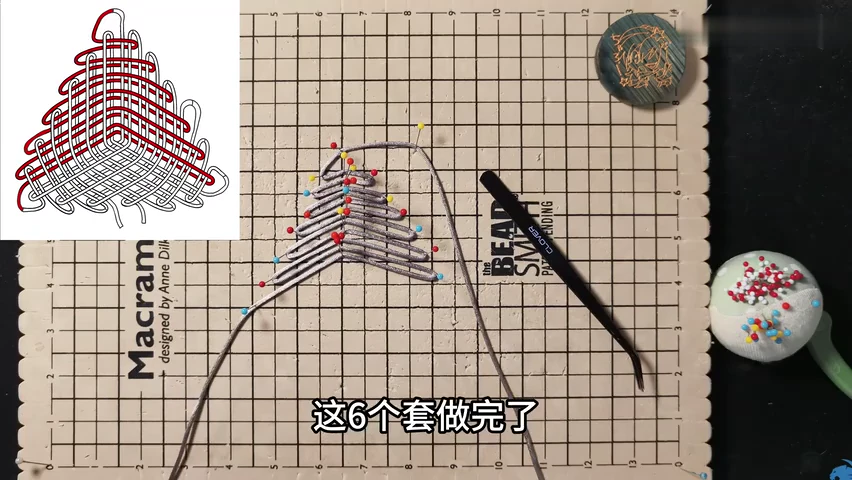
03. Check all six initial folds
Count the six folds identified in the demonstration. Compare their spacing and long working ends with the first highlighted route.
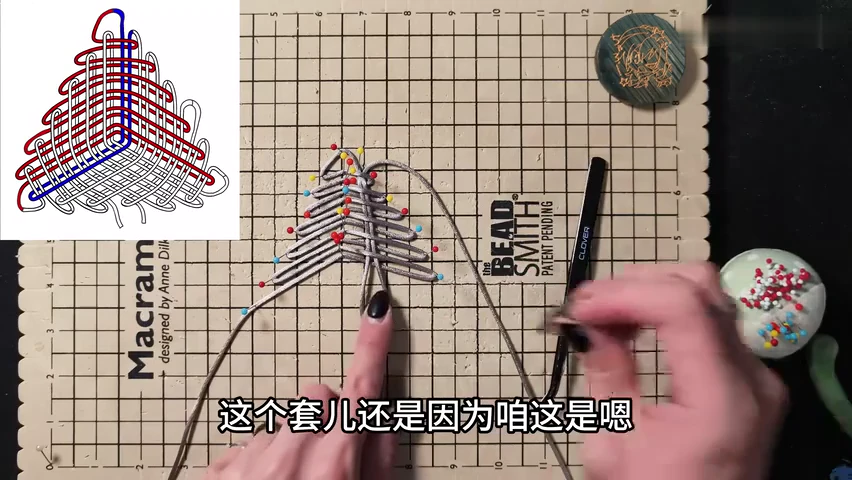
04. Start the second interlacing route
Bring the next working length through the existing folds along the blue-highlighted path. Keep the first set supported by its pins.
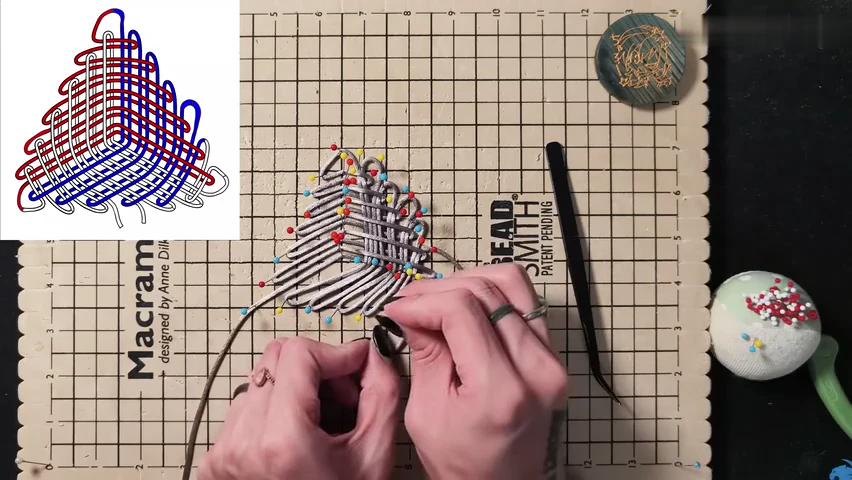
05. Continue through the lower folds
Repeat the demonstrated interlacing through the remaining folds. Maintain the broad lower section instead of pulling it closed.
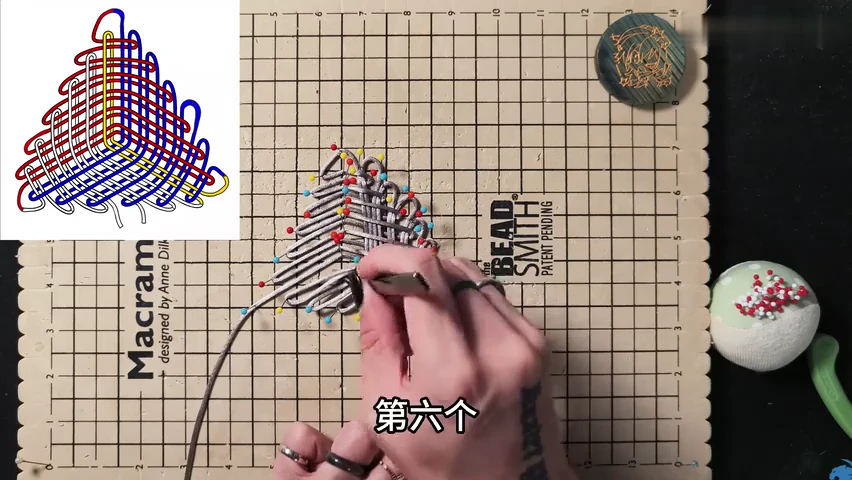
06. Place the sixth return
Complete the sixth passage of this route. Check that its turn joins the layout in the position shown by the diagram.
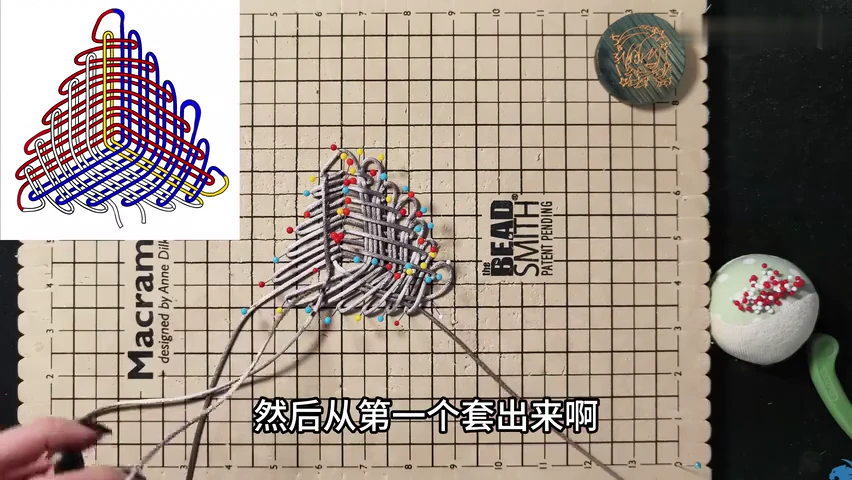
07. Begin the final return route
Bring the working length out through the first indicated loop. Follow the yellow-highlighted route through the open arrangement.
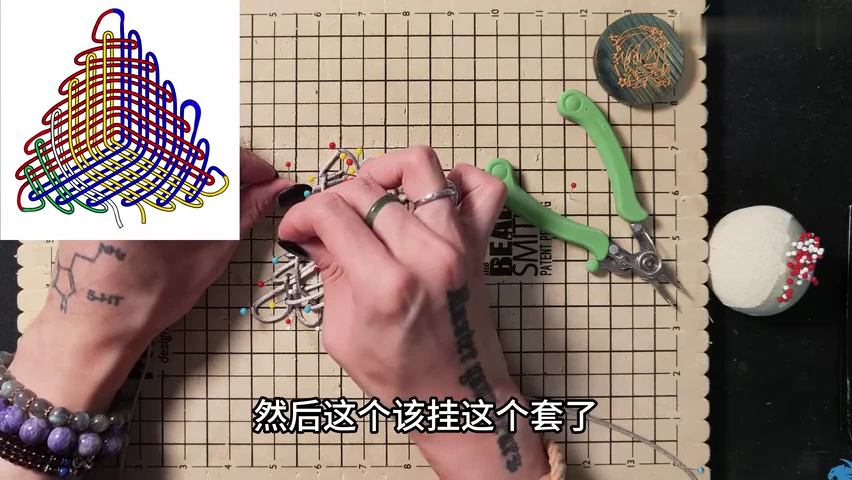
08. Work the last interlaced folds
Continue the final returns through the triangular lattice. Use the pointed tool to identify the next fold without changing nearby crossings.
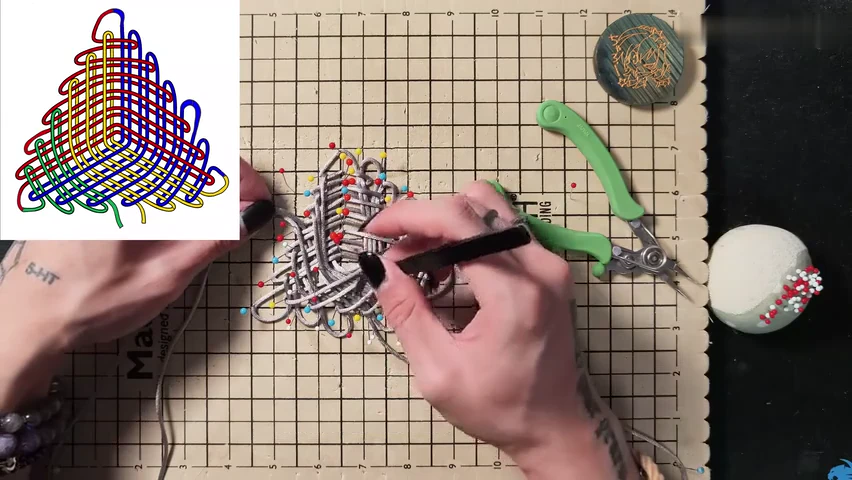
09. Inspect the complete loose routes
Compare the pinned triangle with the fully coloured diagram. Check the entries and exits before removing the supports.
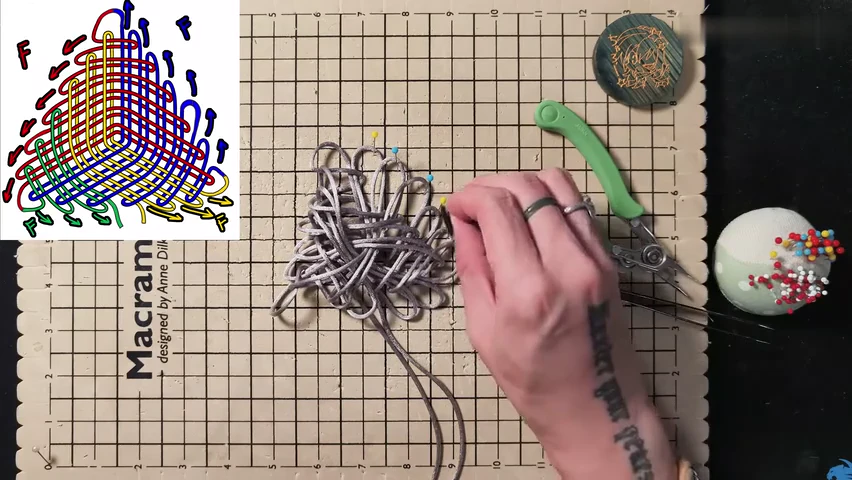
10. Release the pins and draw the folds outward
Support the centre while removing pins. Open the outer folds in the directions marked on the diagram to begin closing the lattice.
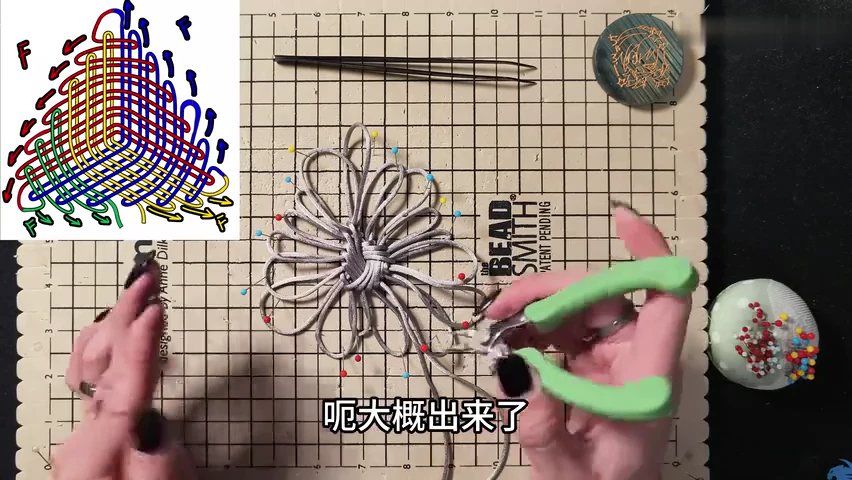
11. Spread the loose loops around the centre
Draw out the remaining broad folds. Keep the small triangular centre visible while the temporary loops remain large.
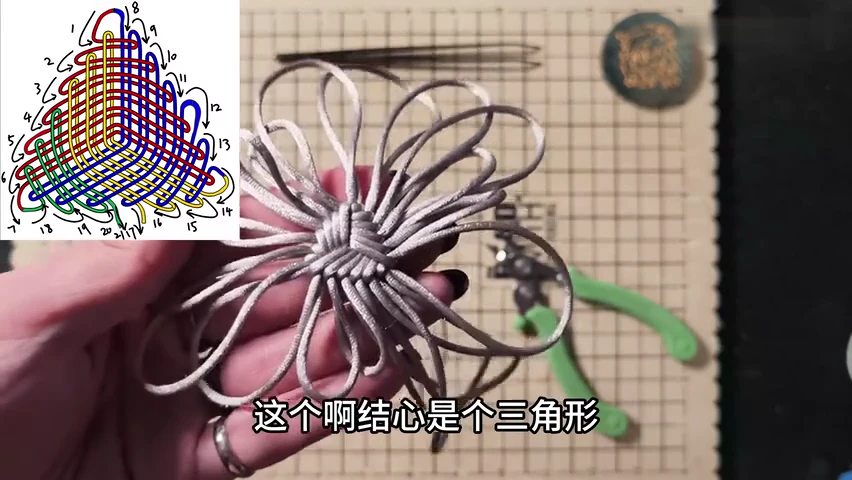
12. Check the triangular centre in your hand
Lift the knot and inspect its middle. The woven centre should show the triangle even though the surrounding folds are still oversized.
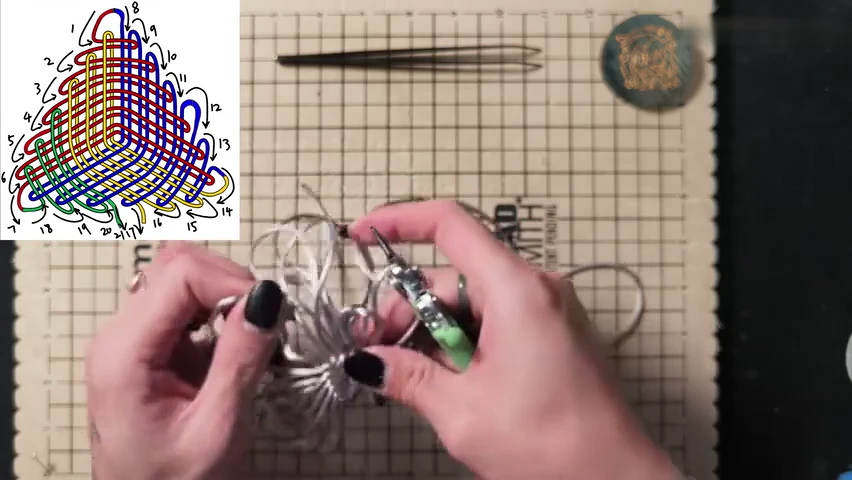
13. Transfer slack around the knot
Follow the cord through the large loops, reducing them in stages. Support the centre and straighten neighbouring strands as slack moves.
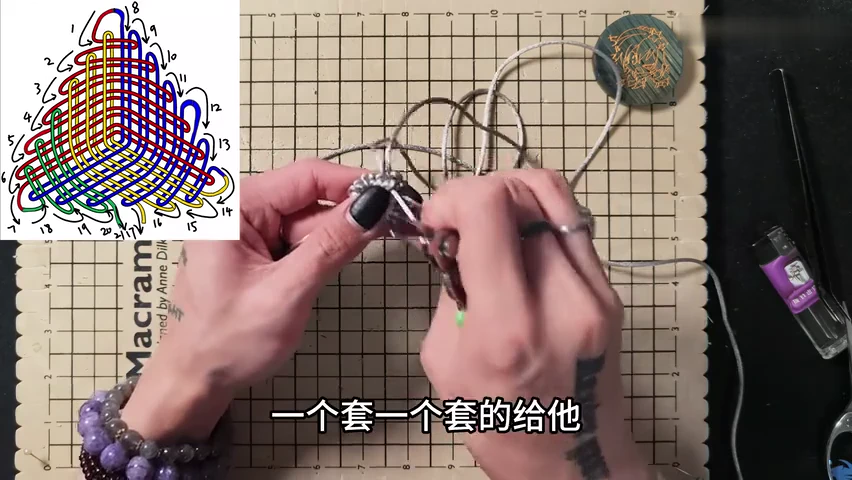
14. Reduce the remaining temporary folds
Continue loop by loop until the excess cord reaches the ends. Preserve the triangular face while making the final small adjustments.
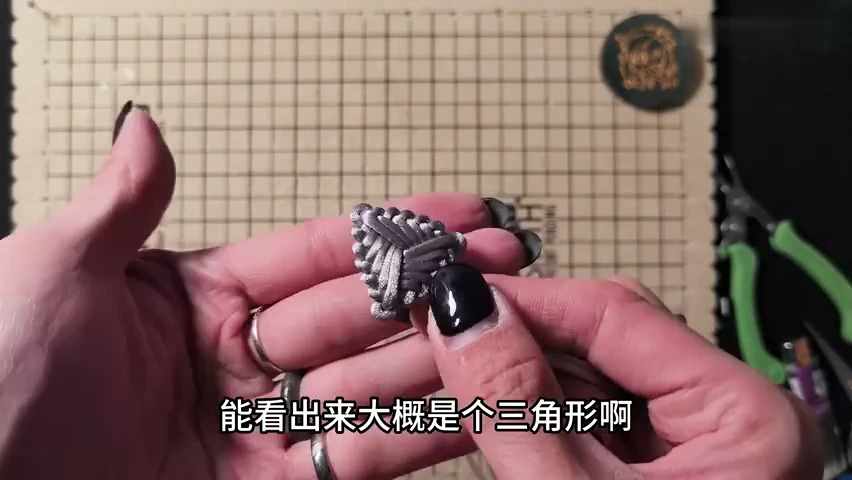
15. Set the three-sided face
Align the parallel strands and small edge turns so the compact triangular outline remains clear.
Check your finished piece
- The final woven face has three clear sides.
- The rows lie together without a large loose fold.
- The edge turns sit evenly around the triangular centre.