
Chinese Knot
Hand-Tied Small Chinese Knot
Tie a button knot beneath a hanging loop, then use your fingers to hold the open crossings for a small woven knot. The demonstration continues through tightening the centre and balancing the side loops.
小中国结
8:34 in total. Parts continue in order. Use English subtitles to switch captions on or off.
Follow the making process.
These checkpoints come from the demonstration. Replay the movement before tightening a hidden crossing.
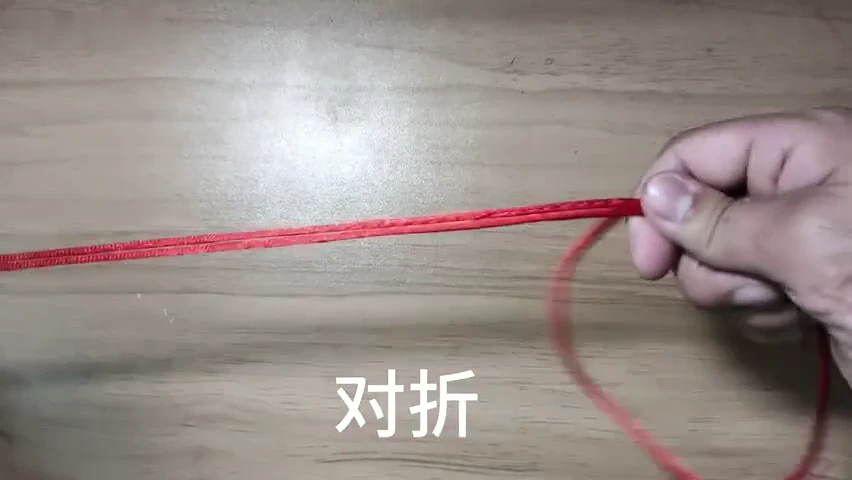
01. Fold the practice cord
Bring the two ends together and fold the cord at its middle. Keep enough free cord on both sides to work the crossings.
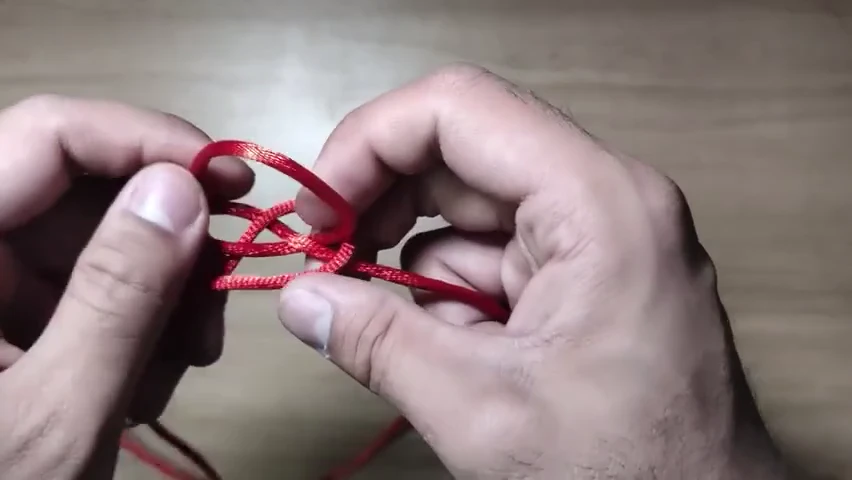
02. Make the button-knot base
Leave the folded loop above your fingers. Make the loose, interlaced button-knot base beneath it, following the slow loop-and-return sequence.
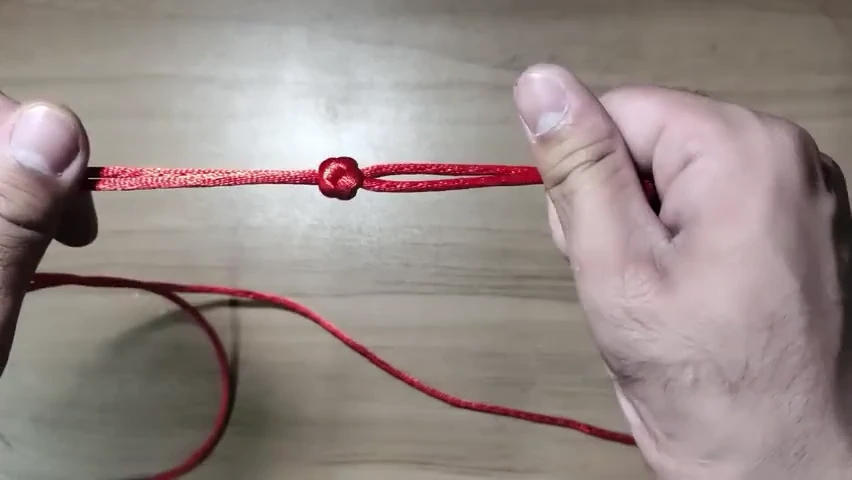
03. Set the hanging loop
Ease the button knot closed a little at a time. Keep the hanging loop above the compact knot and separate the two long working ends below it.
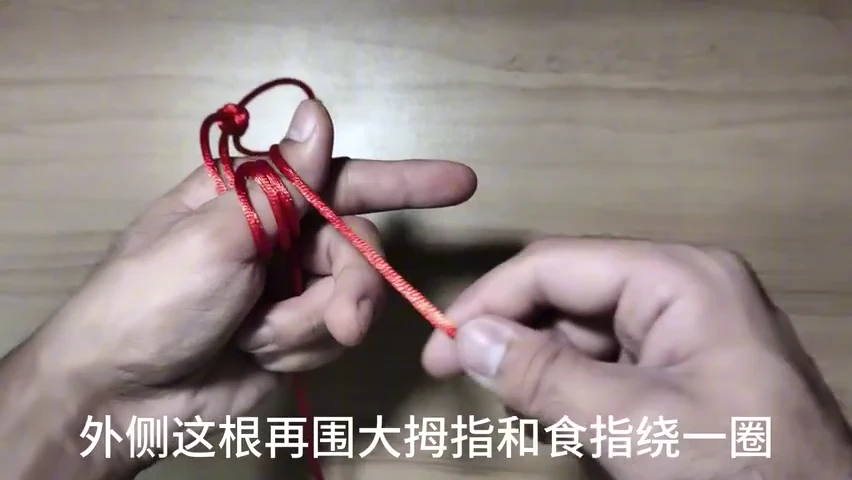
04. Hold the first wraps on your fingers
Lay the cord across your palm. Take the outer strand around your thumb and index finger as shown, keeping the wraps open.
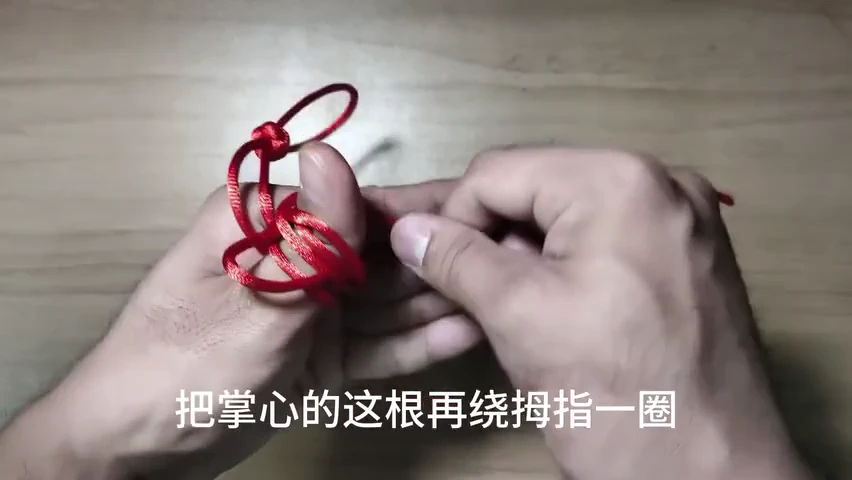
05. Wrap the inner strand around the thumb
Take the strand resting against your palm around the thumb once more. Hold the earlier wraps so they do not change position.
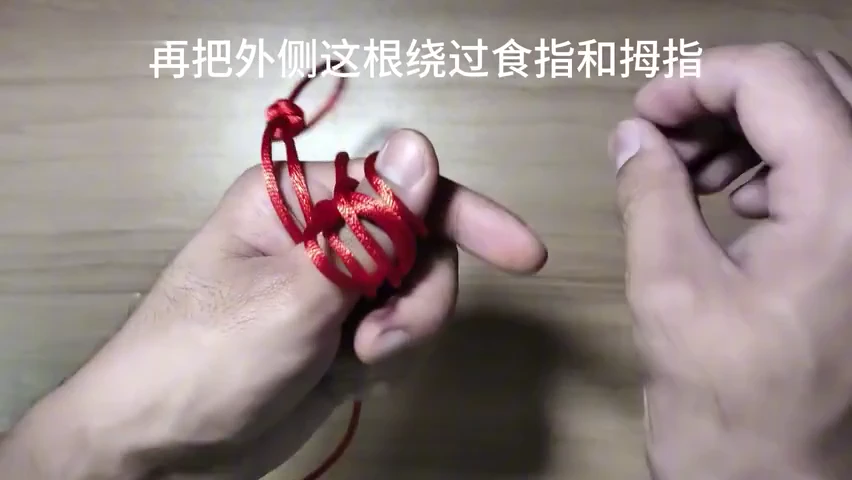
06. Return the outer strand across the hand
Bring the outer strand around the index finger and thumb again. Maintain the parallel open strands held between them.
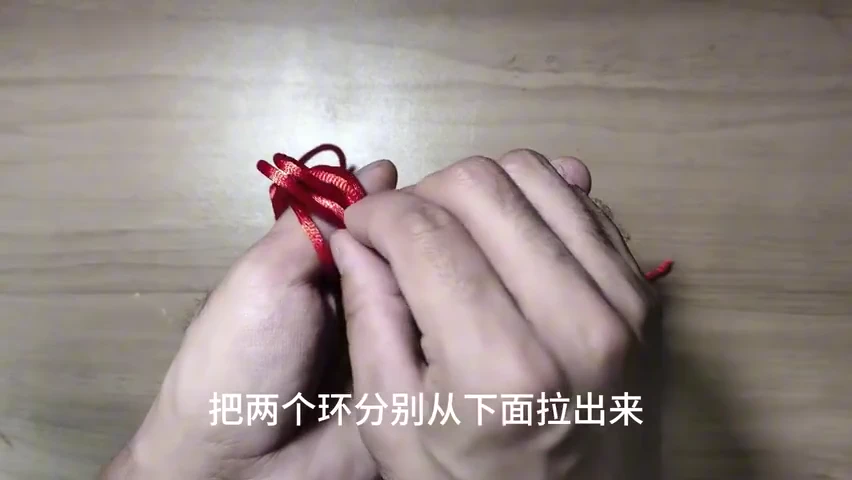
07. Pull the two open loops out below
Following the passage at the thumb-index gap, draw the two loose loops out from underneath. Keep them separate while your fingers still support the arrangement.
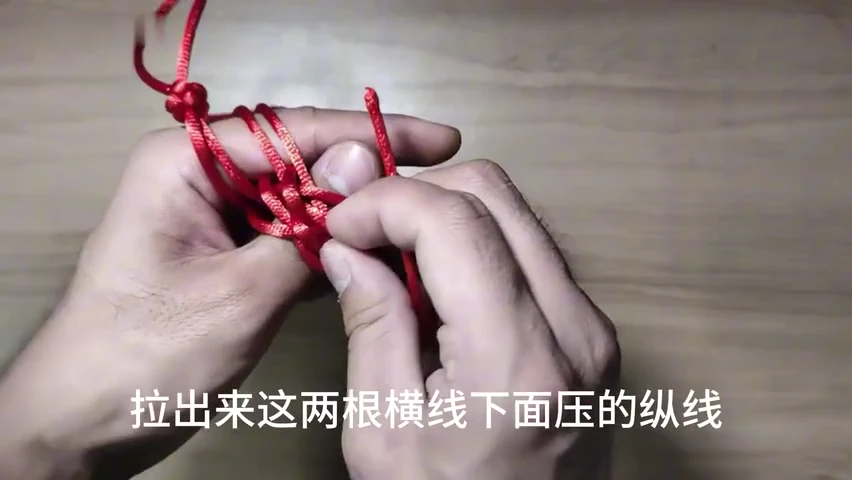
08. Lift the strands beneath the crossbars
Draw out the strands held beneath the two horizontal crossbars shown in the close-up. Keep the open lattice in place on your hand.
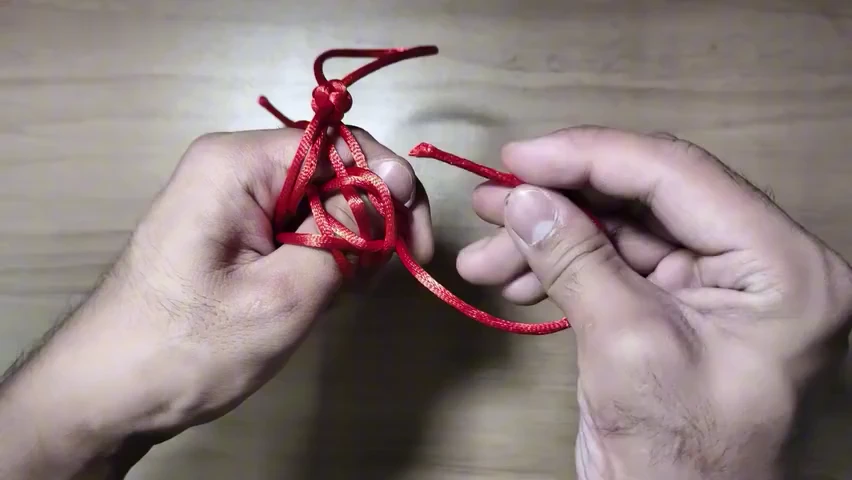
09. Complete the last return pass
Feed the remaining end through the held crossings along the demonstrated path. Leave the side openings large while this last pass is placed.
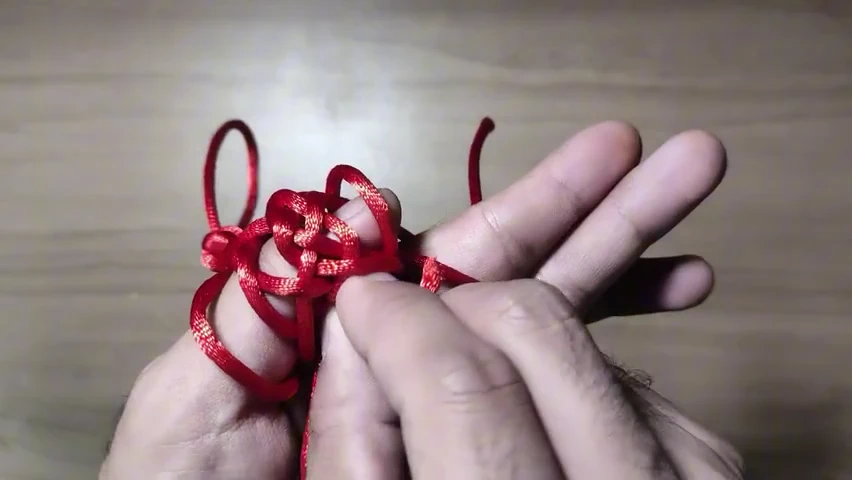
10. Release the loose structure from your hand
Ease your fingers out of the loops while supporting the centre. Check that the hanging loop, side openings and two ends remain distinct.
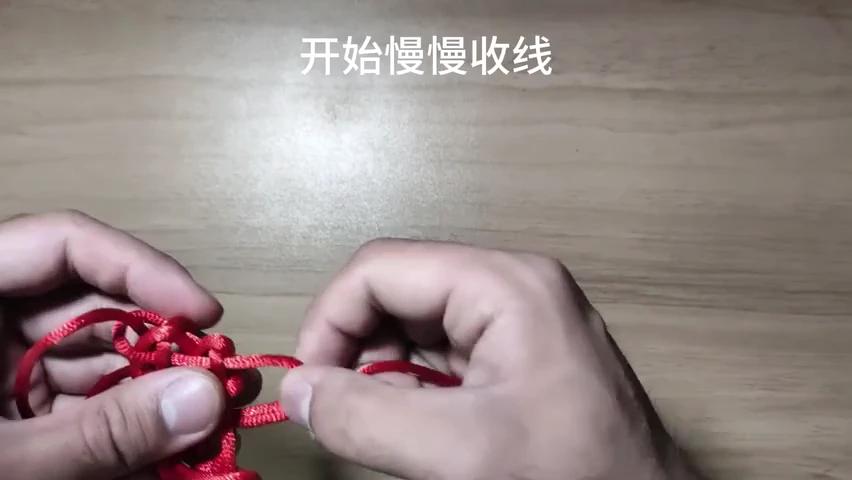
11. Begin tightening the centre
Hold the two working ends and reduce the slack gradually. Keep the side loops accessible instead of pulling them shut at once.
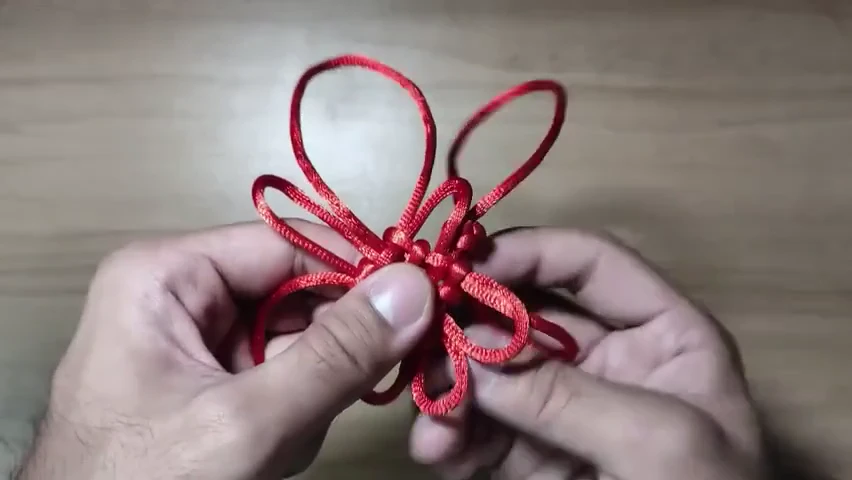
12. Transfer slack through the loops
Follow the cord around the woven centre, moving slack into the next loop a little at a time. Reduce oversized openings while maintaining the crossings.
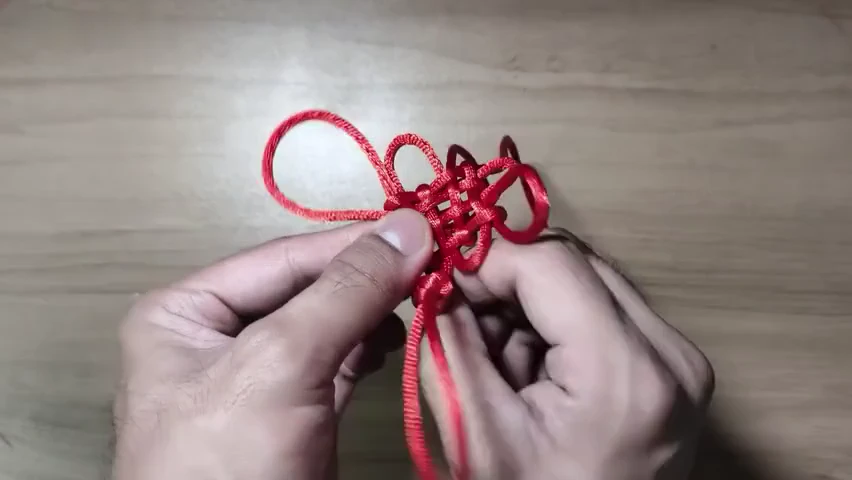
13. Balance the small woven body
Straighten the central rows and ease the side loops toward a balanced size. Keep the button knot separate above the main body.
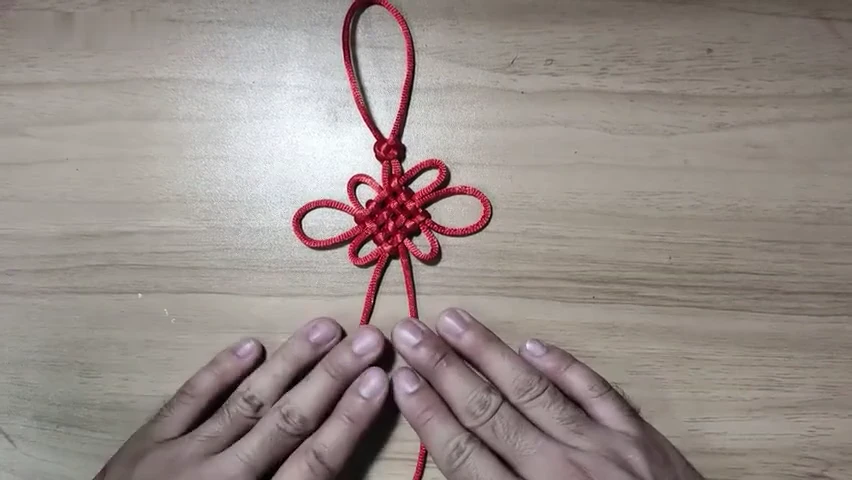
14. Lay out the finished knot
Place the knot flat and compare the two sides. Adjust the hanging loop, side ears and loose ends in small amounts to settle the final shape.
Check your finished piece
- A compact button knot sits below the upper hanging loop.
- The main body has an orderly woven centre and balanced side openings.
- The two working ends leave beneath the body without a large temporary loop.