
Chinese Knot
Eight-Loop Star Knot
Build the eight-loop star route on a pin board, using the numbered diagram to track its crossings. After completing the loose route, release the pins and follow the cord around the centre to balance all eight outer loops.
星辰结(八耳)
13:40 in total. Parts continue in order. Use English subtitles to switch captions on or off.
Follow the making process.
These checkpoints come from the demonstration. Replay the movement before tightening a hidden crossing.
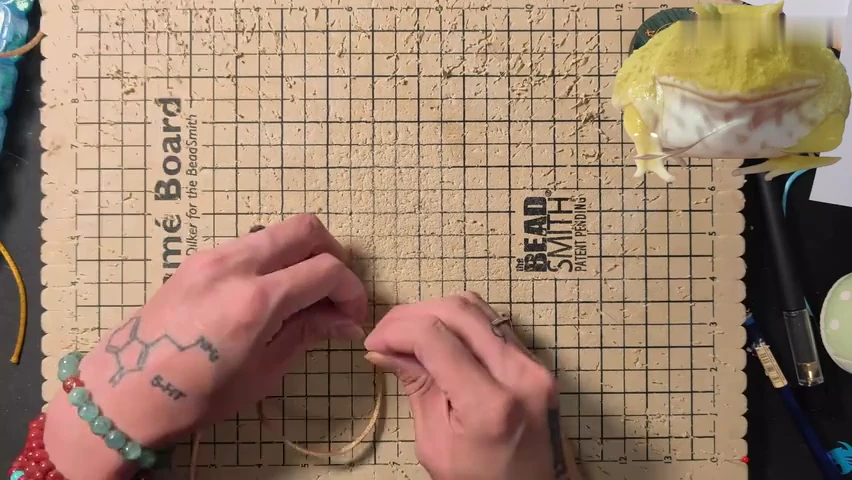
01. Pin the first open loop
Place the cord on the board with its first loop open. Use pins to hold the bend while leaving the long working end free.
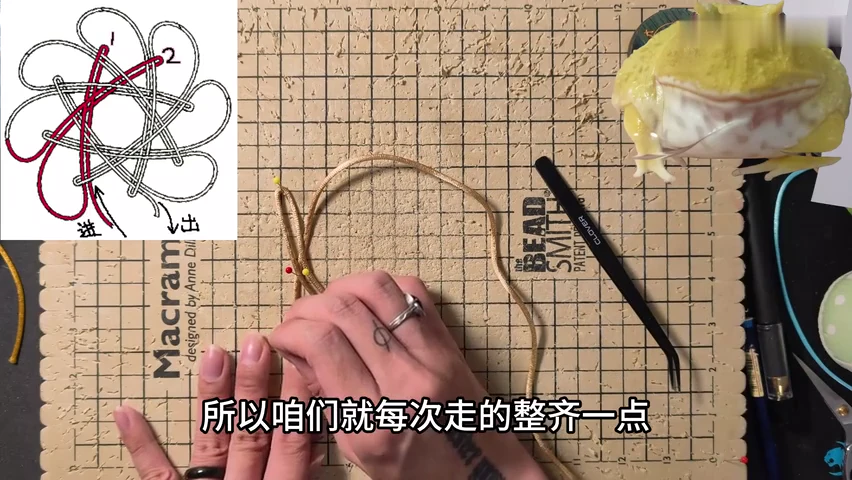
02. Bring the second loop around the first
Follow the highlighted second passage in the numbered diagram. Keep the new loop broad and hold its crossing with the existing pinned loop.
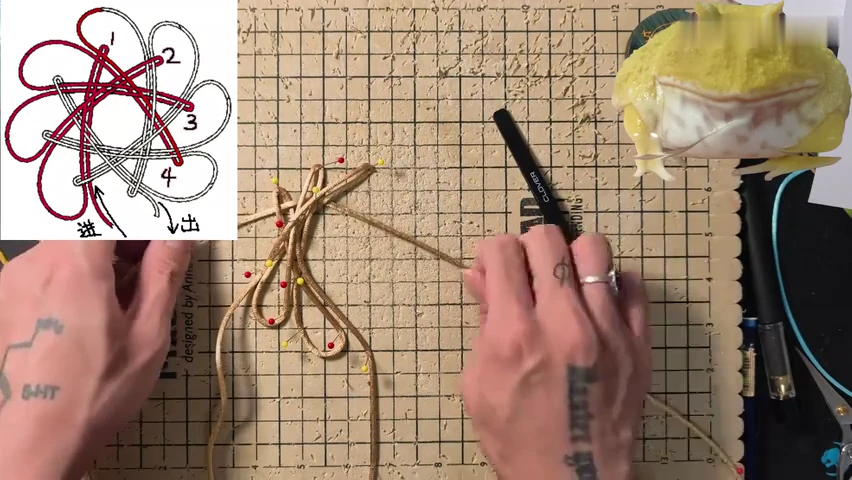
03. Continue the numbered crossings
Add the following loops in the diagram's order. Use the pins to keep each opening visible while passing the working end through the developing arrangement.
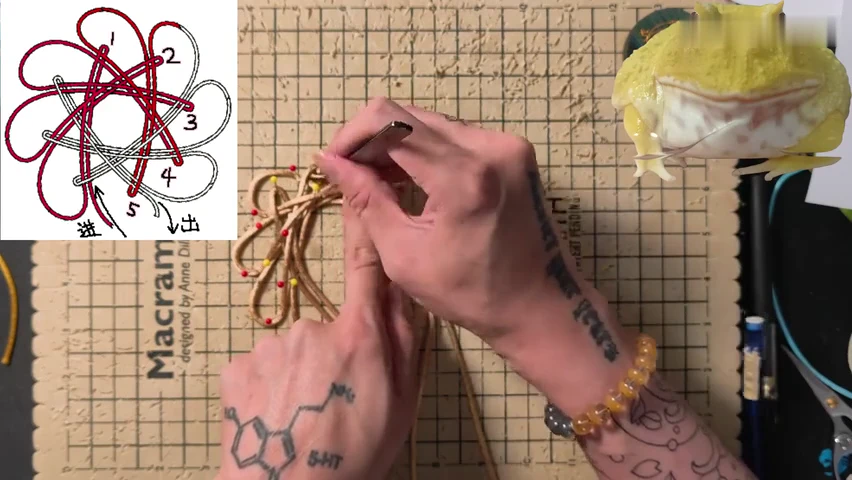
04. Keep the middle passages open
Work around the central crossings as the diagram highlights the next passages. Move the end through without tightening the outer loops.
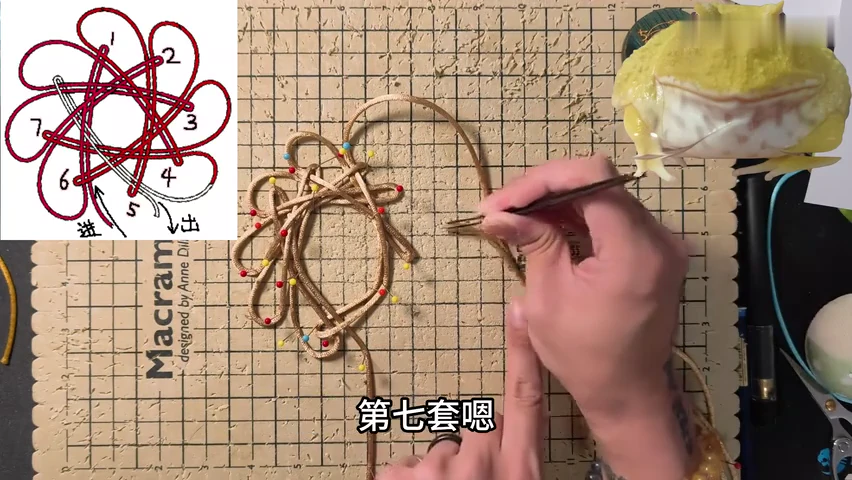
05. Add the seventh loop
Form the seventh numbered loop beside the loose route. Check its entry against the highlighted diagram before placing the next return.
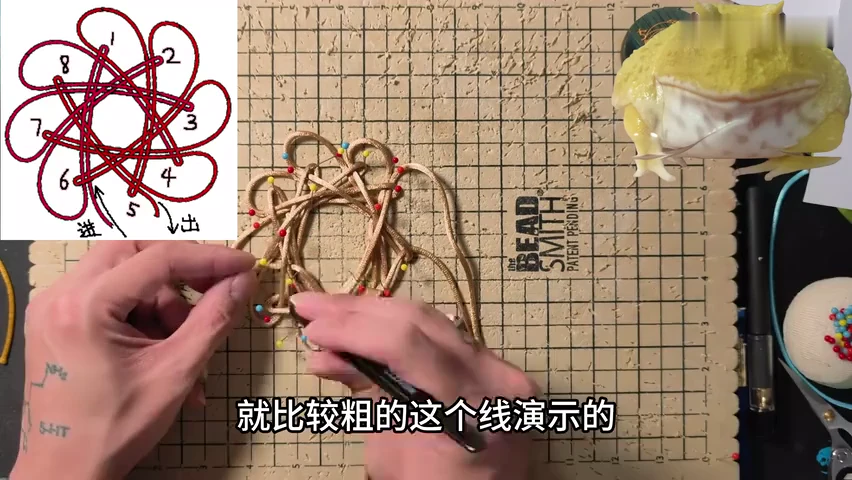
06. Complete the eighth loop
Follow the final numbered loop and its return through the earlier crossings. Keep the whole arrangement loose enough to see the path.
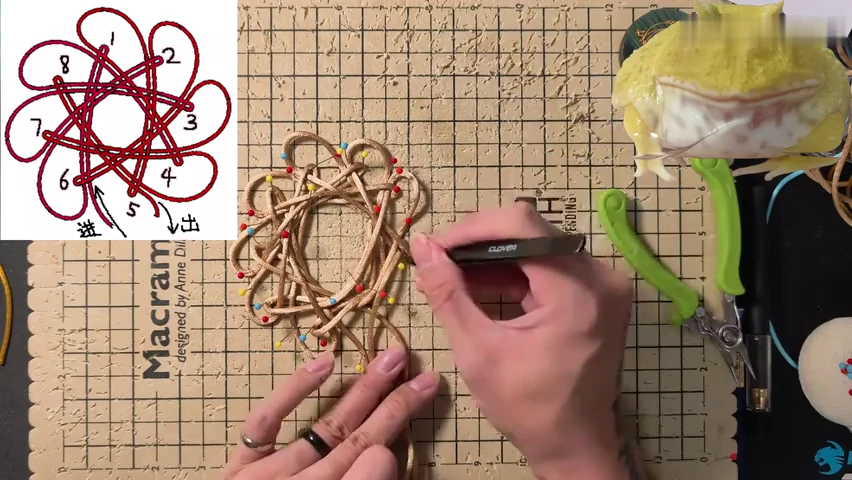
07. Inspect the completed loose route
Compare the full pinned arrangement with the eight-loop diagram. Check the final returned end before removing the supports.
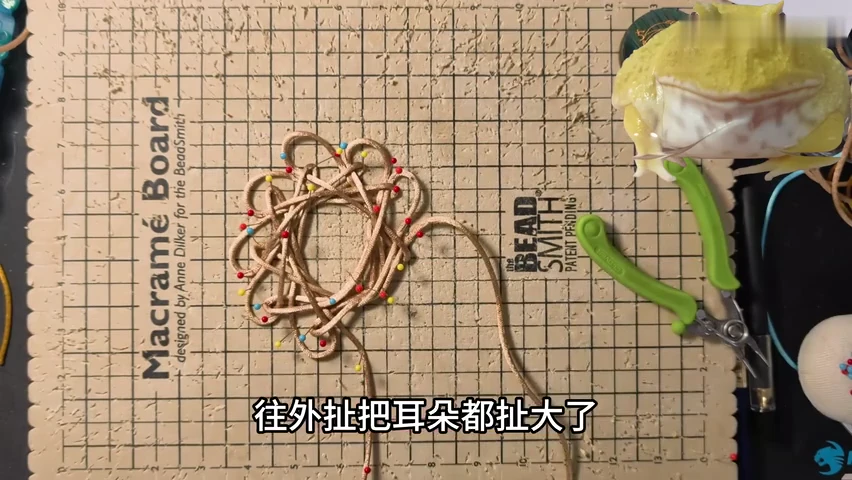
08. Release the pins and open the ears
Remove the pins and draw the main loops outward gently. Keep the centre supported so its crossings remain in place.
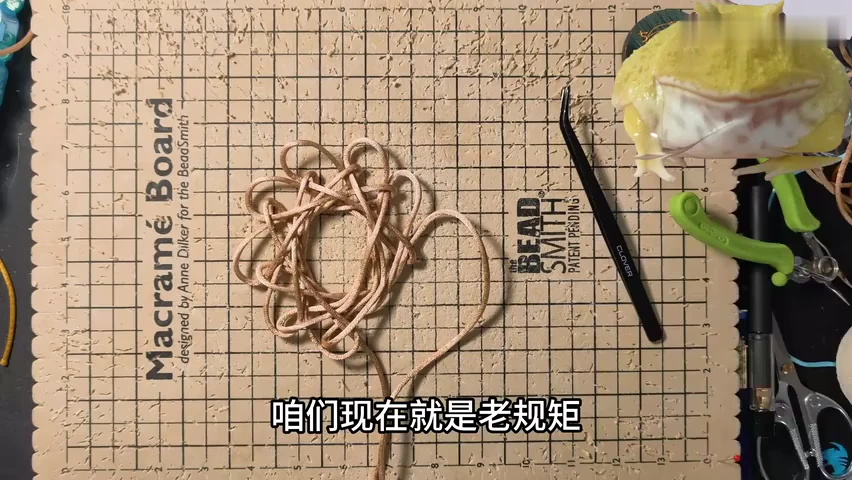
09. Find the slack through the centre
Trace the continuous cord through the loose knot. Use the pointed tool to open a tight passage and transfer slack into the next loop.
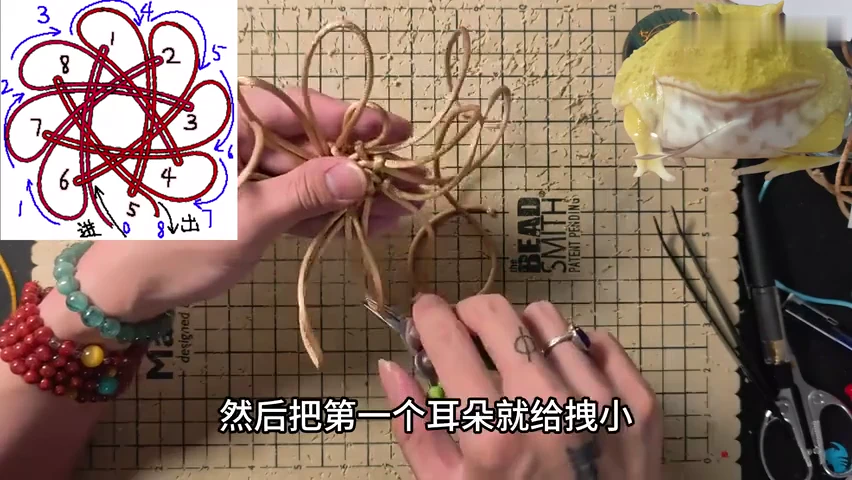
10. Reduce the first oversized loop
Hold the knot close to your fingers and draw slack through the first ear. Use the diagram to identify which neighbouring passage receives the slack.
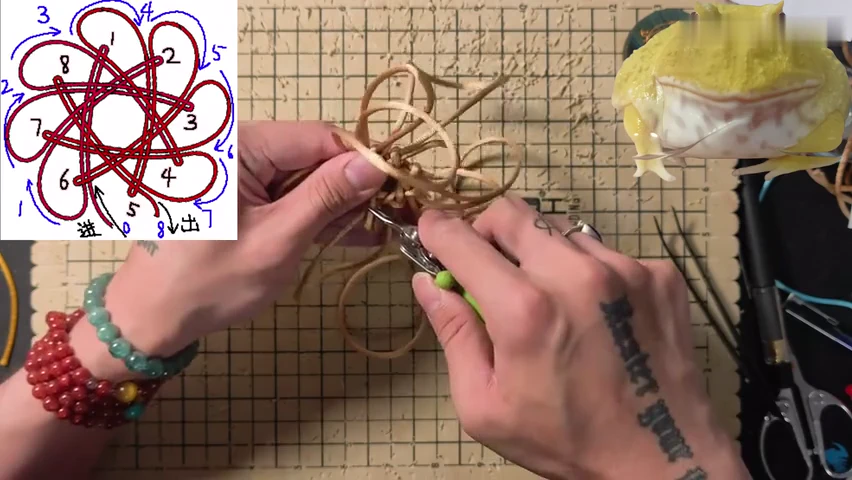
11. Continue around the neighbouring ears
Move to the next loop along the cord and repeat the same small adjustment. Work around the knot rather than pulling one end hard.
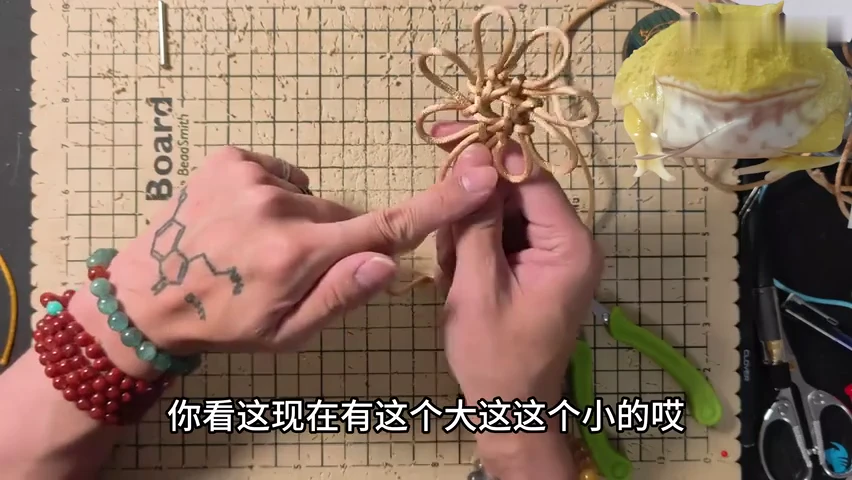
12. Balance the eight outer loops
Compare the sizes of the main ears. Transfer a little slack from larger loops to smaller ones while keeping the star centre compact.
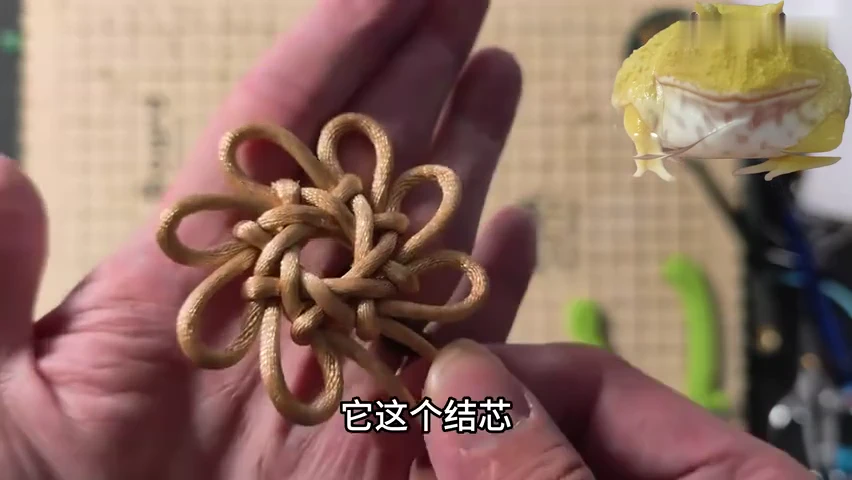
13. Set the radial outline
Hold up the finished knot and inspect its face. Ease the outer loops into a balanced ring around the small woven star centre.
Check your finished piece
- Eight main outer loops remain around the woven centre.
- The centre has a visible star-like crossing pattern and no large temporary slack loop.
- The outer loops have a balanced size, with the working ends distinct beneath the knot.