
Basic knots · Lesson 12 of 18
Square Cross Good Luck Knot
Follow the square variant as a repeating blue-and-white knot band. Leave each crossing loose enough to inspect before seating it against the preceding unit.
方形十字吉祥结
3:55 demonstration. Pause and repeat each movement at your own pace.
Follow the cord, step by step.
Each image comes from this demonstration. Tap its time to replay the movement.
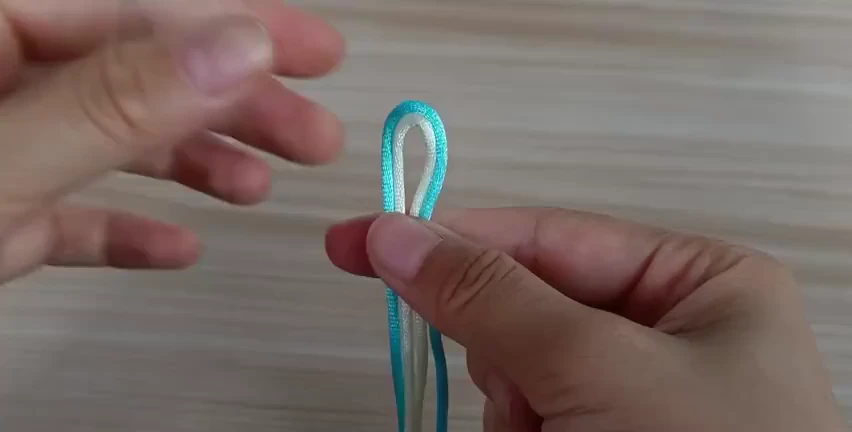
01. Set up the folded cords
Hold the two folded colors together with an upright loop. Separate the strands beneath the pinch point so the blue and white paths stay readable.
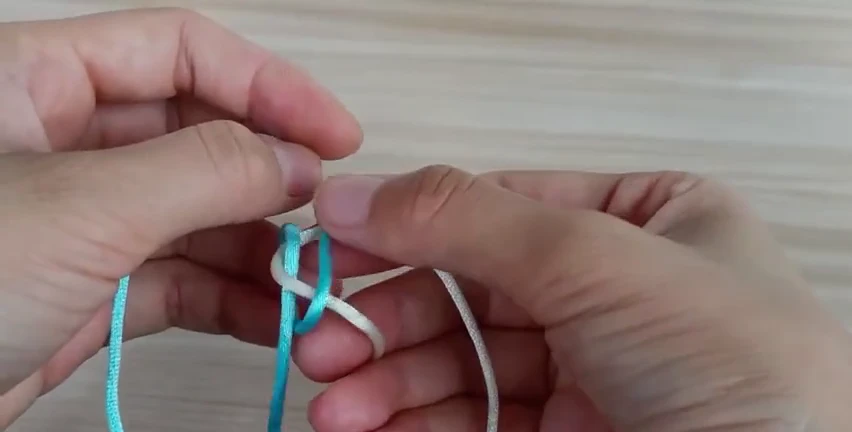
02. Keep both openings visible
Curve the working cord beside the upright loop. Keep the openings loose while you match their positions to the demonstration.
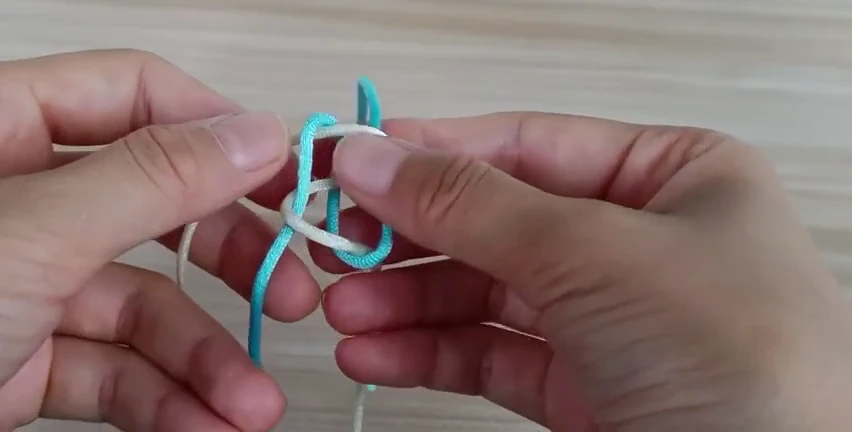
03. Finish the loose crossing
Arrange the white strand across the blue opening as shown. Replay 14–30 seconds to confirm its entry before pulling the crossing tight.
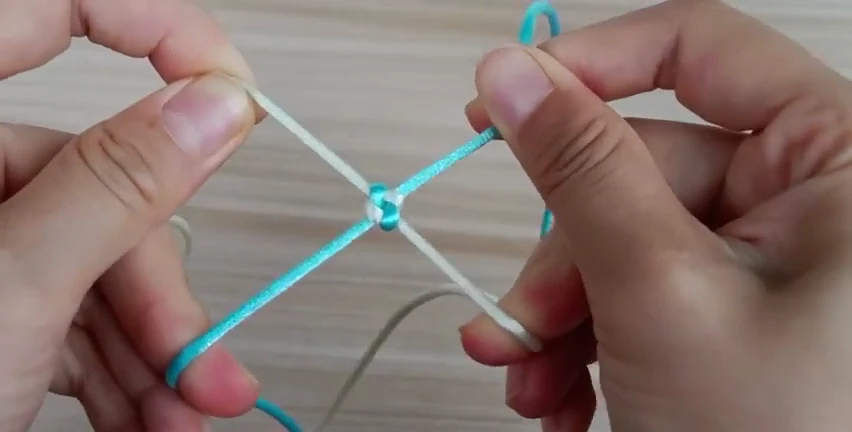
04. Tighten the first unit
Draw the four visible strand sections outward in small pulls. Seat the center evenly rather than collapsing a single loop first.
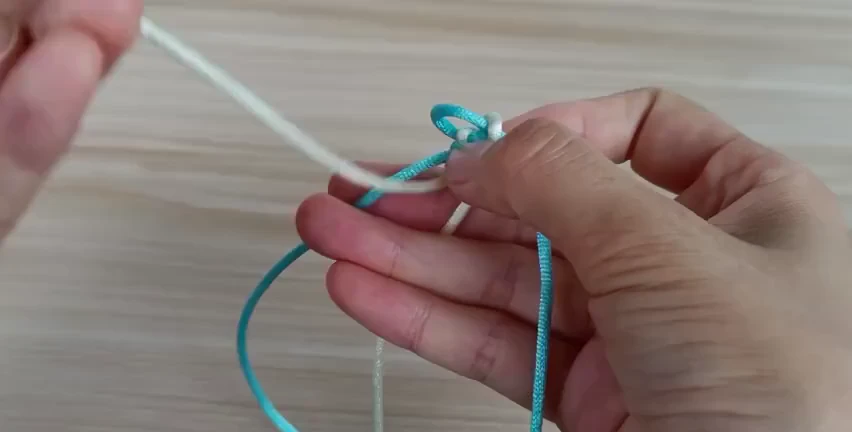
05. Begin the following unit
Hold the first compact unit and leave the next working loop open. Continue with the same strand order shown in this lesson.
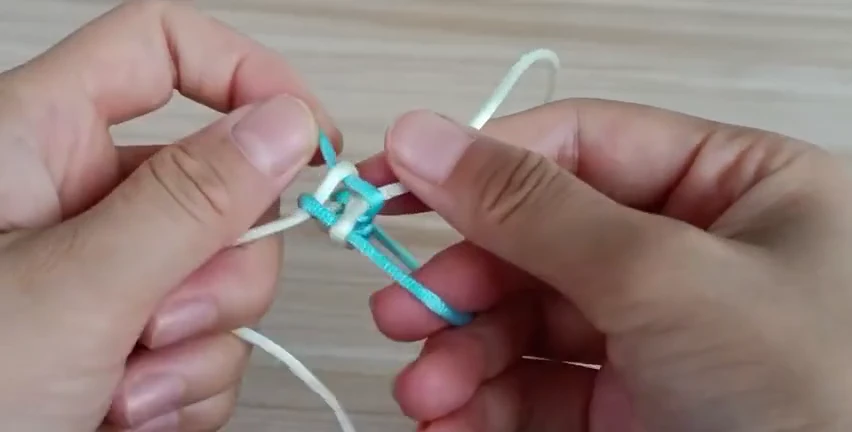
06. Build the square-pattern band
Repeat the demonstrated unit above the growing band. Keep the two colors in their shown positions; use the video for passages hidden by the fingers.
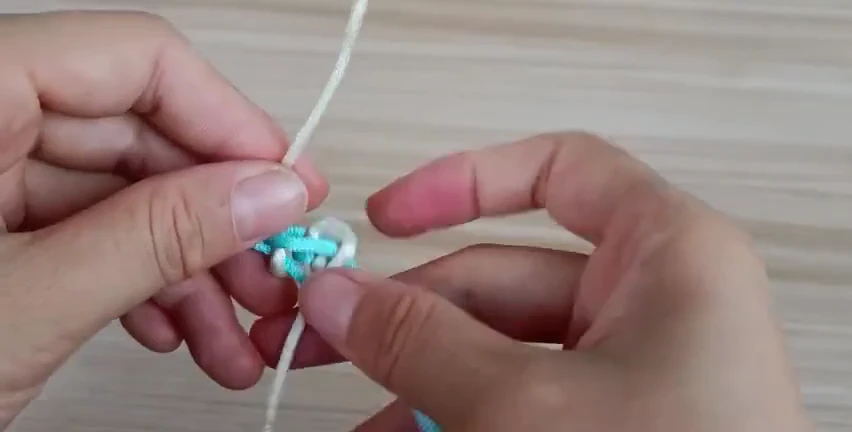
07. Seat the last repeat
The band is now several units long. Hold the completed section while drawing slack out of the final loose crossing.
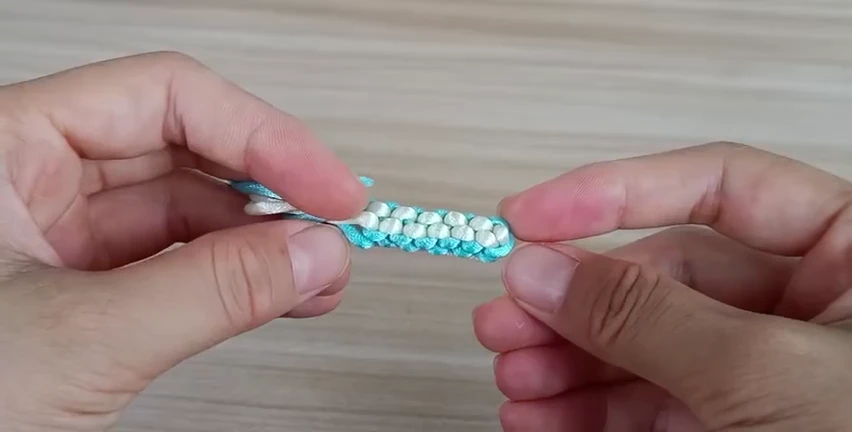
08. Check the two-color surface
Compare the broad blue-and-white surface with the demonstration. Adjust uneven spacing while the individual units are still easy to move.
Before you move on
- The visible blue-and-white pattern continues evenly along the band.
- The band has a consistent width and a broad visible face.
- The last unit sits against the preceding one without a large loose loop.