
Basic knots · Lesson 09 of 18
Diagonal Clove Hitch
The white cord is the guide, and each turquoise cord wraps around it twice. The demonstration adds the working cords one by one to form a joined row along the guide.
斜卷结
1:14 demonstration. Pause and repeat each movement at your own pace.
Follow the cord, step by step.
Each image comes from this demonstration. Tap its time to replay the movement.
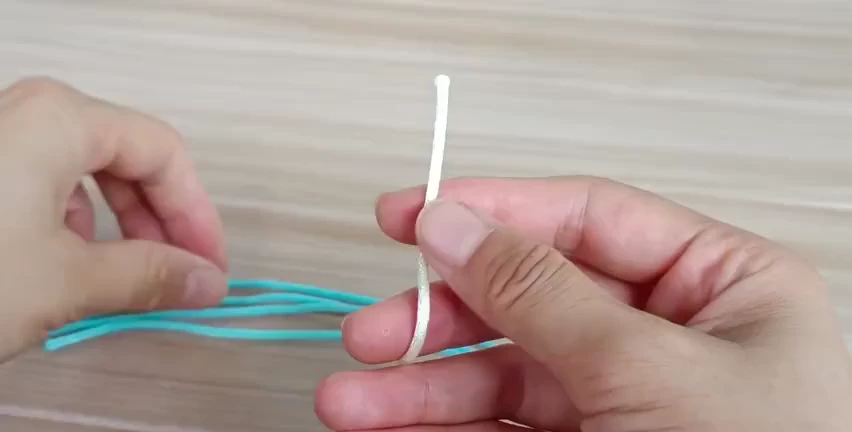
01. Identify the guide cord
Keep the white cord separate from the turquoise working cords. Hold it steady while selecting the first turquoise cord.
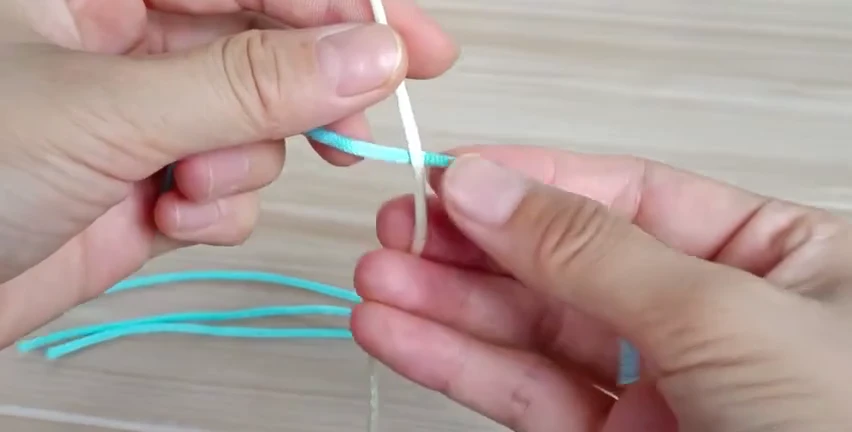
02. Wrap the first working cord
Curve the turquoise cord around the white guide, leaving an opening for its working end.
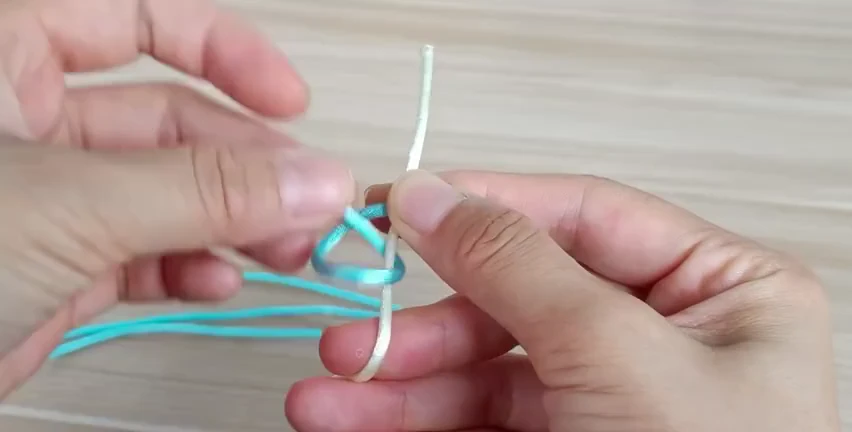
03. Make the second wrap
Return the same working cord around the white guide again. Draw its end through the new opening beside the first wrap.
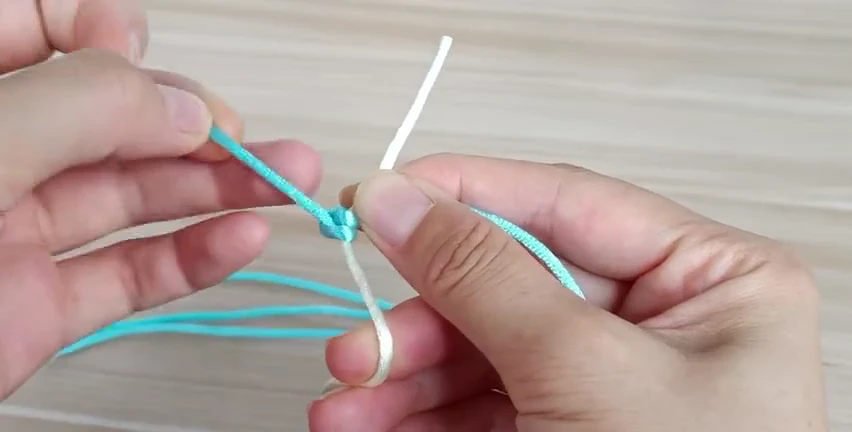
04. Seat the two wraps together
Pull the turquoise cord to close both wraps against the guide. Hold the white cord steady as the pair settles.
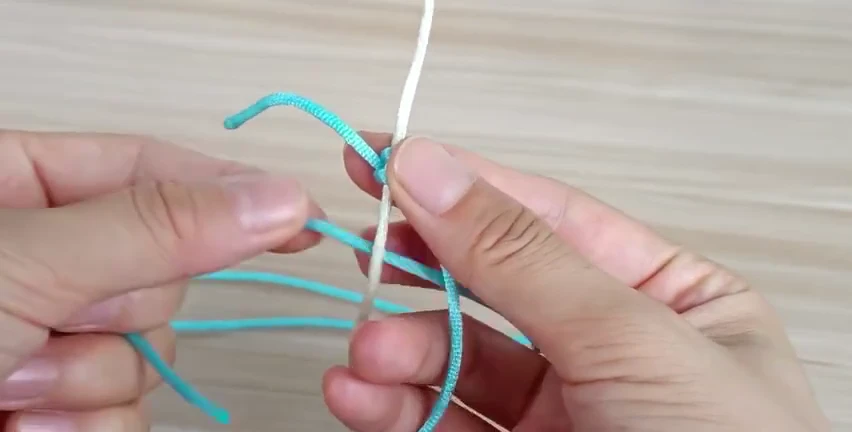
05. Select the next cord
Bring the next turquoise cord up to the white guide. Leave the completed pair in position.
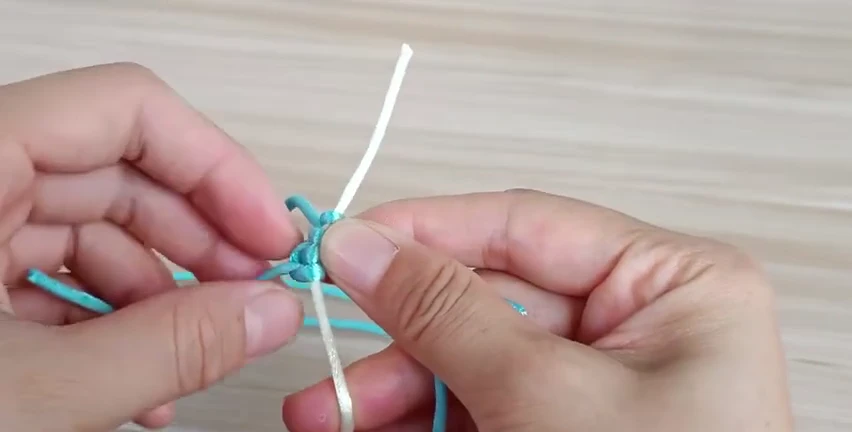
06. Repeat the paired wrap
Make two wraps with the new cord and close them beside the previous pair. Continue with the remaining working cords.
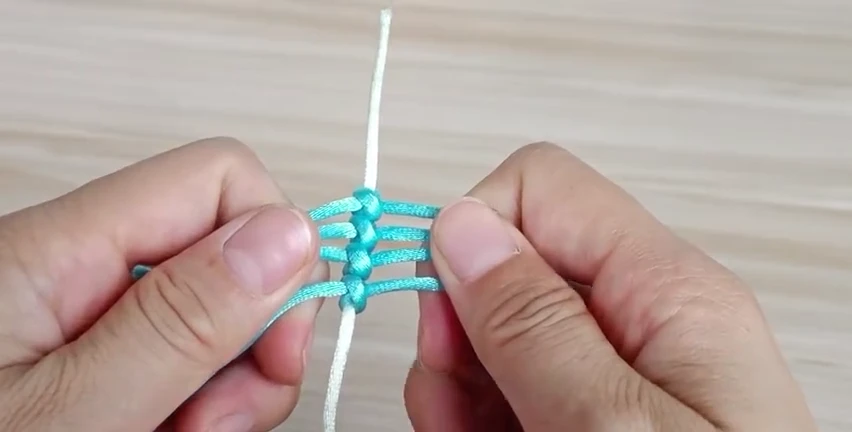
07. Check the joined row
Straighten the white guide and spread the turquoise cords. Check that each cord has its own paired wrap and that the pairs sit together.
Before you move on
- The white guide remains distinct from the turquoise working cords.
- Each working cord makes a pair of wraps.
- The pairs sit together along the guide, with the working cords separated.