
Start with the silhouette
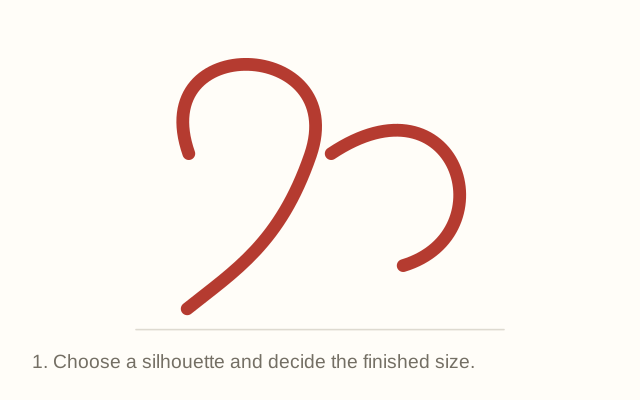
A clear ornament reads at a glance: a hanging loop, a central shape and a fringe. Choose from 18 basic knot elements, then add a tassel and arrange your own ornament before choosing a color. Look first at the spaces inside the loops. If thick cord closes those spaces on screen, reduce the width or choose a more open design.
A four-step design process
Know what the drawing can tell you
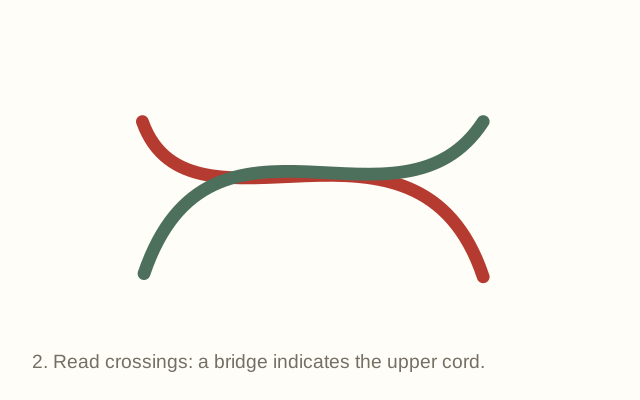
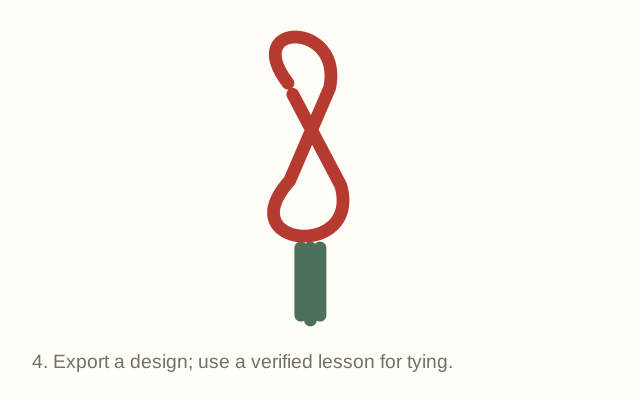
The studio is an ornament designer. It can show color, line weight, crossing effects and visual balance; it does not solve cord topology, estimate cord length or prove a path can be tied. Combine basic knot elements, adjust their size and position, and choose from five tassel styles. A composed front view cannot show the route behind a knot; follow a complete lesson for that sequence.
For a physical project, choose a lesson with a clear start, full route and final tightening instructions. A front-view photograph alone can hide connections behind the knot. Our basic cord lessons are a separate place to practice real loop-and-through movements.
Plan on paper
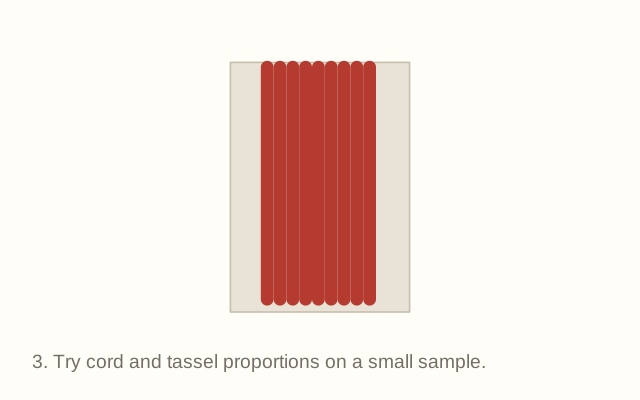
Download the A4 or Letter worksheets and print at actual size. Check the 50 mm line with a ruler before comparing proportions. Write the recipient, color and intended size in the notes area. This keeps your plan useful when you return to the project later.